![🥇 Presets for FREE Lightroom [2020]](https://big-photography.com/wp-content/uploads/2020/07/presets-para-lightroom.jpg)
home
>
Blog
>
Photography
>
Free presets for Lightroom
Free presets for Lig …
In this note we tell you what presets for Lightroom are all about and why they are so sought after and used by photographers, designers, and photography hobbyists.
Here’s a preview: Lightroom presets not only save you editing time, but also professionalize your work. Why is it important that you install presets in Lightroom? We will tell you everything below.
But if you already know what Lightroom is and how to install Lightroom presets, go to point 7 and download Lightroom presets for free.
A photo is not complete without post-production, learn Adobe Lightroom
Index
-
Lightroom, what is it?
-
Adobe Photoshop or Lightroom?
-
What is a Lightroom preset?
-
Why should I install presets for Lightroom?
-
How to use Lightroom?
-
Free Lightroom presets
-
How to install presets in Lightroom?
-
How to put a logo in Lightroom?
It is software from the Adobe Creative Cloud family specialized in photo editing. As of today, Lightroom has become the favorite digital photography program for professional and novice photographers.
Its popularity also falls on the sought-after “presets for Lightroom”, but we’ll explain that later. What else can you do with Lightroom? In addition to processing and post-producing digital photos, Lightroom lets you organize, store, and share your photos on any device.
Being a cloud service, Lightroom is capable of “managing any number of photos, so you are always organized and up to date on everything”. Also, if you are just starting to use this tool and have any doubts about how to edit photos, Lightroom includes professional tutorials in its application.
Do you want to learn how to use Lightroom today? Don’t miss these free photography courses. You will learn about Lifestyle photography, post-production in Lightroom and how to get great photos with a camera or smartphone.
Join the premium family and keep learning from home
If someone asked on Facebook for software to edit and retouch photos, most likely, most of your contacts would recommend “Adobe Photoshop”. It is true, Photoshop is the first thing that comes to mind when it comes to working digital images, but compared to Lightroom it is not necessarily the only professional program capable of working with them and obtaining good results.
So, Adobe Photoshop or Lightroom? To answer this question, we better leave you with the advantages of Lightroom:
-
Lightroom has a simple learning curve: This means that it is easy to learn. For example: to edit a photo in Lightroom, you don’t need to use various tools like Photoshop.
-
Lightroom has what a photographer needs: Its tools such as sliders and adjustments allow you to edit photos from anywhere and in the style you prefer. In addition, the June 2020 release includes new features: local tone adjustment, create edition versions, customize RAW photo default settings, add watermarks to photos, share edits to connect with other photographers, send photos from Photoshop to iPad and compatibility with new cameras and lenses.
-
Lightroom is made to optimize your workflow: Thanks to its smart organization, Lightroom makes it easy for you to find a photo or create an album. Also, it allows you to edit images without having to save one by one. It is agile and efficient.
-
Lightroom offers parameterized editing: remember that Photoshop modifies images irreversibly because it is a pixel editing program. Instead, Lightroom saves the changes as numerical values, so it is not “destructive” to the image.
-
Lightroom allows you to apply presets with a single click: Create settings and save them to use as many times as you want.
-
Lightroom is designed for you to work with all the photos you want: don’t worry about the number of photos. You also don’t need to duplicate an image. For that there are virtual copies.
Download our free product photo guide at home

The English term “preset” means “preset” in Spanish, and is linked to the Lightroom program. Lightroom presets are the settings of the editing settings that, once created, can be applied one and a thousand times.
Its main feature is that they can be easily exported and imported. That is, anyone can create a Lightroom preset, export it, and share it for other Lightroom users to install and use normally.
Can you imagine having to edit 100, 500, or even 1,000 photos? Sounds exhausting and almost impossible, right? Although if you use Lightroom, it won’t take much effort, thanks to whom? Well, to the presets.
So, if you want to increase your productivity, we recommend installing presets for Lightroom, which are (as we already told you before) default parameters with which you can edit more quickly.
Thanks to presets you will not only automate your workflow, you will also be consistent with your photo editing style.

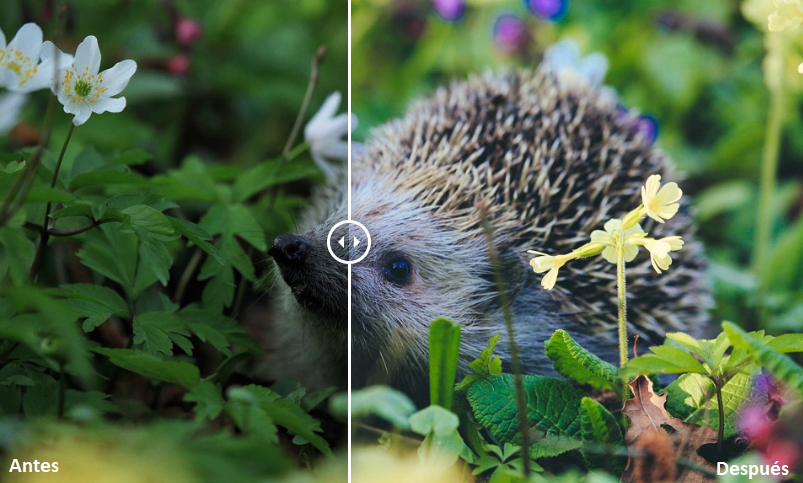
Next, we’ll share the best Lightroom presets for your editing work to improve remarkably. But before, we remind you that Lightroom has default presets, like the one below.

Learning how to use Lightroom is truly simple and what better than from the hand of our teacher Gerardo Sandoval, who teaches us what his development process is in the Revealed tutorial in Lightroom Classic.

@Crehana
How to use Lightroom in 7 steps:
-
Import your image.
-
Go to Reveal Mode> Basics.
-
Adjusts the white balances. Verify that your photo has the correct shades. Play with the Temperature to get the tone you are looking for.
-
Now go to Hue> Improve Exposure and Contrast.
-
Modify Highlights, Shadows, Whites and Blacks
-
Go to Presence> Edit Clarity and Intensity.
-
Go to the HSL / Color tool> Edit the Hue, Saturation and Luminance to your liking, and voila!
Organize a portrait and fashion session from home, download this free guide!

Gerardo Sandoval Lightroom Presets

Download them here
Lightroom presets: apply them to your Instagram photos

Download them here
Free Lightroom presets: use them for your pet photos

Download them here
Presets for Lightroom Color

Download it here
Free Lightroom Preset Cherry Blossom

Download it here
Preset for Lightroom Spring
Download it here
Lightroom Somber presets
Download it here
Free Preset Lightroom Blue Film
Download it here
Free Lightroom presets from One One

Download them here
Free Lightoom presets by Albert De Brujin Photo

Download them here
Download our Photography ebook for free

Now yes, it is time to install your presets …
How to install presets in Lightroom Classic?
Once you have downloaded your favorite preset, unzip the files. To keep a specific order, we recommend that you put them in a unique folder that you can easily locate. Then import that folder into another folder within the Lightroom panel.
Step 1: add new presets

Step 2: import presets

Step 3: click Import

Step 4: installed preset

Discover all the Photography courses we have for you
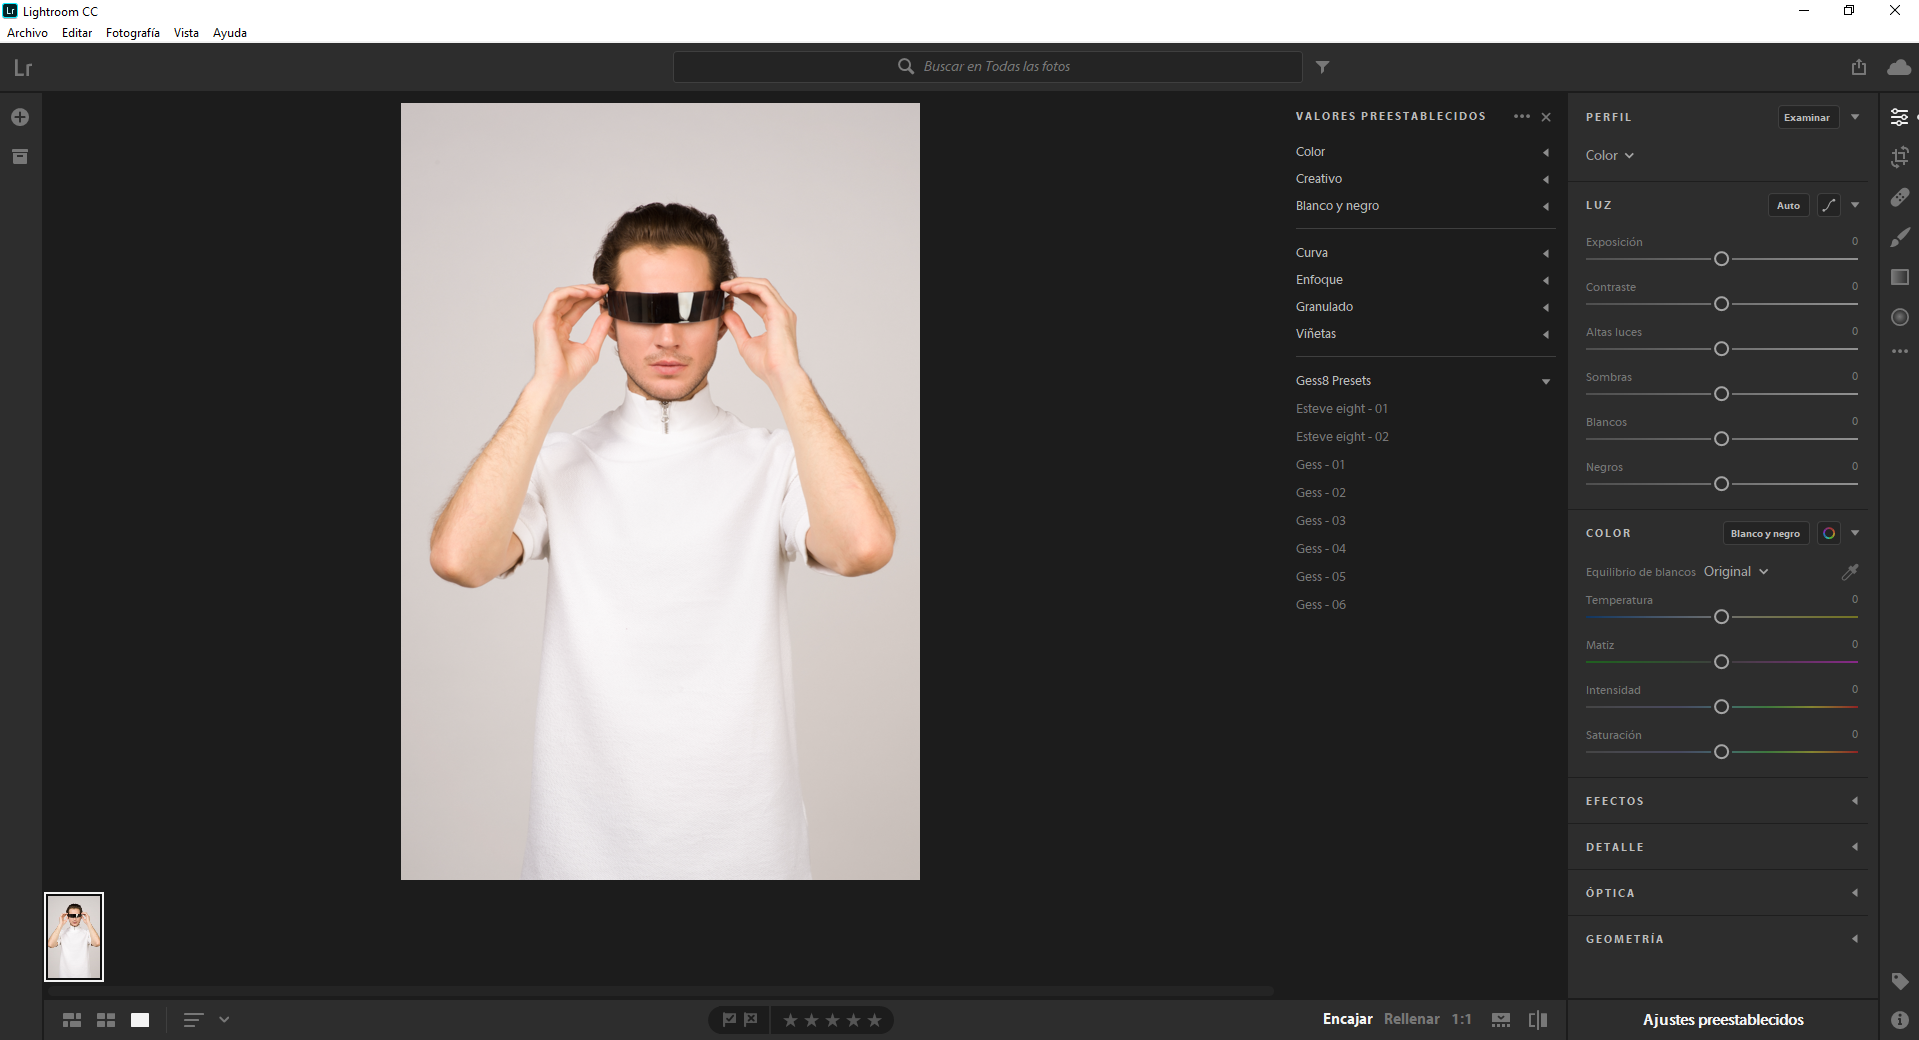
How to install presets in Lightroom CC?
Step 1: import profiles and presets

Step 2: click Import

Step 3: installed preset
Placing a watermark or logo on Lightroom is quick. In fact, this feature is one of the latest developments in Lightroom for desktops. We explain it to you in 5 steps:
- Once you have your photo edited, click Share and select Export.
- Under Export, select Include Watermarks. Edit the watermark settings (font, style, anchor point, size, color, etc.) by clicking the Settings icon.
- As you customize the watermark, you can see how it will look on your photo in real time. When you’re happy with the settings, click Done.
- Finally, click Export Photo to export your image with the logo or watermark.
- If you have the Lightroom app on your smartphone, the watermark you just created will automatically sync.
![]()
Image: helpx.adobe.com
That’s it! Now you can work with a wider collection of presets and save a lot of editing time. How about?
Bonus track
✅ Self-portrait guide with your smartphone


Discussion about this post