home
>
Blog
>
Photography
>
How to give sparkles of light to your photographs? Discover the flare effect
How to give it sparkles …
It’s a beautiful day. You take out your camera, shoot at a colorful sunset, and come home thinking about the incredible photograph you just took. However, when you export it to Lightroom you realize that weird flashes ruined your shot. You just learned about the flare effect. ⭐
Although you would think that the flare effect is something you should avoid, the truth is that If you know how to use it, you could have a new artistic tool to use in your photography or in your videos.. In the end, you know that the art of photography is about mastering light, right?
So the secret to becoming the best photographer is to control the light to avoid unwanted results. In this note we will teach you what the flare effect is and how to take advantage of it in your photographs. With a keen eye, this “flaw” can become your secret weapon! 😉
Let’s get started.
But first, what is stray light in photography?
To talk about the flare effect, you must know what parasitic light is in photography.
The stray light is that Uncontrolled light entering the lens, but not part of the focal plane. In other words, stray light is the classic example of Photobombing.

But Why is the stray light present? Thanks for asking. 🧐
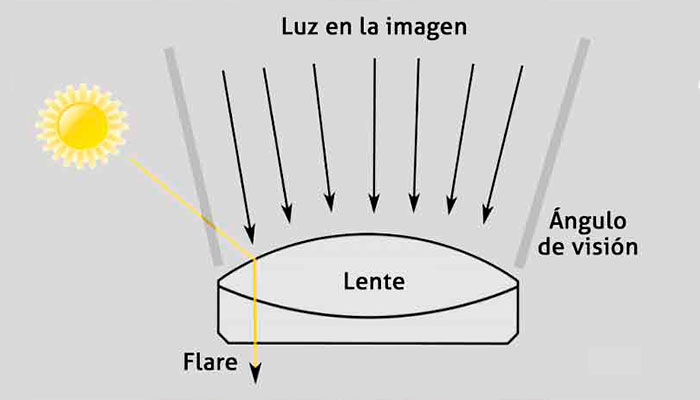
You see, most of the light that we capture in a photograph is projected onto the sensor. However, the world is not perfect and a part of it reflects off the lens surface causing flashes of light.
It is at this time that excess light enters the entire lens and spreads uncontrollably causing chaos., especially with angled, zoom and telephoto camera lenses, which can hold more than one glass. This excess light is manifested in the form of halos, flashes of light (or flares) or fogs that reduce the contrast of the image.
How to avoid light flashes in photos?
There are several ways to avoid these lens reflections in your photographs such as:
- Check if it is worth using a filter on your lens. This is giving the light more room to reflect off the surface.
- Use a parasol. These elements work as reflectors that reduce the entrance of light that reaches the target and bounce the flash of light.
- Try to illuminate only the area covered by your lens. Any light outside that area can be reflected off the lens and cause a flare effect.
Source: Welab.
- Choose your frame well. Do not point your camera directly at a light source.
- If you don’t want a flare in your photo, avoid shooting with wide and telephoto lenses.
- Try using lenses with fixed focal lengths to reduce the possibility of lens flare in your photos.
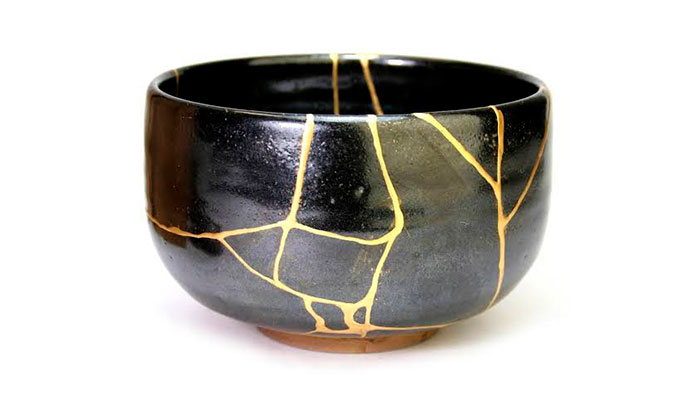
Although more than avoiding them, Why don’t you use these “flaws” in favor of art? Have you seen what the Japanese do when a plate breaks? The Kintsugi, as well as the creative use of the flare effect, are creative trends that enhance flaws.
Art knows no limits. 🙌
Source: Ikigai Matsuri.
So what is the flare effect?
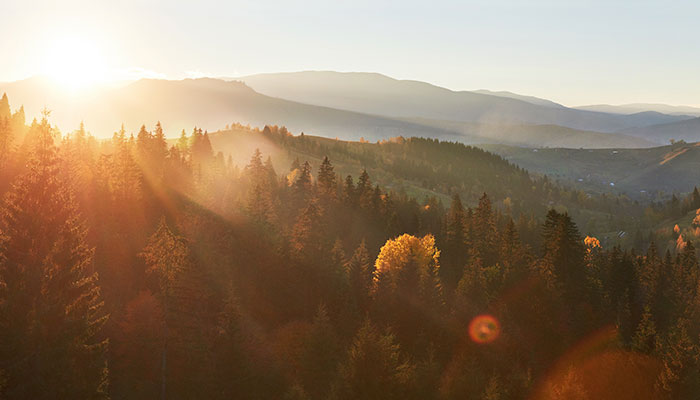
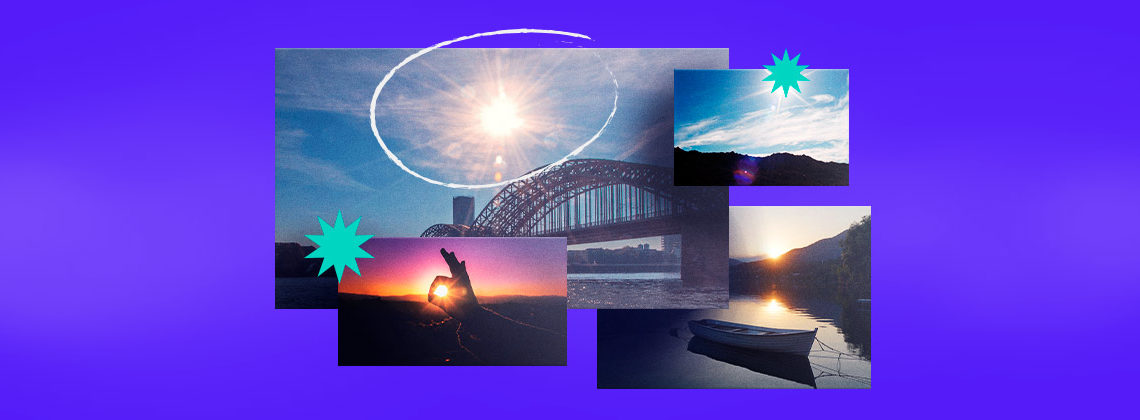
The flare effect refers to the type of flare that is produced when light rays hit the lens and are reflected internally by the lens, causing one or more light circles to appear in a photograph or video.
💡 The name “flare effect” comes from English, since the English translation of lens flare is flare lens.
However, the flare effect is not only captured as luminous circles. There are several types of lens flares:
- Polygonal spots around or in front of the light source
- Beams or rays of light that are scattered throughout the image
- Brilliant haze that dulls the intensity of black
Here are some examples of the flare effect in photography. First we go with a good one.
Source: Freepik.
Now with a example of flare effect that is better not to watch for long. 😖

Source: Imgur.
How is the flare effect produced?
The flare effect is a stray light, so These flashes usually appear when we photograph a light source directly —Such as the sun, lamps, or light bulbs — at a specific angle. What happens is that an excess of light enters that is difficult to control.
However, in order for you to use the flare effect in your creations and not have horrible results like the last photo, te we will teach you how to get out of the “formal right” and take advantage of these lens reflections.
How to use the flare effect in photography?
Just like in the Kintsugi Of Japanese origin, the flare effect found its artistic use thanks to the Japanese cinematographer Hiroshi segawa in the movie “The Sand Woman“From 1964. Segawa was the first to use a lens flare on purpose — although others say the first film with intentional flare was”The legend of the indomitable”From 1967.
So how do you use the light flare to get a professional, aesthetic and creative photography?
Justly we will use the tips to avoid flares as a guide, only we will do the opposite of what they recommend “Except we will continue to take care of our glasses, this advice is the absolute truth.” This way you will discover in your own photographs what a lens flare is.
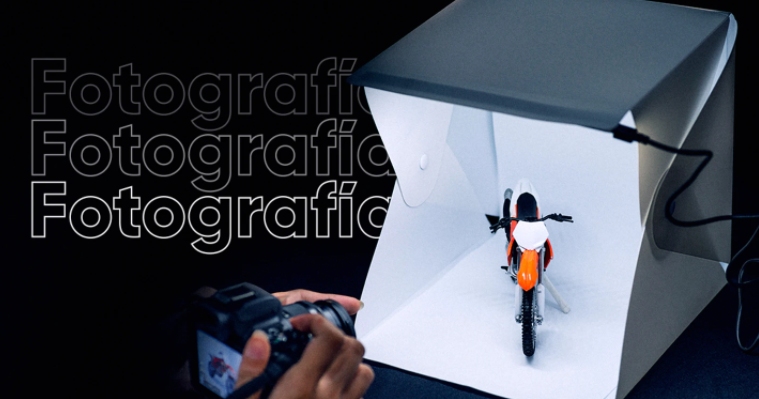
Build a home photo studio and practice until you control the flare effect!
1. Use a filter
While more space between filter and lens, the more likely it is to cause a flare effect.
Polarizing filters provide different effects as they are rotated. In addition, using a UV filter will be great if you want to protect your lenses when shooting directly in the sun.
2. Say goodbye to the parasol
A lens hood helps keep light from reflecting off the lens, so to get a lens flare we won’t need it.

Source: Free Market.
3. Shoot directly at bright lights
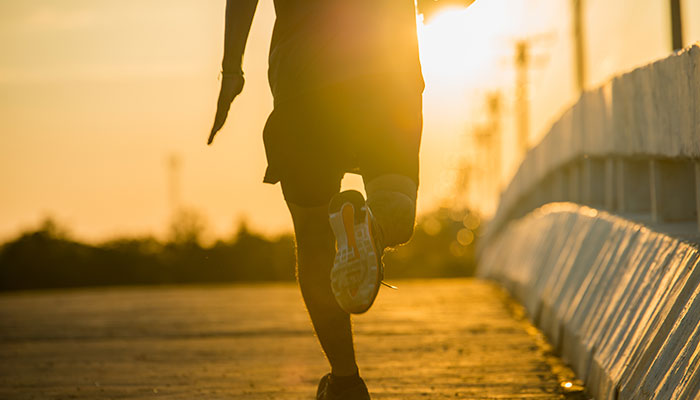
Composition is a key variable in the equation. If you want to cause a flare effect, Aim directly at the largest light source in the space you are in —Yes, it protects both your eyes and the lens of your camera.
Try putting an object or your model against the lightIn other words, place it in front of a powerful light source such as the Sun. In this way they will be outlined by the light, causing a scattering in the light rays that will be absorbed by the sensor causing a lens reflection.
Source: Freepik.
4. Wait for the ideal time of day
Another tip to take pictures with a flare effect is to do it at the ideal time, this is when the sunlight is intense just like it happens at noon. Another ideal moment is the call “Golden hour” which occurs just after sunrise or before sunset.
You will see how your landscape photographs are left with a magical aura thanks to those flashes of light.

Source: Pexels.
5. Control the light
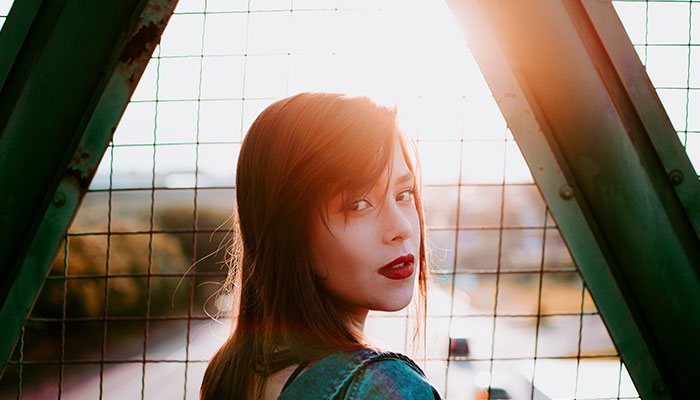
If you happen to be shooting in the midday sun or golden hour without taking a decent lens flare photo, you need to control the amount of light entering the lens.
Place your subject in front of the sun and, in the middle of them, put another object: a building can be. Thus the amount of light that will enter will be less and the flash of light will be less intense.
Source: Pexels.
6. Experiment with artificial light
Luminous objects such as flashlights, phone or car lights, candles, or lasers they can create interesting lens flares. Experiment with these items from different angles, even with the help of mirrors.

Source: Pexels.
7. Use wide and telephoto lenses
These lenses have more lenses and other items than give more room to excess light, so it is more easily reflected, achieving a pro flare effect.

Source: Free Market.
8. Change your camera settings
You can also set your camera to increase exposure and take pictures with flashes of light. Open the aperture to get a big lens flare (you can even get a spot of light) or close it to get a spiky flash like that of a star.
👉 Fernando O’Farril explains these basic concepts of photography in the online course Fundamentals of Digital Photography.
9. Play around with the edit
Photoshop should never be your wild card, but in the end it is a tool that has saved any photographer on more than one occasion. If you want a flare effect, you can always add or digitally enhance lens flare in Photoshop.
In fact, did you know that the film director Michael Bay is well known for adding flares in post production? Watch the movie trailer Transformers: The Last Knight and tell us how many lens flares you can count.
How to create the lens flare effect in Photoshop?
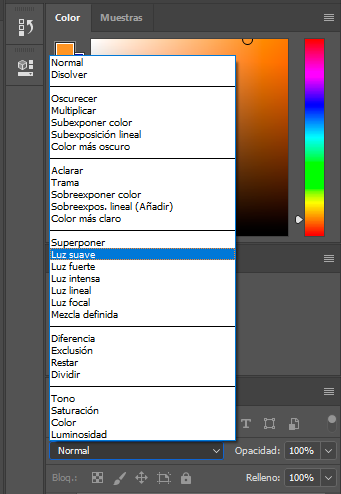
- Import your photo into Photoshop.
- Give it “File”> “Place embedded elements” and open an image that already has the flare effect in Photoshop. You can find a flare effect PNG image online and download it.
- Change the layer blend to find the one that best fits your photo in this panel.
Source: Photoshop.
- Adjust the opacity if necessary.
- With the “Move” tool, place the lens flare in the indicated place, near your light source.
Download this pack of 15 sparkle effect Photoshop brushes

Just in case, While you master the technique make sure to take photos without flare effect so as not to spoil a whole day of work. Remember that what looks good on your camera screen may not look the same once the photo is exported to your computer.
👉 In any case, If you want to know how to remove lens flares in Photoshop, follow this tutorial.
Anyway, depending on how you use the flare effect, you can give your images a certain emotionCreate dreamy wedding photos, futuristic images like Michael Bay, or a cool look perfect for Street Fashion Photography.
In Crehana you find courses to become an expert in Photography. Happy learning!



Discussion about this post