home
>
Blog
>
Photography
>
5 tips for taking flash photos that will improve your compositions
5 tips for taking f …
Do you want to learn to take flash photos but you don’t know how to use it? We know that when taking a photo in low light, the flash can be that ally that will always help illuminate what you want to photograph.
However, improper use of flash can work against you, as shadows and reflections can sometimes be generated that ruin the composition of the photograph. 😒
But there is not nothing to worry! We have written this note in order to give you some tips that can be of great help when taking photos with flash in your photo shoots.
When you finish reading, we invite you to practice what you have learned so that you can get the most out of this valuable photographic resource and start taking the best photos with flash. ⚡
Index:
- What is the flash for in photography?
- What types of flash are there?
- Tips for taking flash photos
Before advising you on how to take flash photos, we would like to ask you: Do you know what the flash is for in photography?
Flash is a resource that has played a fundamental role in the history of photography and has had a great deal of relevance within the evolution of cameras.
A flash produces a flash of artificial light whose purpose is to clarify a scene with poor lighting, modify the qualities of the light and freeze objects or people that are in motion.

Image: Unsplash
Know that a flash emits amounts of light at specific distances. This measurement can be calculated through a guide number. The higher the guide number, the greater the power of the flash.
However, keep in mind that taking photos with flash can generate different effects in a photograph and these can vary according to the type of camera depending precisely on the type of flash to be used.
Sign up for our Online Course on Fundamentals of Digital Photography!
Although there are currently different types of flash, there are 2 that you should know and identify:
Built-in flash or built-in flash
This type of flash is the most common you can find, as they are located on the top of cameras and on the back of mobile devices. This is a very basic flash whose range ranges from 3 to 5 meters.
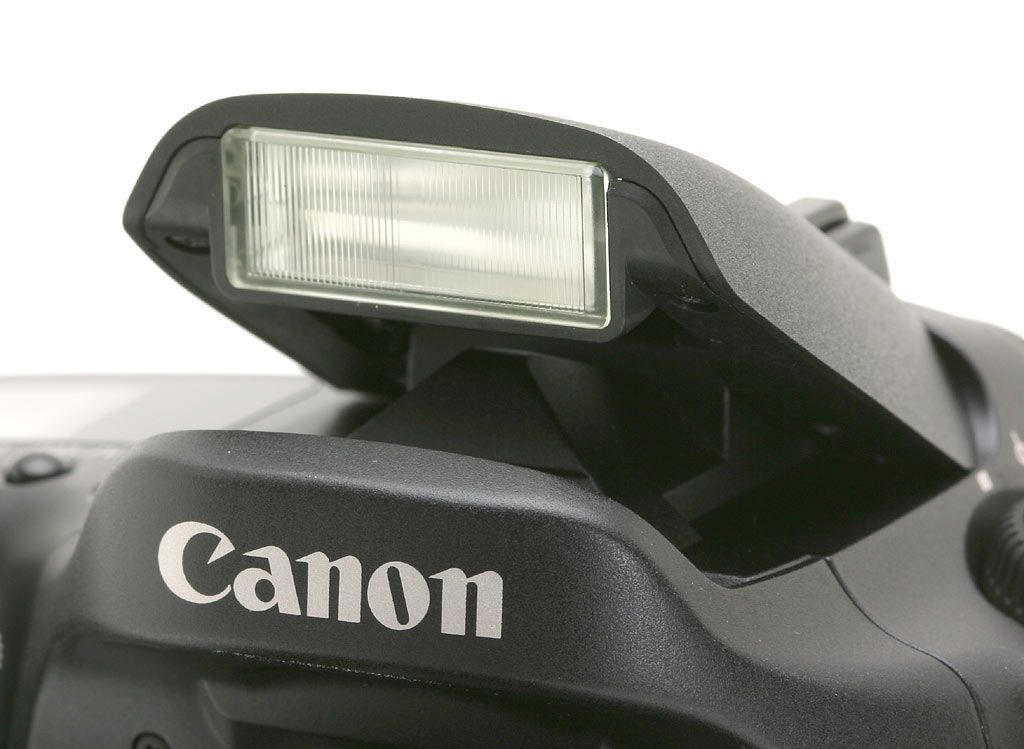
Image: Photography Club
Being built into cameras, the type of built-in flash it does not have much power and it has certain limitations that do not allow modifications to be made when capturing photos with flash.
In addition, being a static flash, it will always have the same direction and position of the camera, which will limit the creative effects that you want to give to the photograph.
However, it is one of the easiest options to use when taking flash photos.
External flash
As the name implies, this type of flash is an external accessory that connects to the camera.
Unlike the built-in flash, an external flash consists of its Torch, which is the part where the flash of light is located; a controller, where the flash modifications are made; and his “shoe”, Which is the connecting bridge to take pictures with flash.

Image: Sony
What are the advantages of an external flash?
By assembling an external flash to a camera, you can count on some advantages to generate effects in your photos:
📐 Angles
Being a removable accessory, the external flash type has the possibility of placing it at different angles in order to achieve better results.
🌬️ Give ISO a break
When you are taking photos indoors in low light, it is common to use too high an ISO which can generate a lot of noise, which results in a reduction in the quality of the photograph.
☀️ Light control
With this device you have total control over the intensity of the flash, its direction and its hardness. You can experiment with this type of flash using your creativity, shadows or lights to generate unique photographs.
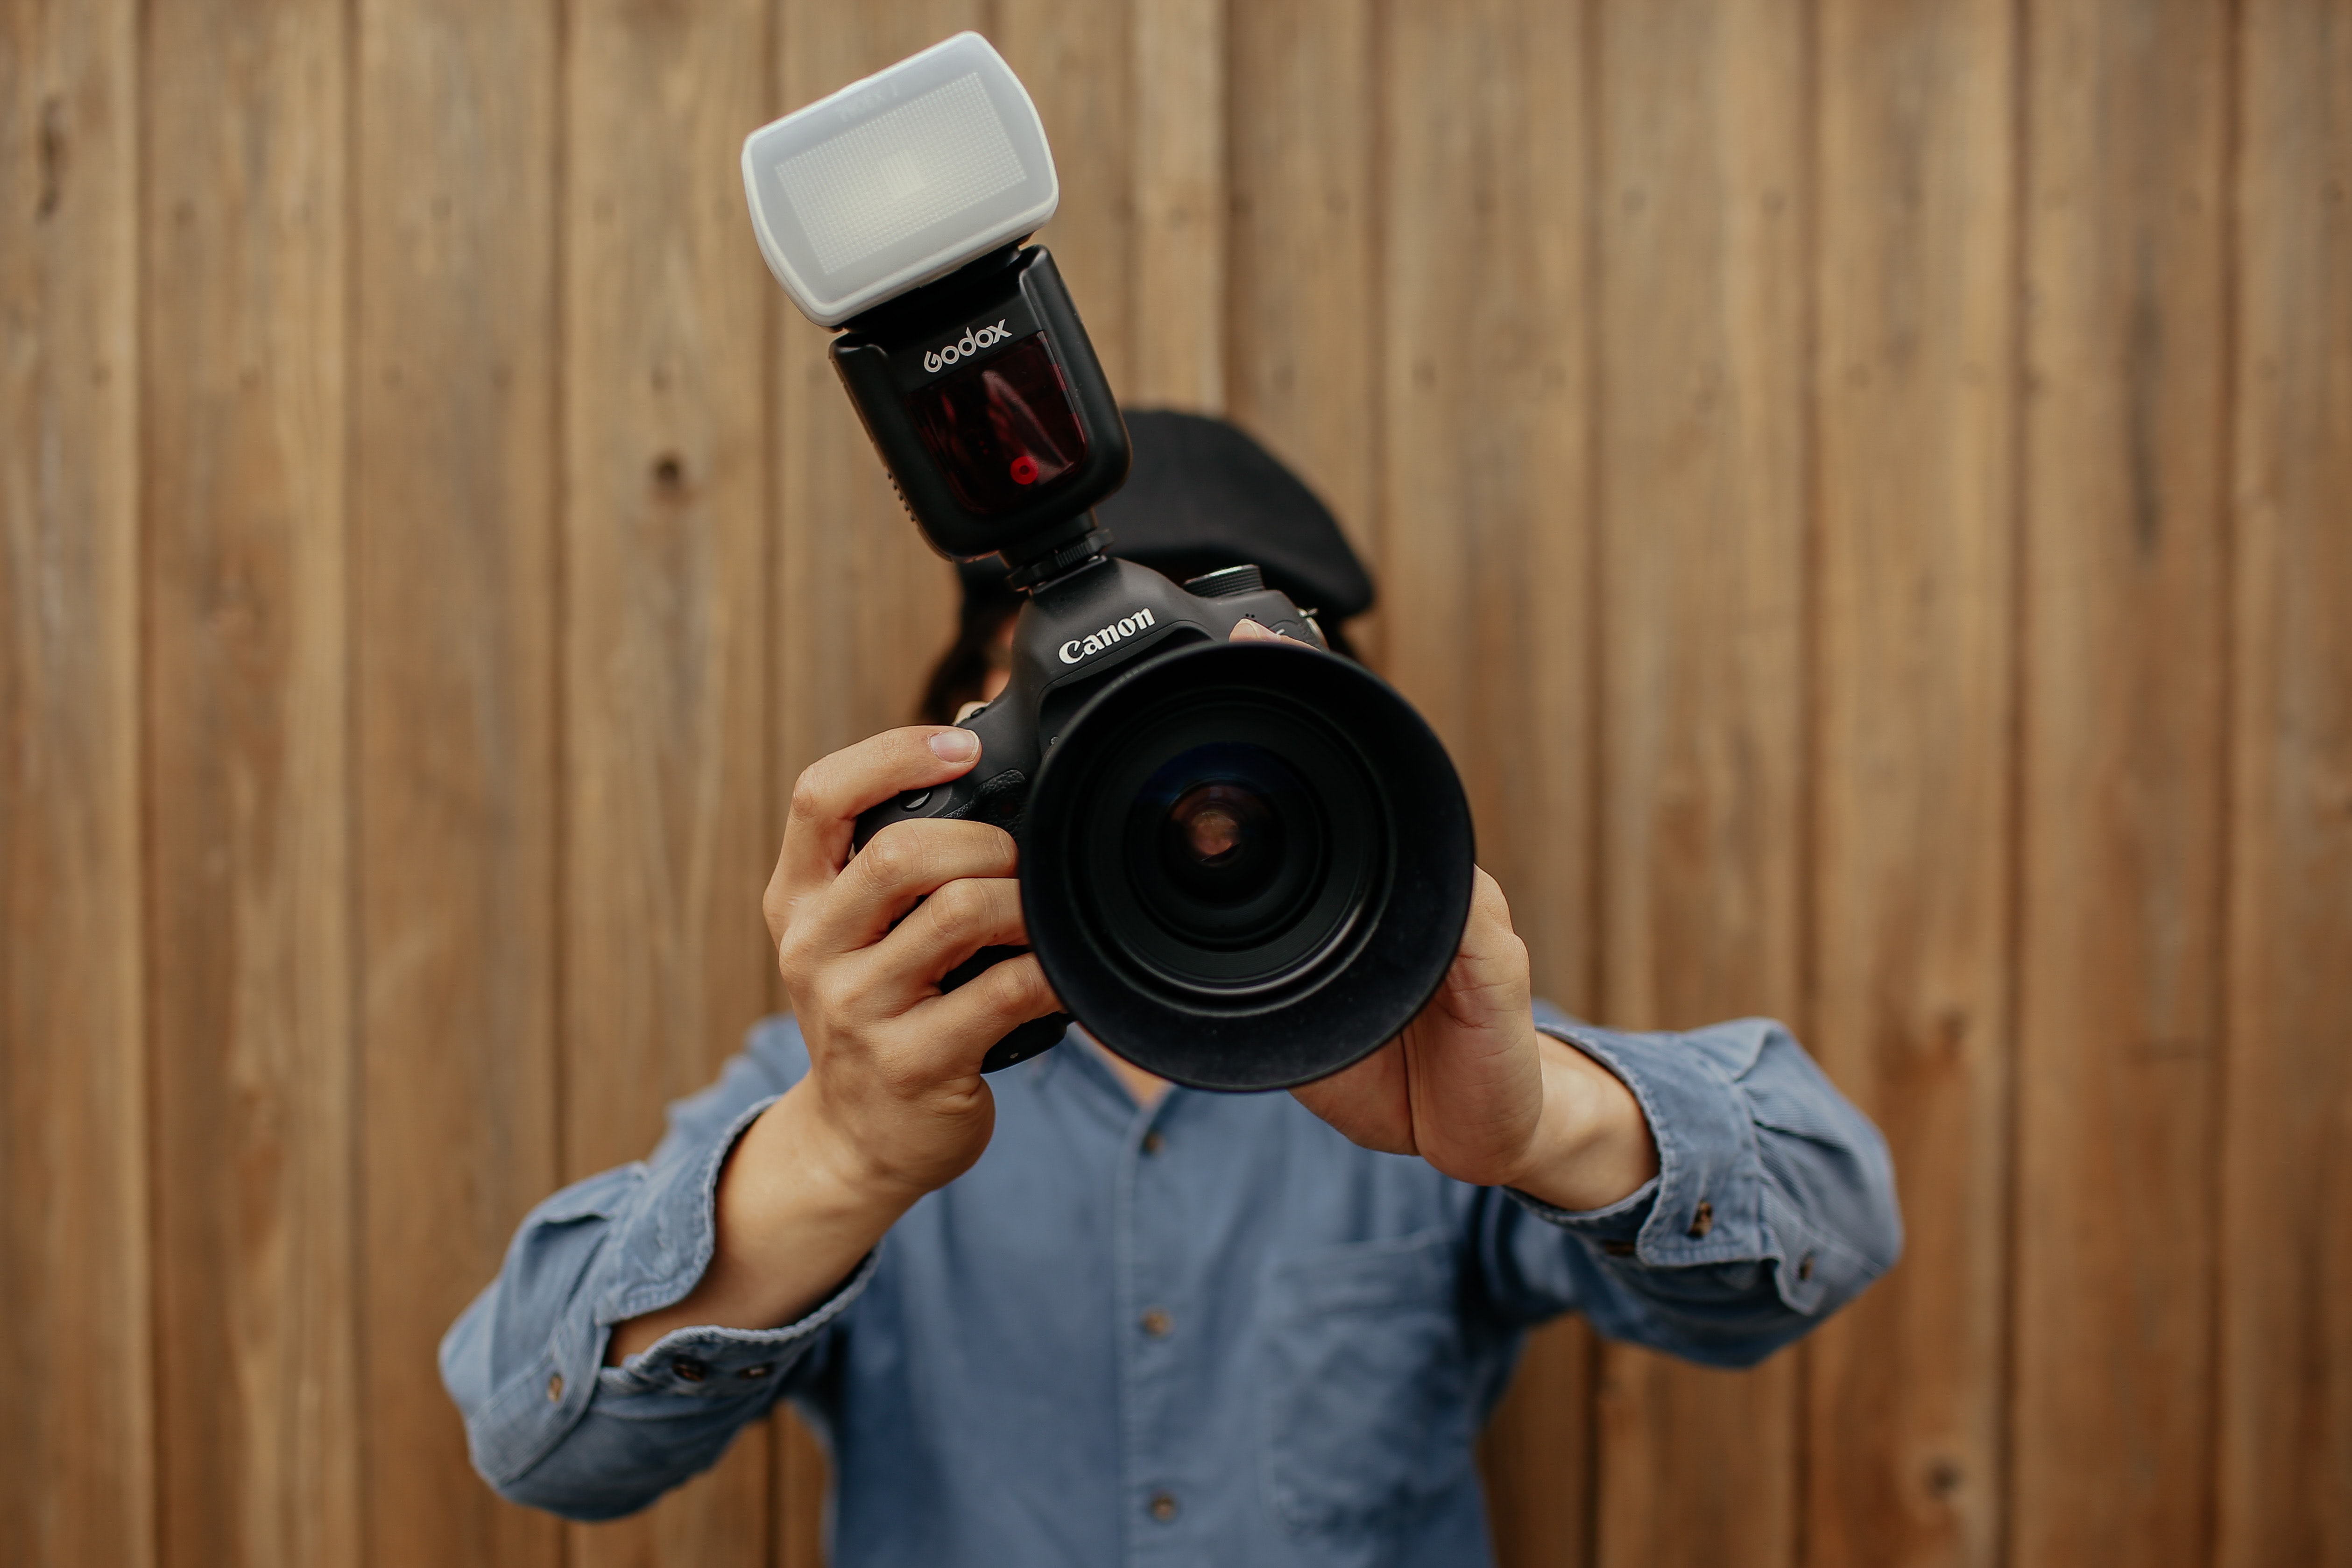
Image: Unsplash
Keep in mind that flash is an essential component in photography and, to complement the above, the professor and photographer Matias Posti, who teaches the Online Course on Photographic Lighting Techniques, states the following:
“We photographers use light as our brush. Without light, photography would not exist and being able to control it is what is going to be unique to you ”.
Do you want to build your own home photo studio? Download this free guide!

Here are 5 tips and tricks for taking photos with flash so that your photos have good lighting and are quality compositions.
Before starting, keep in mind that using the flash as the only lighting resource should be the last option you should consider.
Conversely: try using different light sources, whether natural or artificial. You can also look for elements that blur the effect of lighting to take better photos with flash.
1. Use an external flash
As we mentioned before, the use of an external flash will facilitate the exercise of taking photos with flash, since you can manipulate it in the way you want to achieve effects that can alter the results of the photography.

Image: Unsplash
Therefore, we recommend that you use a removable flash if you are going to use this photographic resource to obtain better optimized images.
Keep in mind that knowing how to master an external flash is part of the skills of a professional photographer that will allow you to stand out in the workplace.
2. Go to a diffuser
The first recommendation to take photos with flash is that you use a light diffuser so that the lighting is projected in a more subtle way on the person to be photographed.

Image: DZoom
A diffuser bounces the light from the flash onto an internal disk to, consequently, bounce off an external plate. In this way, the light diffuser will soften the flash output for more nuanced results.
On the other hand, keep in mind that there are different types of diffusers for taking flash photos. Some of the most important are:
➡️ Tab-type diffuser: This diffuser is built into some external flashes. It consists of a sheet that is assembled to the flash torch and that achieves a very smooth diffusion, ideal for taking photos with a flash that requires dim lighting.
➡️ Box-type diffuser: As its name implies, it is a plastic box that, like the flange-type diffuser, fits into the flash and covers it entirely to allow light diffusion. It is one of the most widely used and economical diffusers in photography to blur the lighting of flash photos to a higher level.
➡️ Softbox Type Diffuser: Unlike the previous diffusers, the softbox type diffuser is larger and consists of a box installed on the flash torch. Its front part, being translucent, the intensity of light becomes directional, generating a light that is sent with a certain white hue on what you are going to photograph.
3. Watch the direction of the light
When taking photos with flash, analyze very well where the direction of the light is pointing, as it will play a fundamental role when you go to capture any photograph.

Image: Mott
You can take advantage of the direction of the light to your advantage if, for example, you place the flash towards the source of the light to take advantage of its fusion and use it as a complement.
You should also choose the type of lens that best suits the composition and that can best contribute to the light and lighting effects..
4. Regulate the power of the flash
By using an external type of flash you can modify the flash settings, including its power.
Even if you use a light diffuser, we advise you to reduce the intensity of the flash to take photos with a flash that can capture much more natural photos. This technique is used mainly in cases where flash is not the main resource, but rather a complement to natural light.
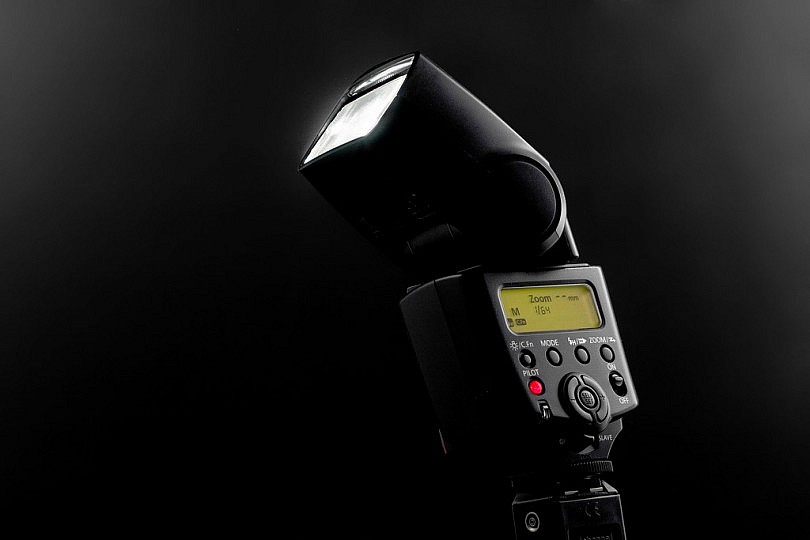
Image: Dzoom
However, it is a good trick to capture photos with flash that can contribute to the photographic composition.
5. Use the bounce technique
This is one of the most popular flash shooting techniques used by photographers.
It consists of the flash’s output pointing towards a white surface (it could be the ceiling) to bounce off the lens in a much more discreet way.
However, you can use flat surfaces such as white cardboard to simulate the color of the ceiling if the ceiling is high.

Image: TecnoBreak
This technique is intended for use indoors and the power of the flash should be increased to give the best possible flash photos.
Bonus: Tips for taking flash photos on your Smartphone
If you do not have a camera to take photos with flash, you can also use your mobile device to use this artificial flash and get the most out of your cell phone camera.

Image: Unsplash
However, keep in mind that, being a built-in flash, you won’t be able to make major modifications as you would using an external flash.
But despite this, there are different tips that we would like to share with you so that you can take nighttime flash photos from your smartphone and have good results.
Stabilize your cell phone
It seems like a no-brainer, but keep in mind that movement is a huge disadvantage for taking nighttime flash photos that can completely ruin the composition of the photo.
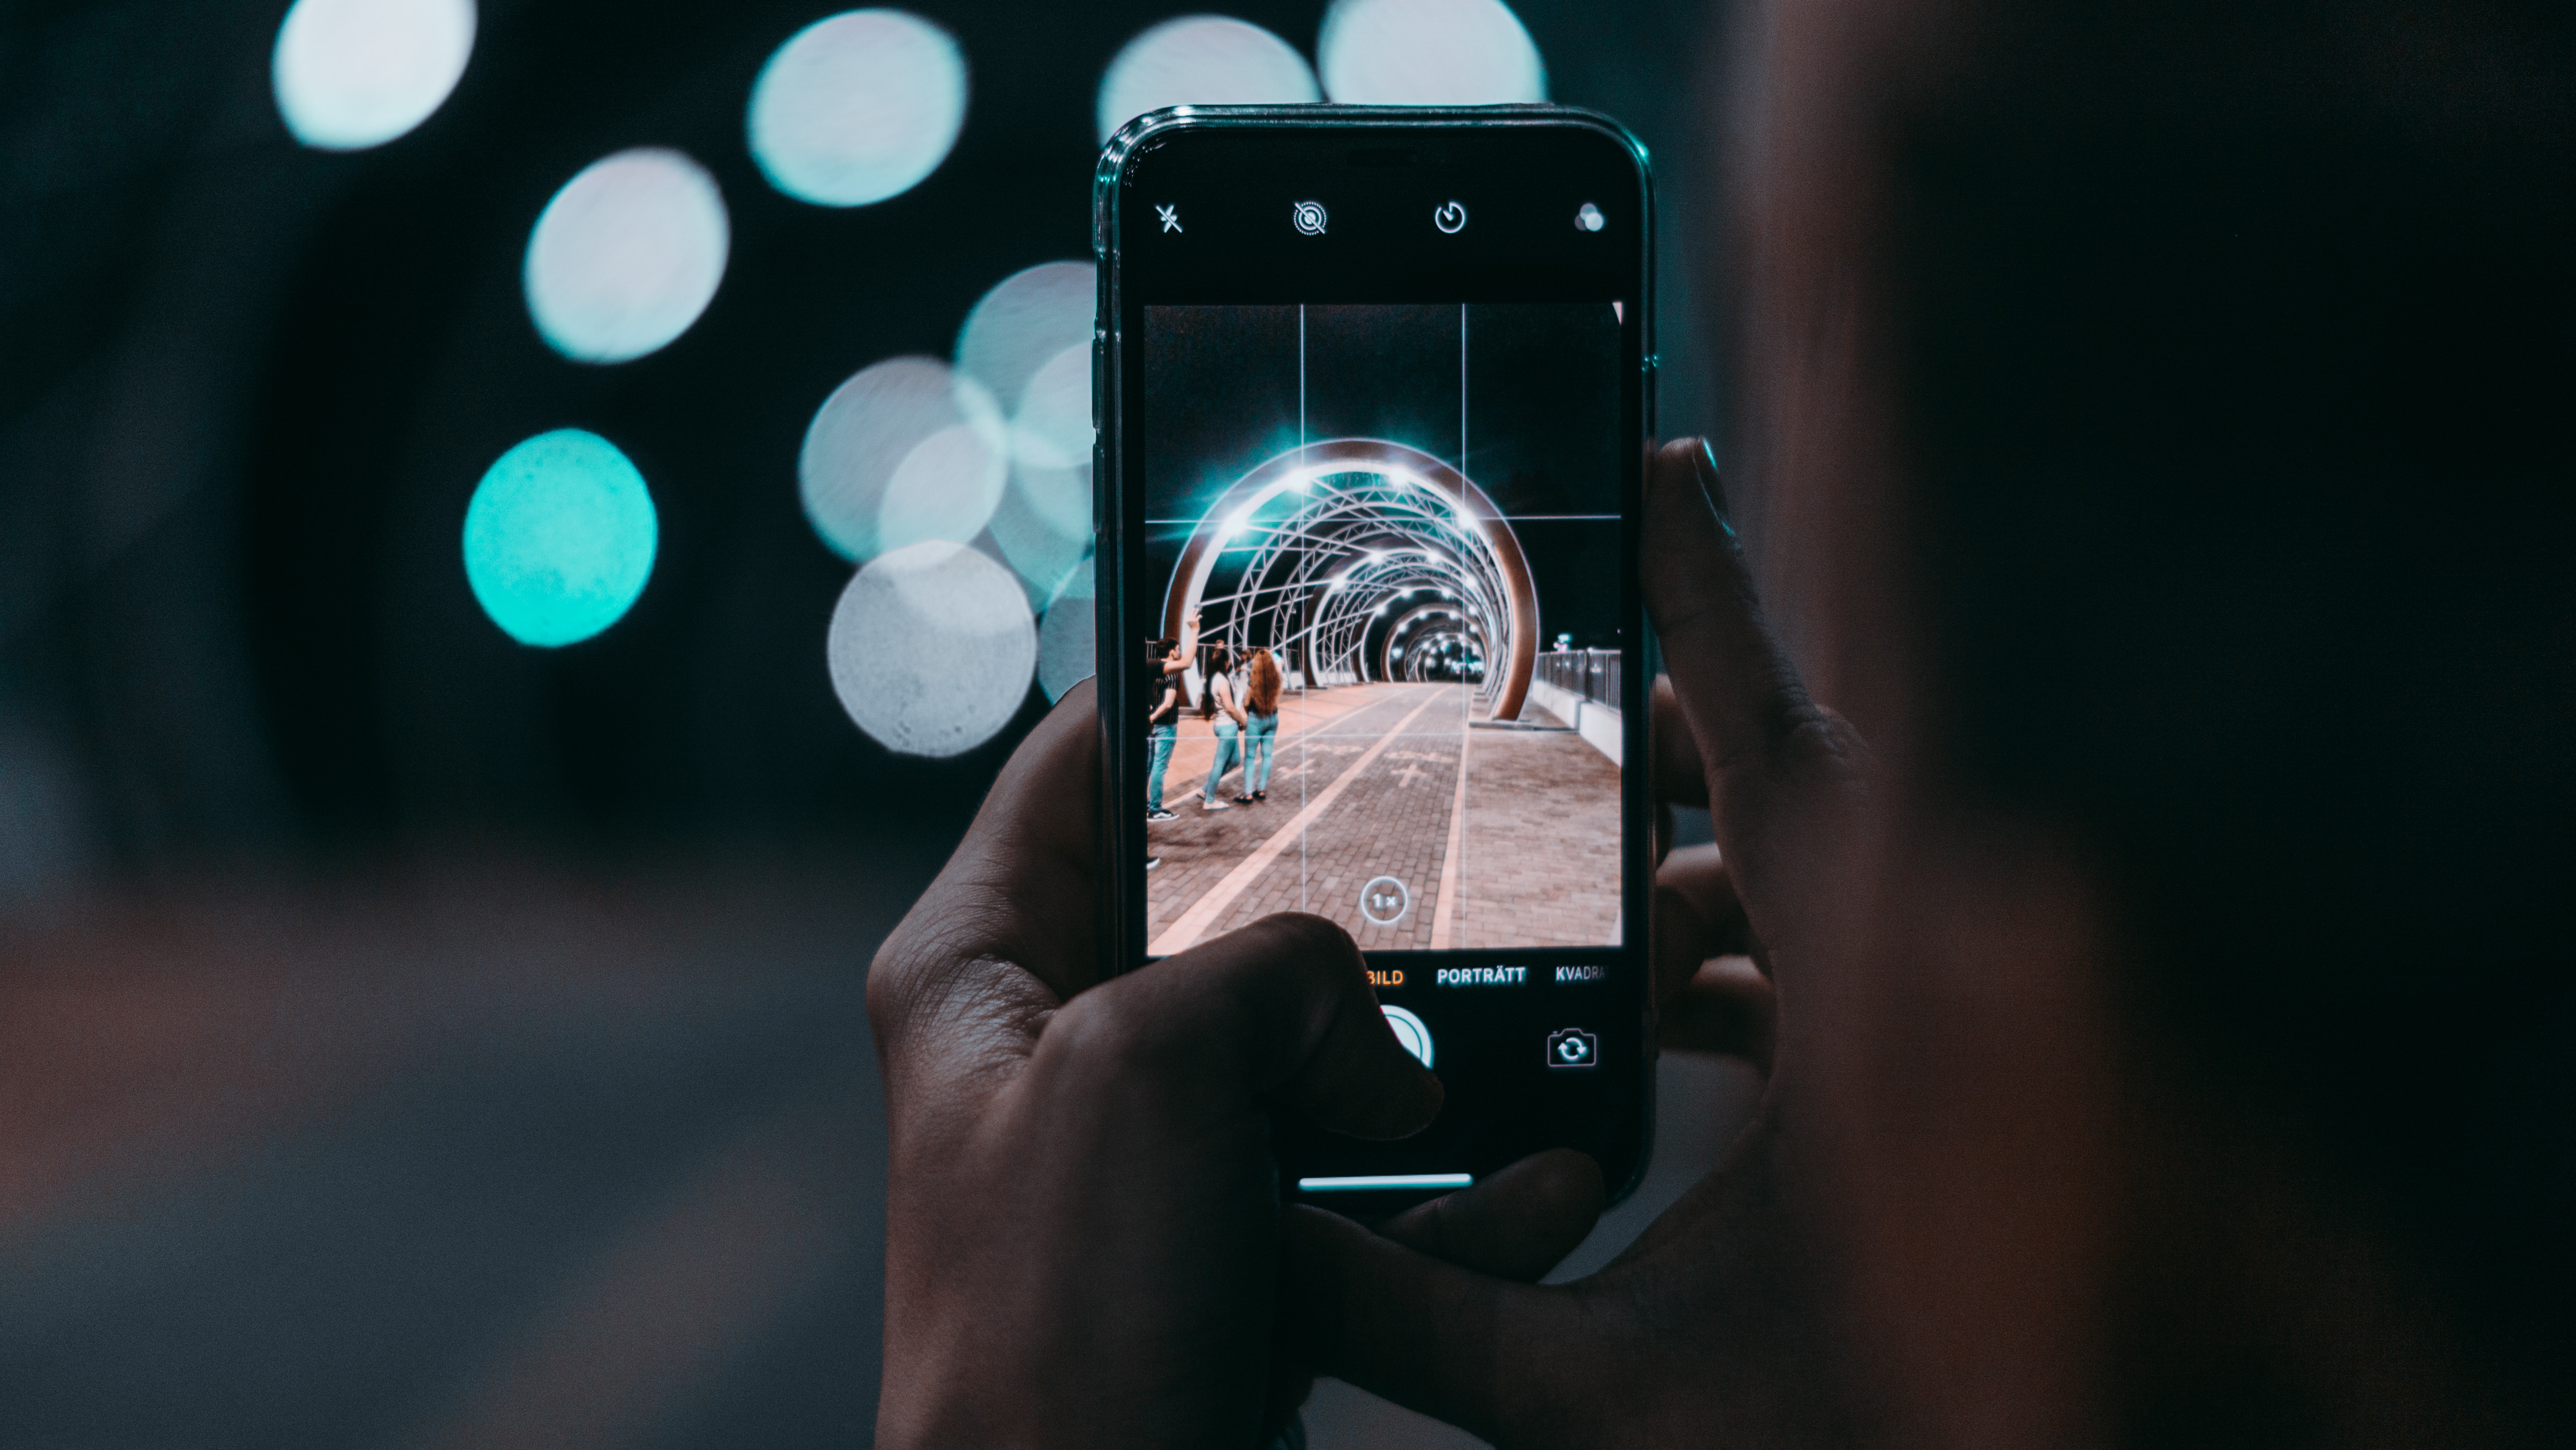
Image: Unsplash
hen you use the flash on your cell phone, the camera opens its shutter for a much longer time, and in that period, you must try to have a good pulse to guarantee a good shot.
Look for a nearby strong light
When taking a photo with a flash where there is very little lighting, try to find a light source that can provide feedback to the composition, be it a lantern, a lamp or even the flashlight of another cell phone.
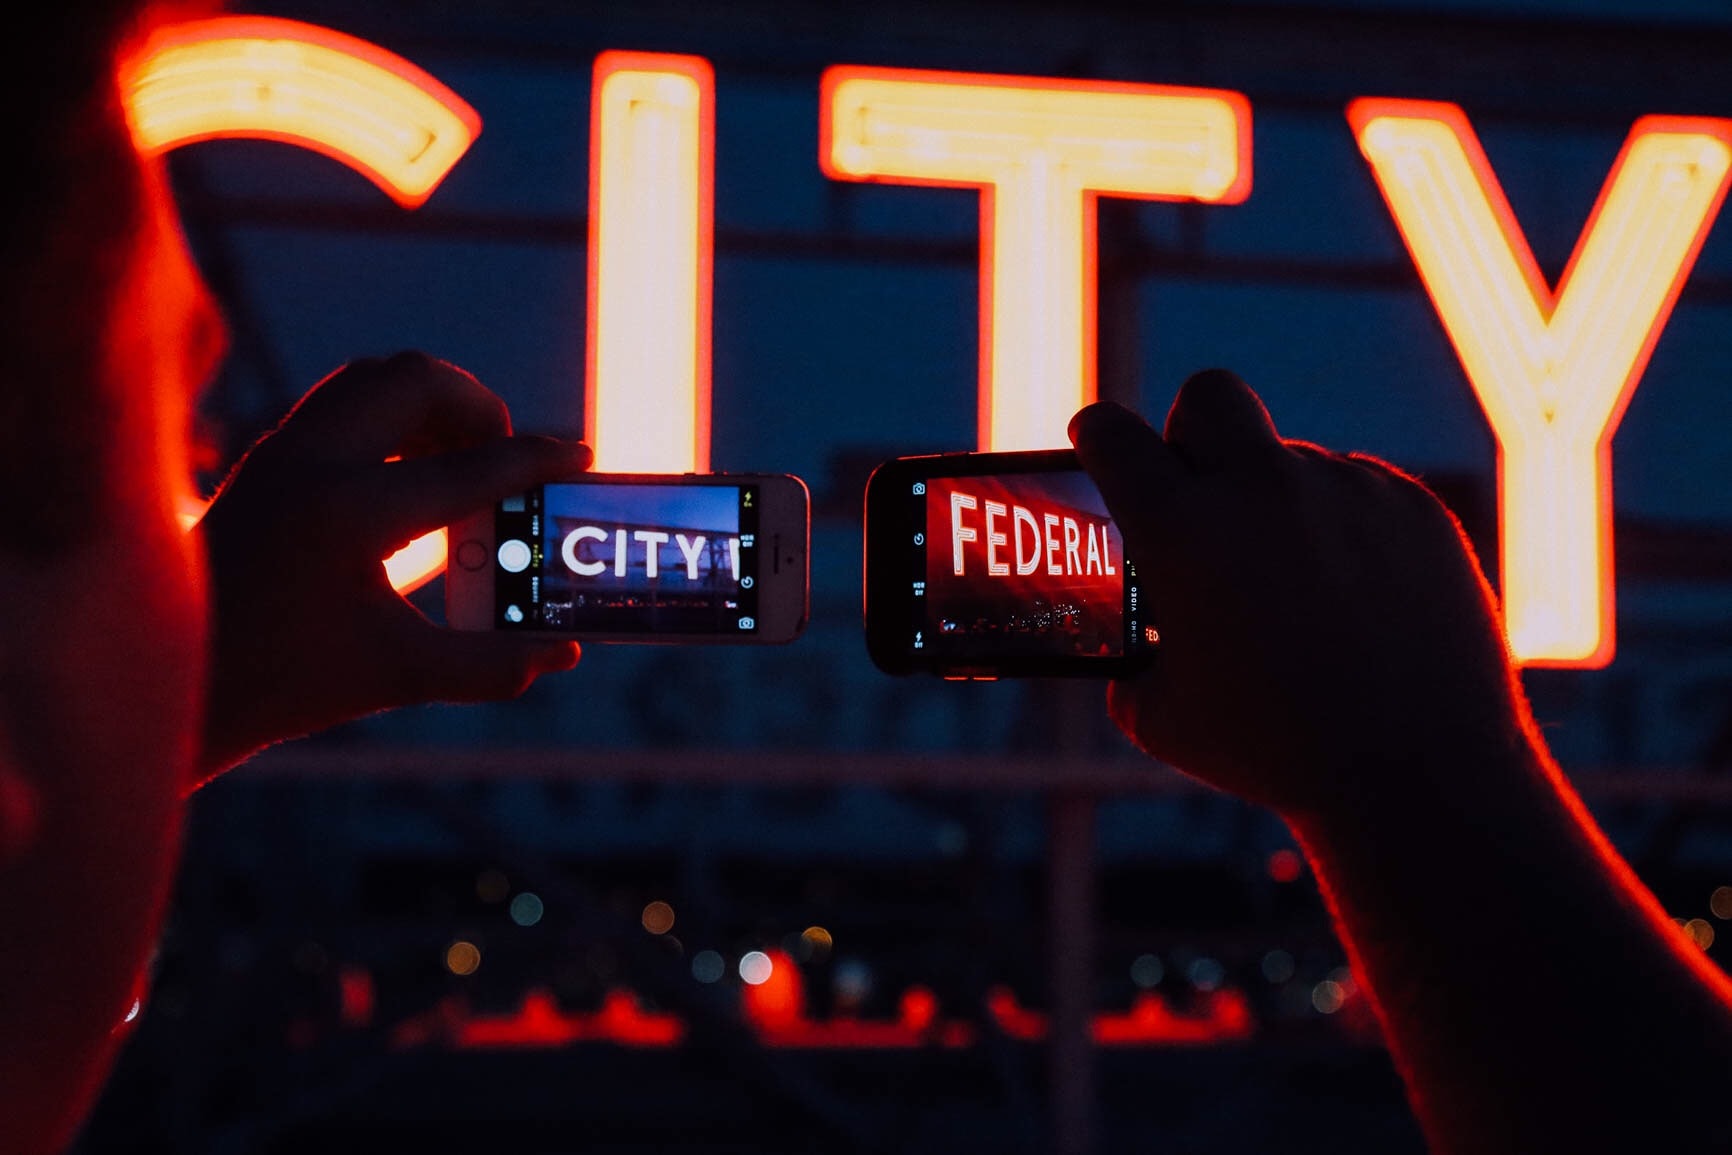 Image: Unsplash
The brighter the light, the better your phone will capture the photo.
Don’t use the zoom
Although the zoom is usually a safe method to get closer to what we want to capture, it can play against the wind when taking photos with flash, because you can lose quality in the photograph and more when it is a night photo.
It is better that you get closer to your goal yourself to guarantee a good result.
Use manual mode
If you want to get better results taking flash photos with a cell phone, you should learn to use manual mode so that you know how to select the best settings for your camera.
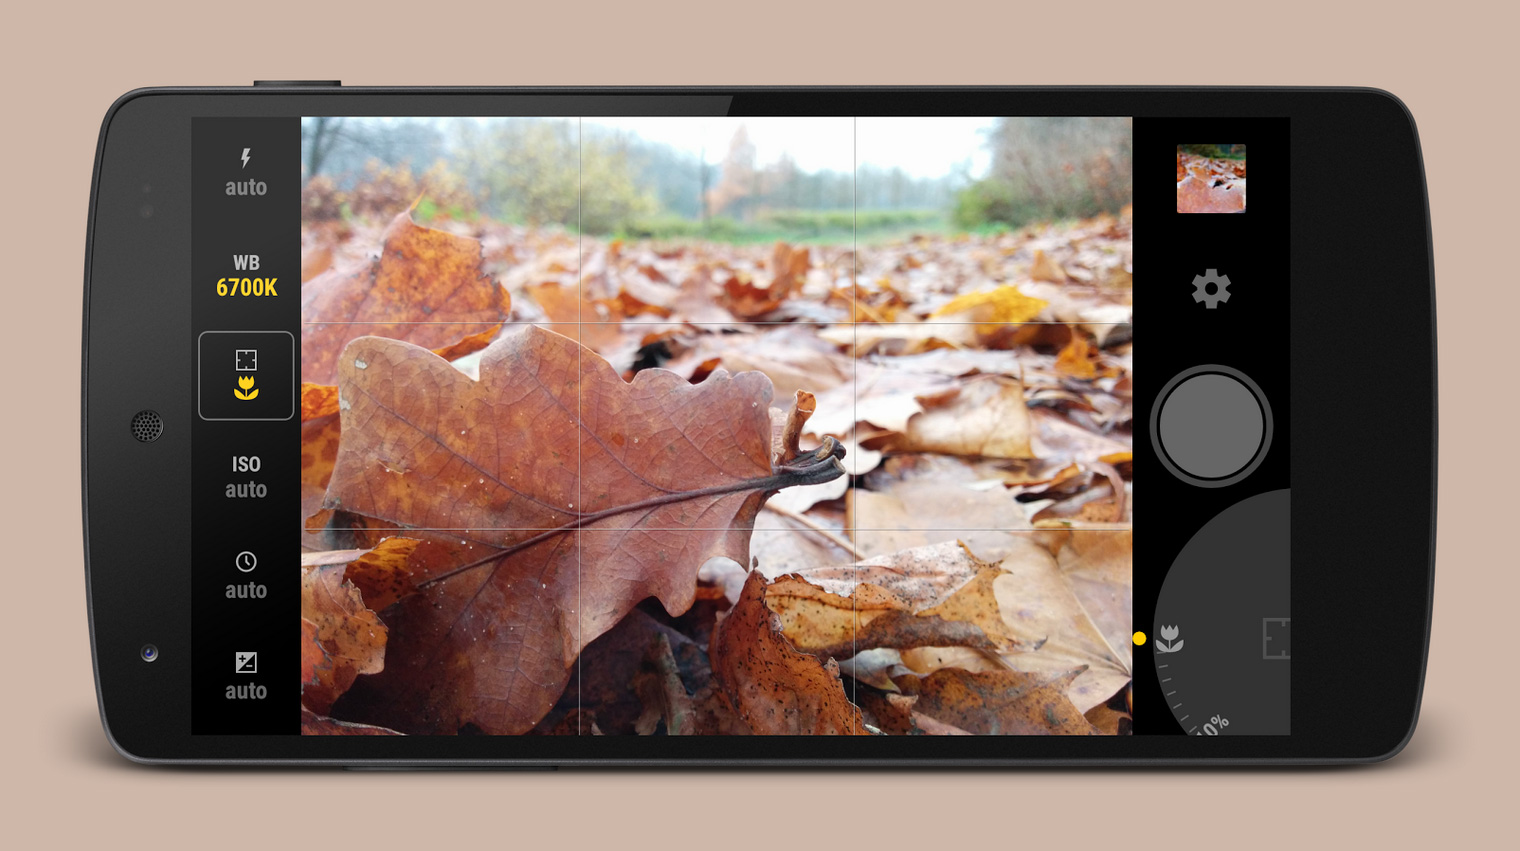
Image: DP Review
Mario Arévalo, photographer and professor of the free smartphone photography course, confirms the potential of learning to fully use a smartphone camera by stating the following:
Today, the power and range of a smartphone camera is impressive. Far from competing with a professional camera, it is making its own way. In this course you will learn how to make the most of the possibilities of this camera. But more than anything, you will learn to think strategically around the tools you have.

We hope these tips for taking the best photos with flash help you capture unique moments where light is the main protagonist. We invite you to experiment with multiple options until you get closer to the result you want the most.
Remember that at Crehana we have designed a whole category of photography courses so that you never stop learning and keep improving your skills. But before you go, why not take a look at these free photography courses? We wait for you with the doors open. Happy day!




Discussion about this post