home
>
Blog
>
Photography
>
Lighting schemes: Where to place my light source?
Lighting schemes …
Lighting schemes are those that orchestrate a successful photo shoot.
While an amateur photographer tries to photograph everything he can, a more experienced one only needs a couple of shots to get the right photo.
As it does? With experience in lighting techniques, knowledge of the types of light, and probably a good lighting scheme.
If you want to be less amateur tomorrow than today, we will help you by telling you what types of light you should take into account when putting together a basic lighting scheme for photography.
- What is a lighting scheme?
- Types of light in photography: Hard light and soft light
- Types of studio lighting
- Direction of light
- Basic portrait lighting scheme
- Lighting scheme for studio
- Home lighting scheme
A lighting scheme in photography is the distribution of the points of light with respect to the object or person that we want to illuminate.
To define what the light scheme will be within a photographic session, it is necessary, first, to know what type of light we will use, the number of light sources and their power, and the direction in which we would have to illuminate.
Before we go over some lighting schemes, let’s review the basics you need to know about types of lighting.
In photography you can define different lighting schemes. This can be achieved by varying the direction of light, the intensity or the angles of photographic lighting.
However, what determines to a greater extent our perception of an object or person is the type of light that is used, that is, if a soft light or a hard light is used.
Matias Posti, professor of the Photographic Lighting Techniques course, explains that the differences between the two lights are:
💡 Soft light: That which, regardless of its intensity, makes the transition from lights to shadows subtle and progressive.
💡 Hard light: That which produces a pronounced and sudden transition from light to shadow.
These concepts must be taken into consideration when defining our lighting schemes.
How to control this type of light in my photographic scene?
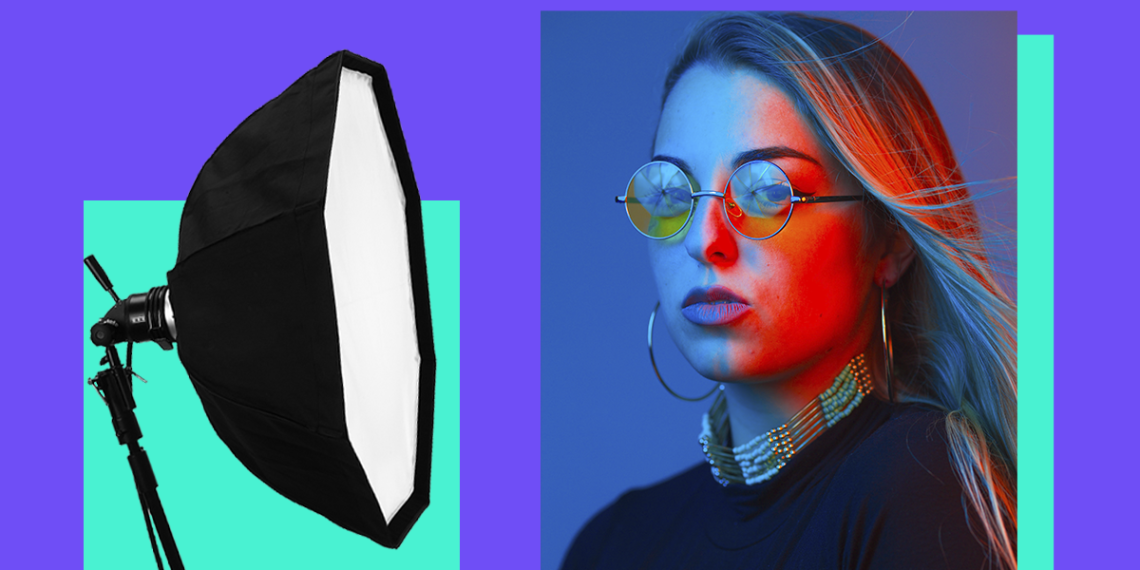
The most important factor that determines whether a light is hard or soft is the size ratio between the light source and the object we photograph. For Matias Postii, the simplest conclusion is that “the larger the size of the light, the softer it will be”.
When determining what your type of photographic lighting will look like, remember that the smaller the light source, the stronger it will be, creating a much harsher contrast.
So:
💡 If you want a harsh light, use a small light source.
💡 If you need a soft light, check that it is large.
Generally, to set up your lighting scheme within a studio, there are three types of lights to consider: main light, fill light, and backlight.
Main light
It will be the one that dominates the scene and sets the direction of the light source. This type of lighting is what defines the textures, shadows and the atmosphere of the photograph.
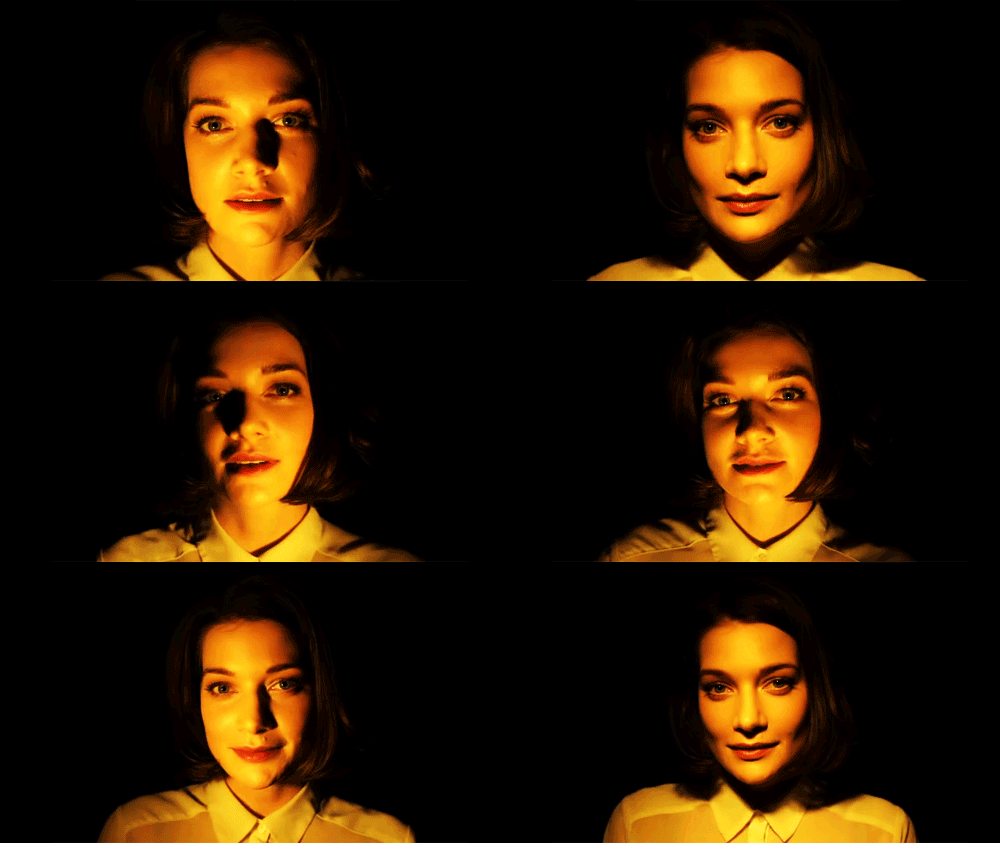
Matias Postii reminds us that, if in your lighting scheme the main light is close to the camera, the photograph will have less volume. If, on the contrary, we move the light source away, more shadows and textures will be achieved.
For example, in the following image the main light is to the side of the model and away from the camera.
Download this guide to photographing products at home

Fill light
This type of studio lighting is positioned opposite the main light. Its purpose? Fill in the shadows that develop due to the main light. The fill light allows us to reduce the contrast in the photograph and rescue more detail between the shadows.
The higher the intensity of the fill light, the less amount of shadow we will have. In that sense, if in your lighting scheme the main light and the fill light have the same intensity, the photograph will not have shadows.
Backlighting
It is used to define the profile of the object or the silhouette of the person and separate them from the background. This type of lighting is also used to add depth to the image and prevent objects from being mixed or in the same plane.
A backlit lighting scheme can place the light source behind the object to be photographed or on top.
In some cases, your lighting scheme requires the background of the studio to be illuminated. In that case, a fourth light source directed towards the background is used to help separate the subject from the rear.
With this basic lighting scheme (main, fill and backlight), you are ready to start experimenting.
The light, even if it spreads throughout an environment, has a defined direction, and this direction depends on where the light source is located.
What types of light direction exist in photographic lighting?
- Front light: When the light source is directly in front of the object.
- Side light: The light source is positioned to one side of the object to be photographed, at 180 °.
- Semi-lateral light: The main light source is placed at 45º from the object.
- Backlight: The main light is just behind the object or person to be photographed.
- Semi-backlight: The light source is positioned at 135 ° from the object, in a corner of the object.
- Overhead light: The main light source should be placed above the object.
- Low light: The light source is below the object or model.
If you want to learn more about front, side or overhead lighting, check out the different lighting techniques to use in a lighting scheme.
To understand this concept and how to apply it to your lighting scheme, start experimenting with lighting an object or person from different angles.
Check out the free Crehana course for today 🎉
You’re just starting out and… don’t you have so many light sources?
Do not worry.
We will explain 4 portrait lighting schemes that you can achieve using a single type of lighting.
Front or Butterfly lighting scheme
With front lighting the light source is placed above head height and this causes the direction of the shadow to be downward. It is called butterfly lighting because of the shadow that forms under the nose, which is like that of a butterfly. As the shadows are symmetrical, it allows the face to look stylized.
Loop lighting scheme
In the Loop type of lighting, the light source is placed at 30 ° from the person, which allows creating greater volume in the person’s face by not having a frontal light. This light forms a small triangle on the person’s cheek (larger than the Rembrandt light).
Rembrandt lighting scheme
This type of lighting places the light source at 45 °. As they are further from the front of the face, the shadows are more accentuated and allow a smaller triangle to form on the person’s cheek.
Side or Split lighting scheme
In this lighting scheme, the light source is located exactly on the lateral side of the person. With this, half of the face is completely in shadow and the other half is illuminated.
💡 To this basic light scheme you can add fill lights and backlights if your photo shoot requires it. For example, for the Rembrandt or Side lighting scheme, you could add a fill light on the opposite side of the main light source.
If you want to delve into the types of portrait lighting, check out this open class on light schemes for child portraits.
Before starting to take photos in the studio, whether it is a product or a portrait, it is necessary to define your lighting scheme. With this, you will know how many light sources you need and it will be clearer where you should place them.
To build your lighting scheme, the step by step is:
1. Build the set
- Define the background
- Locate the product or person to photograph
2. Build the light scheme
- Accommodate the location of the main light source
- Locate the fill light
- Locate the backlight
- Define the need for a fourth light
3. Configure the type of lens to use, the ISO, the aperture and the speed
Perfecting your light patterns is a matter of practice. Now that you have the theory, you need to start experimenting with different types of light. Try alternating between soft and hard lights, or the direction of lighting. You can start with a single light source and add lighting along the way. Everything is in experiencing.
If you want to learn more about the techniques of professional photographers, why not check out the modules in Martin Posti’s online course on lighting techniques? We are sure that you will find it very useful.
Master lighting schemes with this photographic lighting techniques course
So far we have talked about types of lighting based on studio photography. However, you can also define the light sources from natural light.
One type of natural lighting is one that considers sunlight, the moon or the stars as the main source of light. The best of all? You can get natural light on the side of your window without going outside.
To take product photographs or portraits with natural light, you must follow the following steps:
- Look for suitable lighting conditions.
- Take advantage of the hours with better natural light.
- Set the background for your photo shoot.
- Use reflectors or light bouncers.

What is bounce light?
It is an accessory used in photography to bounce the main light and illuminate the shadows. It is not an additional light source, such as fill light, since it is responsible for reflecting the flashes of the main light.
Do you want to learn how to put together a home lighting scheme? Review this open class by Martin Posti on lighting based entirely on daylight.
What did you think of the basic light schemes? We believe that with this information you can start experimenting in your next photo session. How many light sources will you use?

![🥇 Download actions for Photoshop free [2021]](https://big-photography.com/wp-content/uploads/2021/01/acciones-para-photoshop-75x75.png)


Discussion about this post