home
>
Blog
>
Photography
>
Contouring in makeup: look spectacular with the JLo technique
Contouring in the makeup …
Have you ever wondered how to achieve the sculpted face of celebrities on the red carpet? The makeup artists of Kim Kardashian and Jennifer Lopez reintroduced contouring in makeup to the world and popularized this technique among beauty fans on social media.
Maybe you did not know it, but the contouring effect is a technique used since 1930 among makeup professionals; However, in recent years, after the “Kardashian effect”, people have been intrigued by the visual effect that this technique brings to the face and they seek to replicate it in themselves.
Today we will explain what is contouring and how to contour step by step. Also, we will tell you what they are some techniques and the best products for contouring.
Just like color theory, this beauty technique —which revolutionized the internet— is one of the most essential concepts if you want to enter the world of makeup. If you are interested in knowing the famous contouring technique … Keep reading! 😍
Index:
- What is contouring in makeup?
- What do I need to contour?
- How to contour step by step?
- Contouring techniques
- Strobing vs. Contouring
- The best makeup for contouring
Contouring is the process of sculpting the face through the use of light and shadow. In this, the illusion of dimension and depth is used to provide the desired structure to the face.
The contouring technique is used especially among professional makeup artists for photography. This serves to define facial features that can be attenuated by the strong reflectors used in photographic studios.
In addition, it is very popular among beauty influencers on YouTube and Instagram for the impact it can bring to a makeup.

Image: Pexels
Become an Influencer and live off social networks with the Matu Garcés course
Outline
An outline is a cosmetic product darker than your skin tone that will create the illusion of a shadow on your face. There is contouring with powder and contouring with cream. The textures can vary according to the desired effect and the expertise of the user.
He powder contouring is often used for a more defined and matte effect. In addition, its dry texture makes it more durable. Perfect for going to an event and looking great in photos! But, be very careful not to apply too much product and blend it super well. Take a little and apply it in layers.
Instead, cream contouring is often used for a more natural effect and radiant and hydrated skin. It’s quicker to work and great for your day-to-day makeup. It’s the ultimate for people with normal to dry skin!
👍 Pro Tip: For a longer lasting effect, you can first apply your cream contouring product, seal your face with translucent powder and apply the powder product to intensify the effect of the shadow. Remember that you cannot apply creams over powders.
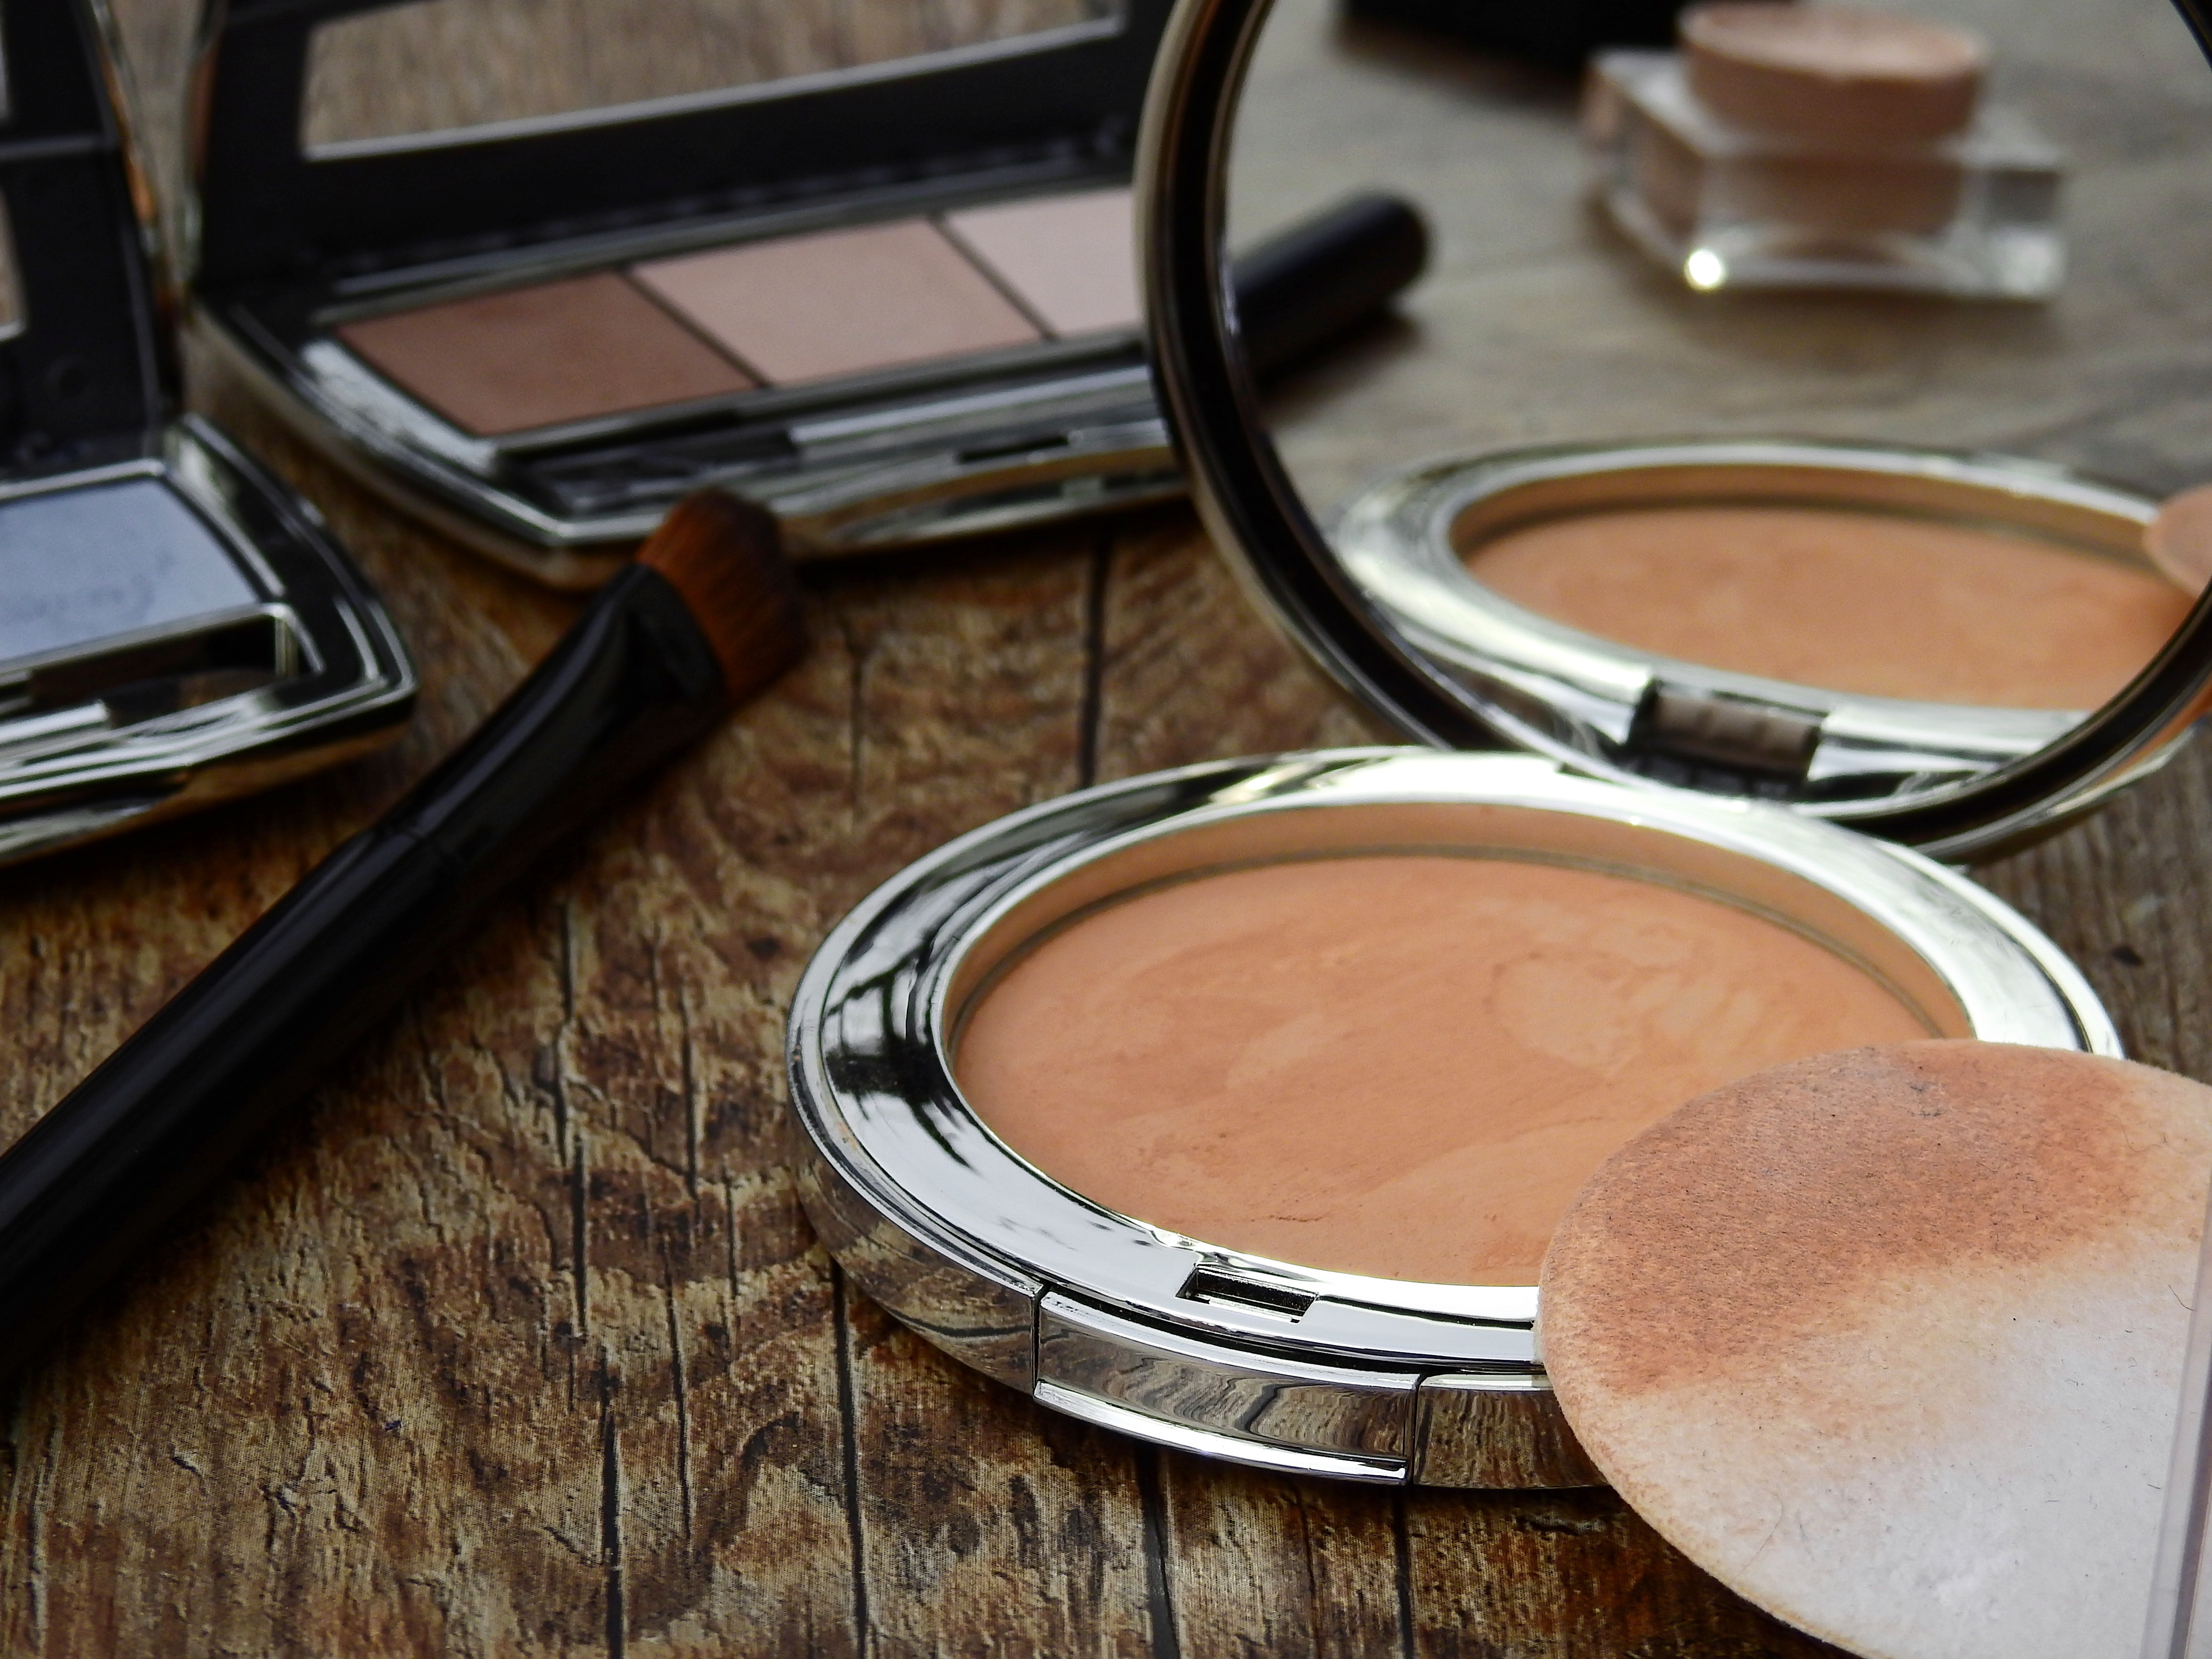
Image: Pexels
Usually for contouring we place 2 to 3 shades darker than the skin tone to create the illusion of a natural shadow. Also, the tonality must be neutral.
Choosing the correct shade for contouring is super important! If it is very cold, it will give a gray effect, especially on medium to dark skin tones. If it is very warm, it may look orange, especially in fair skin.
If you want a more tanned look, J-Lo style, you can opt for a slightly warm tone. Keep in mind that these shades tend to work best on medium to brunette skin.
Illuminator
We will use the illuminator to give light to the areas that we want to highlight. This can be matte or glowy.
For an easy contouring, we can use matte highlighter. It can be a concealer 1 or 2 shades lighter than your skin tone. If you use it exclusively to highlight, we recommend using a light texture, to avoid adding many thick layers of makeup. You can also opt for a matte powder with a yellowish hue.
On the other hand, the glowy highlighter can be any (cream or powder) with a shimmering effect that matches your skin tone, so that it appears to shine where the light hits. This product is usually used mainly for the strobing technique.
Contouring brushes
We must choose a brush that suits the features of our face and the effect we want to create. The contouring brushes They can be of different shapes, sizes and with bristles of different material.
If we have a small face or want a very defined contouring, we recommend opting for a smaller brush. If you want a more natural and blurred effect, you will be great with a less dense and larger brush.
Bushy, round shaped brushes will be great for a defined contour. Angle brushes will also be very useful. Remember that the thicker the contour brush, the more product it will apply.
Finally, regarding the material of the bristles, natural hair brushes will be the best for blending powder contouring. While Synthetic brushes will be your best ally for blending cream contouring products.
You can also use sponges to blend your cream contouring products for an even more natural finish.

Image: Pexels
Step 1: Identify the shape of your face
Take a mirror and look directly at it at a 90 degree angle. Use your fingers to feel where your cheekbones and jawbone are. Also, check the line where your hair starts. This will help you recognize what the natural structure of your face is and will make your life easier to know where to place the contouring.

Image: Freepik
Step 2: Decide where to place the lights and shadows
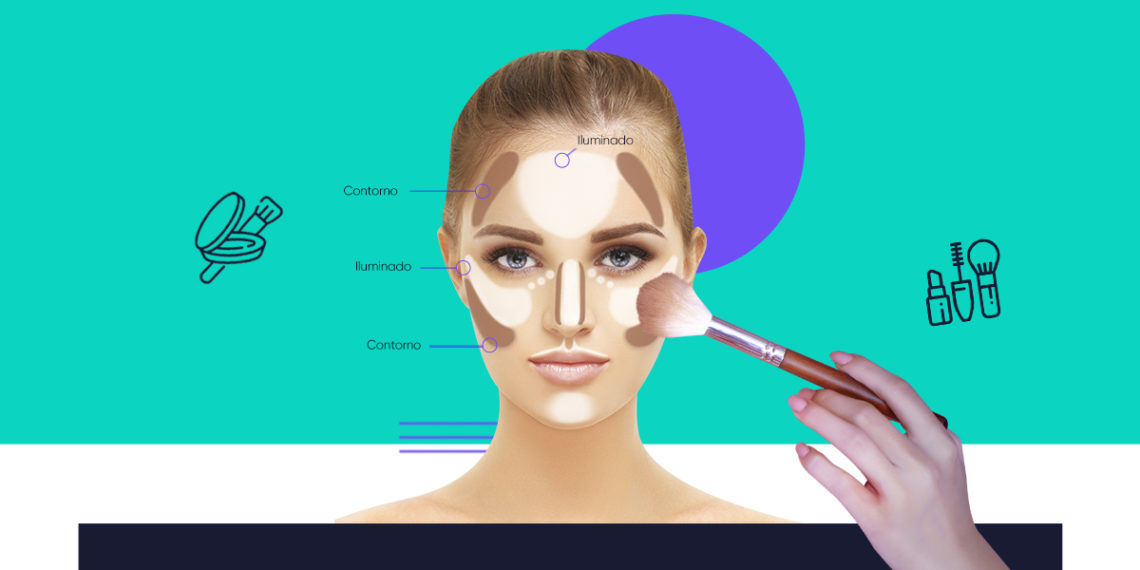
Once we identify the shape of the face, we must choose which parts we want to accentuate with lights and what others we want to reduce with shadows. This will help us contour to highlight the features we like and hide the ones we don’t.
First, we are going to place the illuminator. This will go in the parts that we want to bring out. These are usually the cheekbones, the septum of the nose, the chin, and the cupid’s bow (lips).
The shadows of the contouring will be placed in the places that we want to create the illusion that they are deeper or smaller. These are usually below the cheekbones, around the chin, and under the hairline. Look at your face from different angles and evaluate where the shadows begin and where they end.
👍 Pro Tip: Remember that the placement of contouring products may vary depending on the shape of your face and your personal tastes. Experiment with taking photos with different lights!
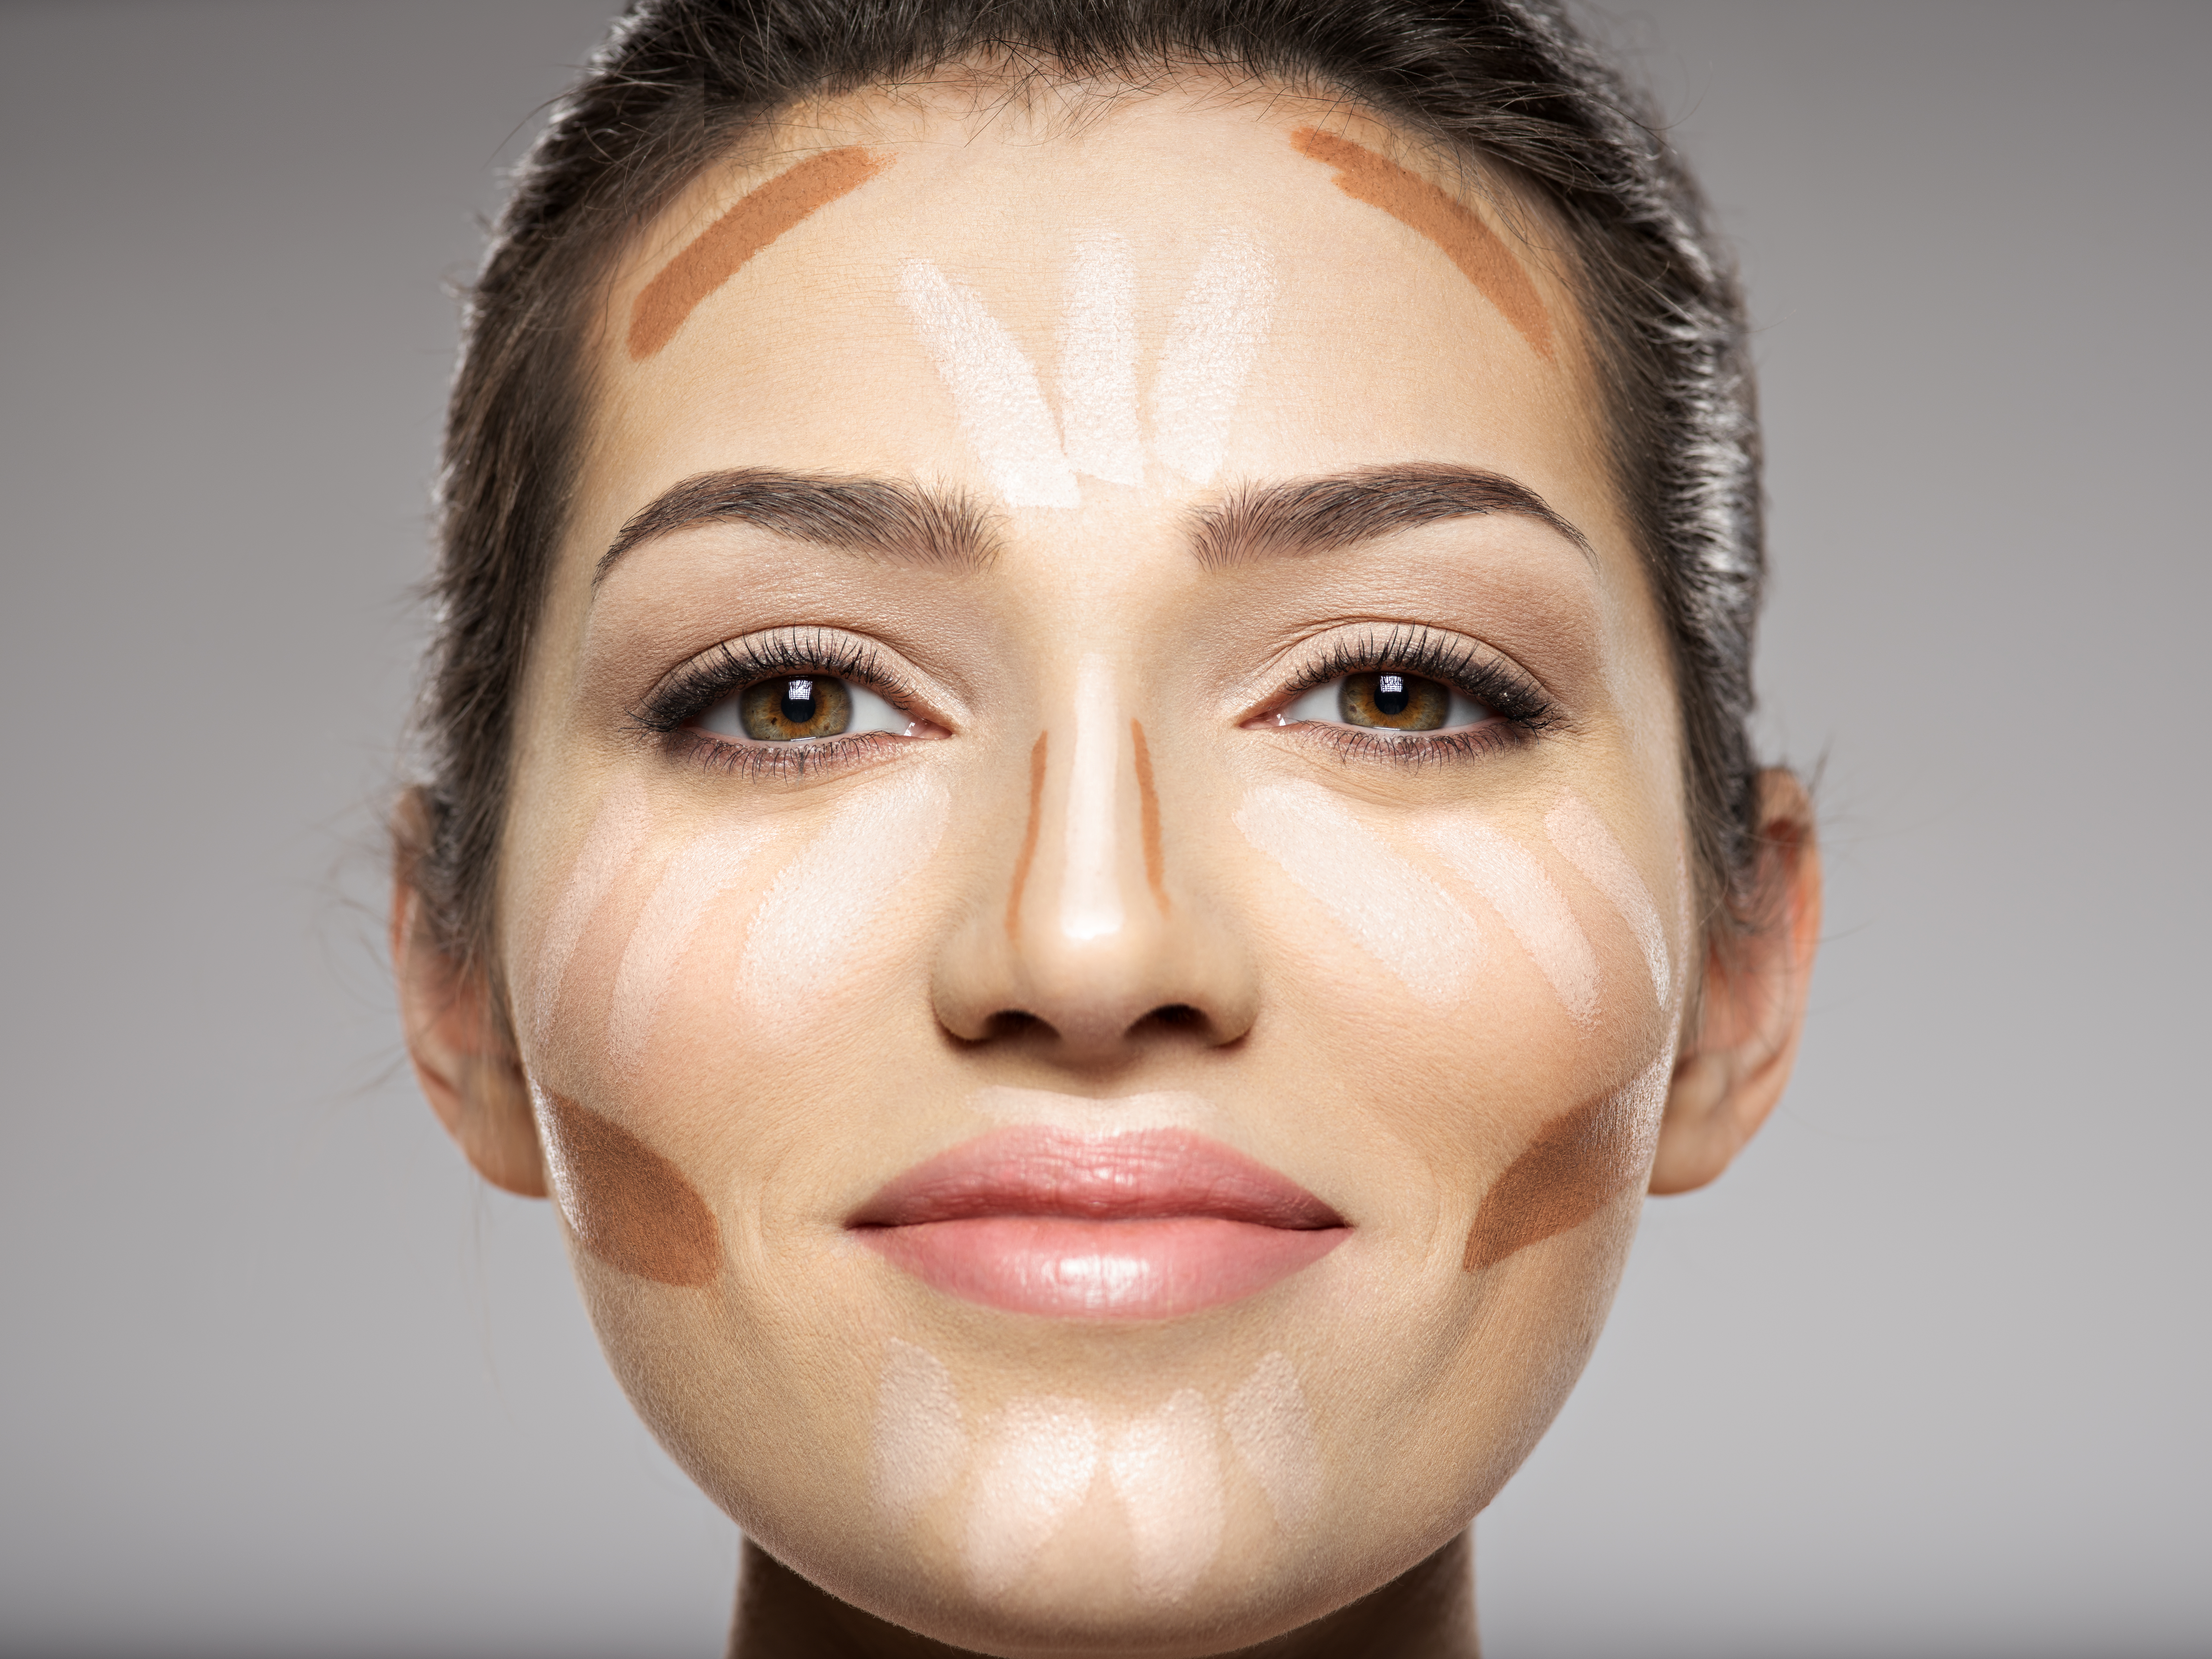
Image: Freepik
Step 3: blur
Use a brush or sponge to blend your contouring. Preferably no product. Try not to see too strong lines between the different tones.
For lighting, try to blend over the same spot to prevent the color from scattering too much. On the other hand, in the case of the shadow, try to blur the contouring always upwards to avoid bringing down the features of the face.
If you contour the chin contour, blend towards the neck to lose the tone and have a more natural appearance.
👍 Pro Tip: If you are going to use powdered products, do not forget to first seal your creamy foundation with a translucent powder to be able to blend the contouring more easily.
Download our guide to self-portraits with your phone

Face contouring
- Contouring for round face: create the angles of your face with shadows around the jawline and under the cheekbones. Applying lighting in the center of the face will greatly benefit you.
- Contouring for square face: place the dark color in the corners of your face, such as the sides of your chin and your forehead. It will look great to illuminate the center of the face to create an illusion that it is more elongated.
- Contouring for an inverted triangle face: focus your outline on the cheeks and the sides of the forehead. Placing a bit of lighting over the septum of your nose will be very helpful to you.
- Contouring for oval face: Highlight your cheekbones! It will be incredible.
Eye contouring
Define the structure of your eye or … create a totally new structure! You can use the principles of light and shadow for this contouring technique. 👀
In this video tutorial, our teacher Cynthia The Makeup Artist will teach you what to do and what not to do to achieve a great eye contouring.
Nose contouring
This contouring technique used to fine-tune the structure of the nose. Sometimes, it can be difficult to make it look natural, so it is important to take into account the following tips for nose contouring:
- Use a neutral, easy-to-blend contouring product.
- Use a small, not too thick brush (eg, an eye blending brush).
- Apply the product in layers so it doesn’t look too intense.
- Shape it in touches and not in straight lines to avoid making the structure look too sharp.
- Examine the shape of your nose and determine where it needs contouring.
Body contouring
Body contouring is a relatively new trend that has been popularized by fitness modeling. This contouring technique is used to mark areas of the body such as the abdominals, chest and clavicles.
Makeup professionals who perform this contouring technique say they prefer to use powdery textures. These will be easier and faster to blend on a canvas as large as the body.
Also, to perform this type of technique they use creamy products for contouring such as instant bronzer. This will help, especially in photography, so that the muscles of the body look defined.
Are you interested in continuing to learn about contouring to look great in your photos? We recommend the Online Course on Professional Makeup for Photo Sessions. Take your skills to another level and learn to create makeup for photos. 📸

Image: Freepik
How are strobing and contouring different? While the contouring technique seeks to sculpt the face through a play of light and shadow, strobing focuses on giving the face glow at strategic points to hide volumes and imperfections.
For strobing, we provide luminosity through the use of correctors and highlighters. Usually, these parts of the face correspond to the cheekbones, the brow bone, the septum of the nose, the chin and the forehead.
Strobing is a makeup technique widely used in the field of beauty and editorial photography, as it provides a very beautiful effect on images.

Image: Freepik
Sign up for the online Beauty and High End Retouch Photography Course
According to Elle UK, Byrdie and Cosmopolitan rankings, these are some of the favorite contouring products of 2021.
Best powder contouring products:
The best cream contouring products:
Best contouring palettes:
Do you want to explore the world of makeup more? Make a 360 ° change with the Makeup FX Online Course: Characterization and Special Effects. Learn from scratch how to transform a person’s traits into a fictional character with The Basement FX: Special Effects Experts.

We hope this information has been useful to you! Now you know one of the most important makeup concepts.
Since you know what contouring is, what it is for and how to do it step by step, you can start putting your makeup on like a professional.
Remember that practice makes perfect. 😉 Have fun!




Discussion about this post