There is only one last technical aspect to be addressed to finish the exposure, and if you have mastered the aperture and shutter speed, it is the simplest one: the ISO sensitivity. Easy to use, sensitivity still has an important counterpart and can ruin your shots if you abuse it. Follow the guide!
Attention : I advise you to read the previous articles in the link above to better understand this one.
Note more recently, I realized a video short to explain ISO sensitivity. If you prefer this format or want to see this concept explained in another way, here it is 😉.
Pin this article on Pinterest for future reference!
Definition
The ISO sensitivityit’s the light sensitivity of the sensorThis means that for the same aperture and shutter speed, a higher ISO sensitivity will increase the exposure of the shot, resulting in a brighter image.
Remember, we compared it to the skin type in the article on exposure: a high ISO corresponds to sensitive skin (blond or even red), while a low ISO corresponds to matt skin.
How do I set the ISO sensitivity?
It’s very simple: there is a ISO button on your camera, which usually gives you the choice between “Auto”, and a value that can range from ISO 50 to 6400 or more!
The “Auto” choice will use the ISO sensitivity. as low as possible to obtain normal exposure with the other settings you set (aperture, shutter speed, or both). We’ll see why lowest a little further on.
The ISO setting is usually available in the creative modesi.e. P, Tv (or S), Av (or A) and M.
What are the trade-offs of ISO sensitivity?
The appearance of digital noise
IF you have read the other articles carefully, you may have understood that each angle of the exhibition triangle has a counterpart : l’opening influences the depth of focuswhile the shutter speed influences the how movement is perceived (and thus the blurring of movement, and subject). The ISO sensitivity for its part, influences the noise in your photos.
Noise in photography has nothing to do with scooters with tampered exhausts of course 😀 As photos are better than a long speech, let’s examine the same photo (or almost) taken at a sensitivity of ISO 100 and then from ISO 1600 :


As you can see. no real difference in between. But you’ll grant me that the pictures are a little small. So Let’s get closer !


NOTA BENE : If the picture is sharper at ISO 1600, it is not directly thanks to the higher sensitivity: the picture was taken at 1/1000th of a second in this second case, which prevents blurred images of camera shake or subjects. Conversely, the previous picture (ISO 100) was taken at 1/60th, which causes a slight blur, visible when the image is zoomed to 100%.
This is a strong example of theinteraction between two elements of the triangle: affect each otherThis also influences its “counterpart” (depth of field for aperture, motion blur and subject blur for shutter speed).
Coming back to noise and sensitivity, the difference is quite significant. blatant the photograph taken at ISO 1600 presents a loud noise. The noise is those little dots parasites that make the details and appear mainly in the areas plus dark or uniforms. Noise is added randomly, and it is more and more present as the sensitivity increases.
It is also important to know that the more high-end and/or recent a device is, the better it will manage noise. These examples have been taken from a fairly old device, but it is now possible to upgrade to a newer one. Worry-free ISO 3200 on most recent devices, even 12800 or more on the top-of-the-range ones.
Generally speaking, noise is undesirable in the photos. That is why the “Auto ISO” option will select the ISO sensitivity the lowest possible (while maintaining normal exposure).
There are ways to reduce this noise by reworking the image on a computer (especially if you take your pictures in RAW format), but in return for a decreased sharpness and detail.
Decreasing dynamics
There is another, less known consequence of increasing ISO sensitivity: the loss of momentum of the image. I’ve written a whole article on the dynamics of a photo, but basically, it’s the difference between highlights and the low lights.
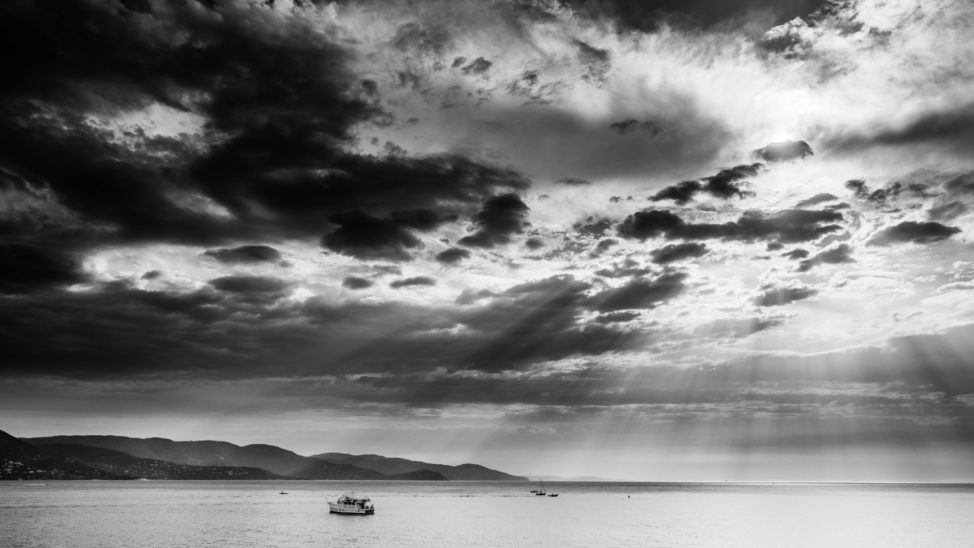
Imagine a scene with a very bright sky and very dense shadows: it’s a scene with strong dynamics. And it’s complicated to manage in photography. Well, it is. increasing the ISOs will make it even more complicated to handle. for your device, to put it simply.
I won’t go into more detail at this point so as not to confuse you too much, just remember to try to keep the ISOs to a minimum, as much as possible.
Despite these drawbacks, there are situations where it is useful to raise the ISO sensitivity.
When to use a high ISO?
In (very) low light situations
Most of the time, you will use a high ISO sensitivity when you have already pushed theopening and the speed in their retrenchments. Indeed, you are limited by the capabilities of your device and by the situation :
- you cannot open more than the maximum aperture of your lens
- You cannot decrease the shutter speed to infinity without a tripod and/or on a moving subject.
Both in conditions where there is a lot of light it is possible to remain at ISO 100, as well as in a dark environment (a concert, for example), you have to “get up in the ISOs”.
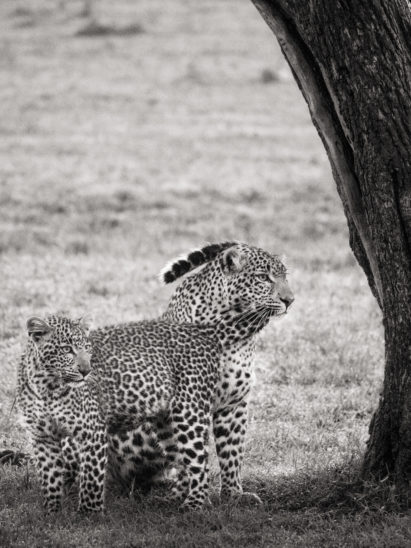
As you can see from these concert photos, at a relatively modest size the noise is only inconspicuous. If you magnify it to 100% it’s visiblebut remains relatively correct and allows a web posting in full screen or a good impression to a classic format. So don’t be afraid to push the ISOs when you’re at maximum capacity in terms of aperture and shutter speed, it’s better that, rather than an unusable photo!
If you are limited by another parameter
Let me put it this way: if the situation you’re in imposes from reduce the amount of light that goes into the device, you’re gonna have to compensate. For example, you might be forced to use:
- or a low focal aperture (e.g. to get the entire picture in focus)
In that case, you’ll have to compensate. And increasing the ISO sensitivity is often the only solution in this case, unless you can increase the brightness of the scene…
That’s why I call it the “relief valve” : ISO sensitivity is a parameter that will allow you to “relieve” others, so to speak.
To create noise on purpose
It may seem a little silly at first, but you may want to create noise on purpose. Indeed, noise gives a certain grain effect to a picture, which might be interesting. Having said that, let’s be clear, I’m against this method.
Indeed, we have the chance in power digital photography rework the images afterwards, including adding grain! We have tools at our disposal extraordinary and free of charge in terms of image retouching that allows for the addition of noise, and especially the fine control.
It is important to understand that if you use a high ISO sensitivity to add grain, you will not be able to add it to the check not finelyyou will not be able to not back outand he won’t be unevenly distributed over the entire image (remember that noise is mostly present in dark and/or uniform areas).
Anyway, it’s not a good idea! 😉
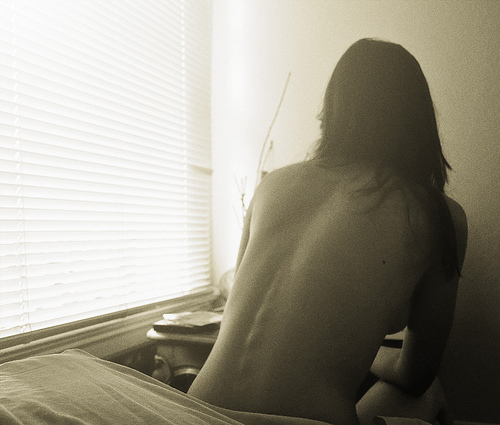
“Grainy morning after” (Licence CC BY Douglas de Melo)
How to counteract the side effects of ISO sensitivity?
Don’t be afraid
I told you a lot in this article: increasing ISOs is not without consequences. However, you shouldn’t be afraid of it either! Of course you do, it’s better to have a sharp picture with some digital noise.a blurry but silent picture.
I talked more about it in my article: Don’t be afraid of the high ISO sensitivities.
Know your device well
Depending on the case you have, and especially its age and price, you will be able to mount more or less in ISOs with more or less consequences on your images.
It is therefore important to know your equipmentand how far you can push it. Indeed, if you have a good camera that can go up to ISO 12,800 without too much worry, why worry?
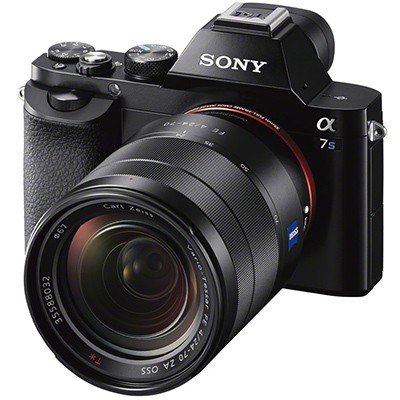
For that, I propose you a method to determine what is the Maximum Acceptable ISO Sensitivity for your camera 🙂 (with a simple method, and a more personal but slightly longer one)
And in the same article, I also answer a question you may be asking yourself: should ISO sensitivity be set to automatic?
Having a bright lens
What is called a bright lensit’s a goal with a maximum opening. It’s logical: if your equipment allows you to “bring in” more light, you’ll have less often to use a high ISO sensitivity.
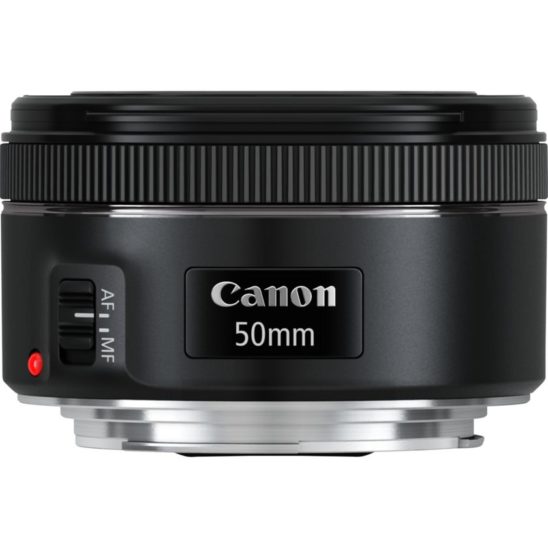
For more information, read my article on choosing a SLR or hybrid lens.
Using post-processing
The digital noise is not inevitable: you can manage it in post-processing, in photo software like Lightroom.
It’s very simple, and I’ll show it to you in this video:
(it’s a little dated, but 100% of the principles are still valid today, the treatment of noise has not changed since then)
Conclusion
There, I think I’ve said it all! I hope you’ve understood all aspects of theexhibitionand how to control them. The exhibition and its three pillars are very important to understand if you want to control the final result of your shots. This is obviously not the only technical parameter you will have to master, but for the moment I leave you to work on them a bit before tackling other aspects!
If you have remarks, questions, if you liked the article, use the comments below! And share the article with your friends, especially if they are interested in photography! 😉
And don’t forget to share the article! 🙂



Discussion about this post