
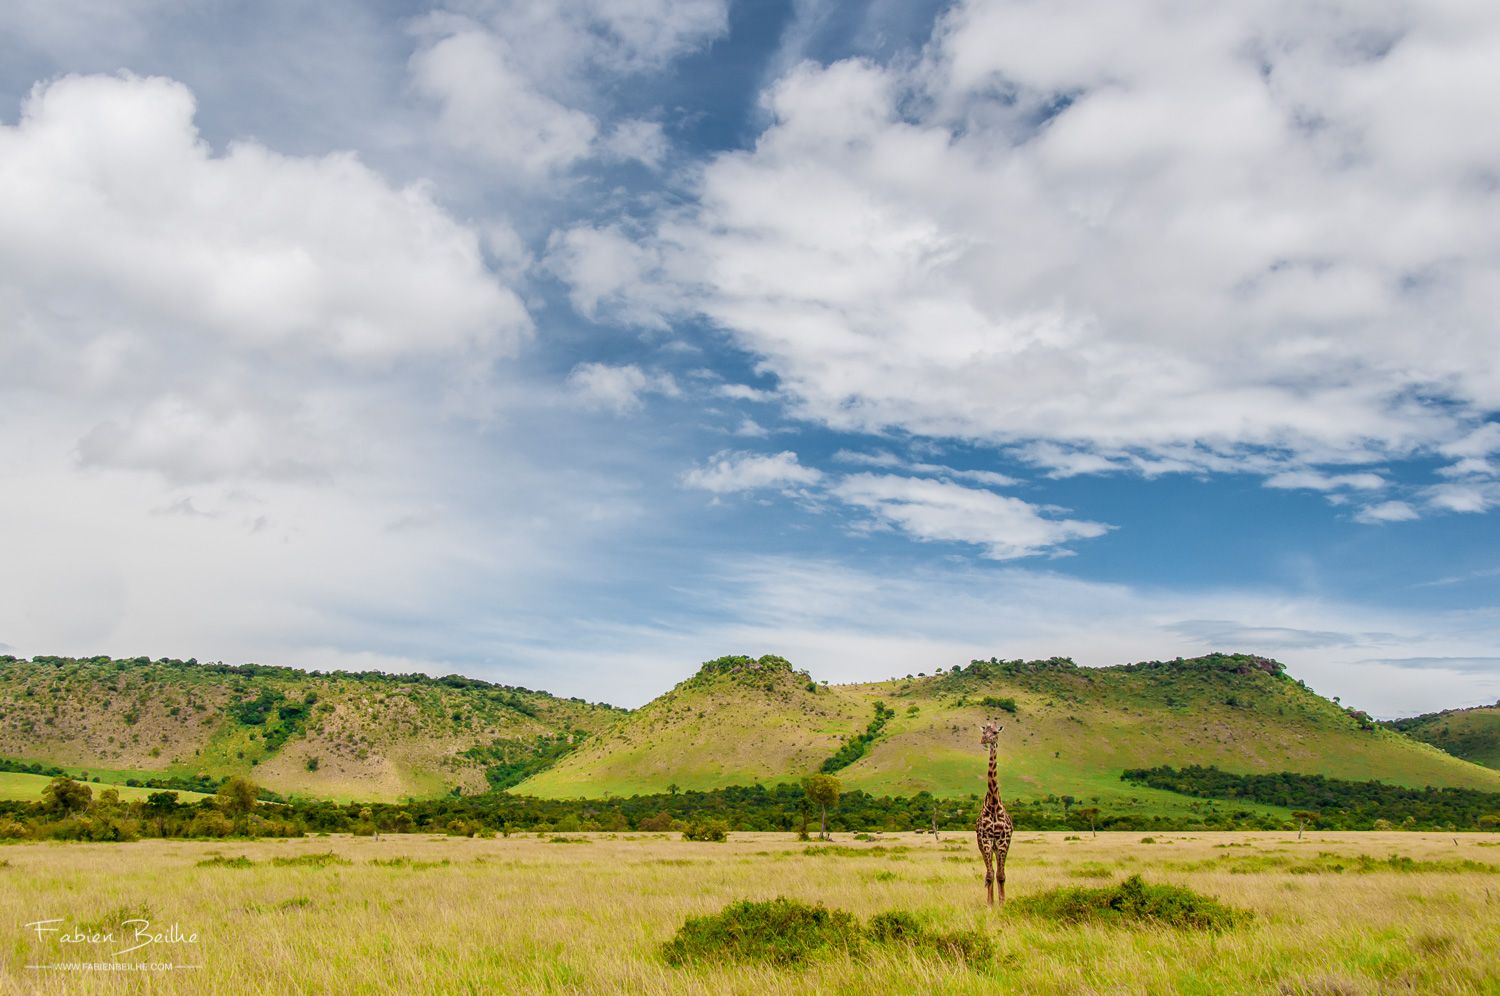
Getting started in photography is generally not a restful one. Getting to grips with the camera, discovering the settings, choosing the subject, the basic rules of composition to be assimilated… There are a multitude of things to think about when shooting.
Starting is also make mistakes. This in itself is not a bad thing, we all make mistakes and it is part of the learning process. The most important thing is not to make mistakes, but to realise them and correct them.
In this article, I present some common errors at the beginning photographer’s house. Most of them came from my personal experience, but with time and encounters, I realized that I was not alone to have been there.
Whether you’re just starting out in photography or you already have some experience, chances are you’ll find that you’ll find a little bit of you in what follows!
1. Fully automatic photography
Today’s cameras have an arsenal of automatic settings to assist the photographer at the time of shooting. When you’re just starting to take pictures, it’s a great help and it brings a certain comfort.
However, as you become more familiar with your device, I advise you to take over quickly the control on the settings. If you want make your pictures succeedyou have no interest in letting the device decide everything for you!
Let’s take the example of focusing: do you really want the camera to choose where to focus? I’m sure you’ve already faced the following problem. You have your subject in front of you, you press the shutter button, but the focus is next to it…
As sophisticated as it may be, even the best camera will not always make the best pictures. correct choices. Focus is therefore one of the first parameters you need to get your hands on. To do this, gradually start at select yourself the collimator which will be used to focus.
Photographing fully automatic also means closing the door to huge creative possibilities. By letting your camera choose the aperture and speed, you greatly reduce your leeway.

You want to play on the depth of focus and get some nice background blurs? Do you want to freeze the movement of a subject or on the contrary transcribe his movement?
To fully express your photographic intentionthere are not fifty solutions, you have to run away from the all automatic !
2. Do not check its settings
If you have already passed this first step and you are out of the automatic, another “danger” awaits you. Before you start a photo shoot, take some time to check your settings. It is possible that during the previous session you may have had to change this or that setting for a specific demand …and that this setting has remained the same…
A textbook case concerns the use of an ISO sensitivity that is not adapted to the situation. Here is the classic pattern: you are taking indoor pictures and, since the speed is a bit too slow, you have to use the wrong ISO. increase the ISO sensitivity to avoid a motion blur. Then, you can finish your photos without worrying about the change.
A few hours or a few days later, you take your camera again to take pictures outdoors while the sun is shining. And because you didn’t control your settings, you still photograph with high ISO sensitivity!
If you have the eye, you will immediately notice that you have an abnormally high speed. But when you first start, chances are you’ll only notice it once you’re in front of your computer, bitterly noting the presence of digital noise in your photos or worse, a overexposure unrecoverable. It’s all very silly, but I found myself in this situation and I can tell you that it taught me a lesson!
This is just one example, but it does show that the slightest oversight may have far-reaching implications. I could give you the same demonstration for the use of an aperture, a speed or an autofocus mode that is not adapted to the shooting conditions.
But don’t panic, with a little bit of organizationyou can get away with it! Before you take pictures, just think about doing an check-up of your camera to make sure that the settings you have selected are appropriate for the situation.
3. Photograph only in JPEG
By photographing in JPEGthe camera automatically applies a set of corrections to your image (white balance, sharpness, contrast, saturation…).
It often surprises the beginner photographers that I meet, however, a photo in JPEG format is a post-processed photo ! Not by the photographer, but by the camera’s internal software.
After applying these corrections, the camera makes a compression data to give a JPEG file. By using JPEG, you lose so some of the information recorded by the camera’s sensor. JPEG is very good for your souvenir photos or if you need to dispose quickly of your photos.
But if you’re a demanding minimum, you’re better off using the RAW. As a reminder, a RAW is the raw version of your image, as recorded by the sensor. By using, the RAW format, you become post-processing actor and you are no longer subject to the corrections applied by the camera by default.
Since there has been no compression, you also have a larger post-treatment flexibility. For example, one of the many advantages of the RAW format is the white balance setting. When using this format, white balance is not affected. fixed pitchYou can adjust this setting in post-processing. This allows you to easily resolve colour problems the most common ones (too yellow photos indoors, for example)
If you are afraid of the RAW format and post-processing in general, you can take a step-by-step approach and start shooting simultaneously in RAW+JPEG. Many devices offer this possibility and it would be a pity to miss it.
4. Sorting your photos on the camera screen
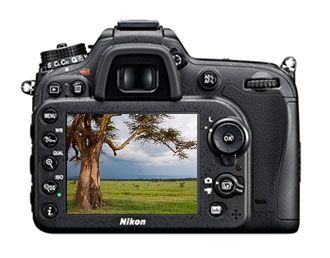
It’s a reflex I took at the beginning and I quickly realized that I had it all wrong. L’liquid crystal display of the camera is made to have a overview of his photos, but no more.
Even if the definition of screens has improved a lot in recent years, a screen a few centimeters wide is in my opinion not the ideal tool to sort your photos.
You’re going to tell me that there are still some pictures that can be immediately categorized as “failed photos”. A focusing error, a blur of movement, an obvious framing problem, a parasitic detail … I agree, there are a few situations where the destination of your photo is not in doubt. In this case, if you’re sure of yourself, direction garbage.
But for the other photos, those without obvious defects, I recommend you towait for to be in front of your computer for efficient sorting. That’s how you will be able to see all the subtleties and that you can really judge the quality of your photos.
5. Photographing with the built-in flash
You’ve probably already tried to photograph with the built-in flash to your camera. And you’ve probably found that the light produced by the flash does not highlight the subject : subject too light or unsightly shadows, to name but a few.
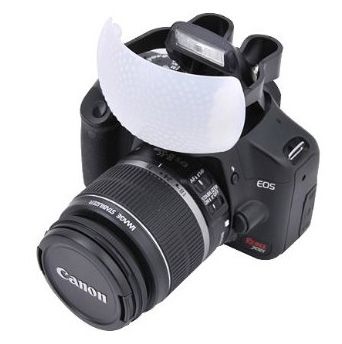
Before triggering your flash, try to see if there is no other alternatives. When the ambient lighting is not too dim, increase ISO sensitivity can sometimes be enough. You’re going to make the noise go up, but between a noisy picture and a picture with an unflattering light, my choice is quickly made… If you’re indoors and there’s light coming from outside, you can also use a reflector to provide an additional light source.
If you are determined to use the built-in flash or have no choice, there are accessories available on the market for scatter light. For small budgets, there are also some “home-made” solutions to diffuse the light at a lower cost (tissue, piece of tracing paper…). It is not a panacea, but it is better than nothing!
I therefore advise you to use the built-in flash only as a emergency solution. If you regularly need accent lighting, the royal way is to use a cobra flash with a swivel head. You will be able to modulate the light more easily and you will get much better results.


Discussion about this post