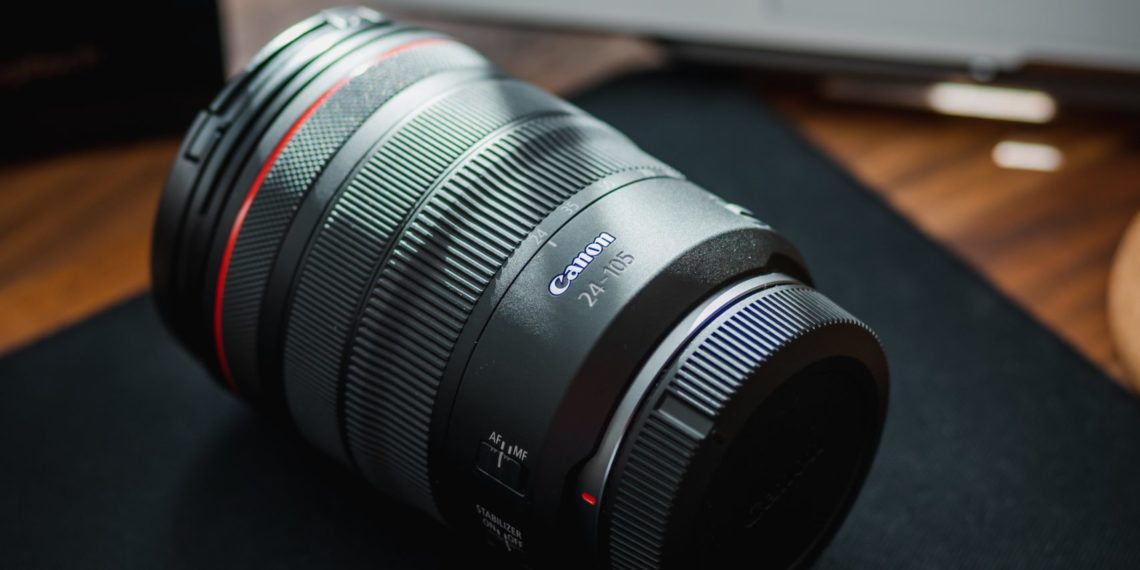
I’m going to talk about a little-known concept for beginners, which English speakers call «sweet spot»which I loosely translated as “optimal opening”. You will see that it is not very complicated, but that it can improve the quality of your images by getting the best of your optics.
I had already mentioned it in the 5 tips for rendering to improve the sharpness of your images, but I think it deserves a full article to show you the proof by example 😉.
The «sweet spot»or optimal aperture, is simply the aperture at which your optics produce the best sharpness, the best piqué. And no, your optics are not sharp in the same way at all apertures The diaphragm is usually not at its optimum at full opening, nor is the diaphragm completely closed. Except maybe for some professional and expensive lenses (I’m thinking of the 70-200 L-series at Canon for example, which are known to have an excellent f/2.8 f-stop).
Proof by example
To help you understand what I mean, I’ve been testing my expensive 50mm f/1.8. Here’s how I did it:
- I placed the device on a tripodand used the mirror lock as well as a wired remoteto avoid blurred movement and focus problems.
- I used the manual focus, which I did in the LiveView zoomed inThe aim is to obtain the most accurate focus possible.
- I then took a series of shots framed in a perfectly identical way, all taken at ISO 100, in aperture priority mode. 5 shots were taken at f/1.8, f/2.2, f/2.8, f/4, f/5.6. I didn’t go further because beyond that the stitching tends to decrease, and the 50mm is often used with a wide aperture (that’s why we buy it! 😉 ).
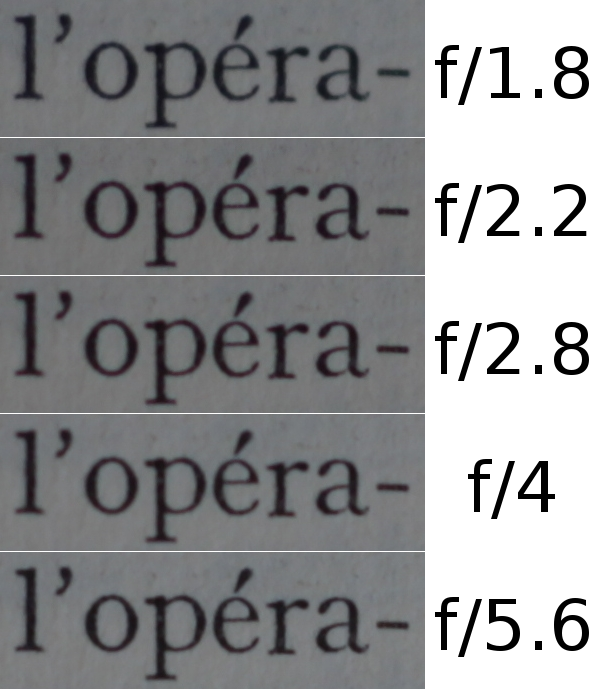
I used a book for the example: the sharpness of the characters is clearly visible. Here are the results of the test in the center of the image (on the edges we see the same improvements but the sharpness is globally worse):

At full opening (f/1.8), the dive is a little soft, with a very clear improvement from f/2.2. At f/2.8 there is still a slight improvement, then at f/4 the dive drops very slightly.
Thus, we can say that the optimal aperture of the lens is towards f/2.8with a very correct range between f/2.2 and f/4.
What does that mean for you ?
First of all, I want to make one thing clear: looking at a 100% picture is useless.and that’s roughly equivalent to sticking your nose on a six-foot billboard to see if it’s clean. Basically, it doesn’t make sense. Here, I’ve done it to show you the difference. But between the dive at f/2.2 and f/2.8, in real life, you can’t see the difference. Between f/1.8 and f/2.8, on the other hand, you can see a little.
What I mean to say is… not to shoot only to the optimal aperture of your optics. There are moments when you will need to shoot at full aperture or conversely to close more, especially to play on the depth of field, but also depending on the available light.
That said, it is always useful to know the strengths and weaknesses of your equipment so that you can get the best out of it (especially if you want the best possible stitching).
How to know the optimal opening of your optical?
You can do as I do and make your own tests: as you can see, the method is relatively simple to set up. If it amuses you, don’t hesitate, you’ll know your material better!
But if that’s not all you have to do and if you prefer it to bloggers like me, you can apply a general rule that works relatively well: theThe optimum opening is about 2 stops away. (i.e. more closed) than full opening. (if you don’t know what a stop sign is anymore, read the article that is linked to 😉 ).
Finally, for those who are more picky, you can also consult individually the measurements corresponding to your lens on DxoMark, by looking for your lens on this page (tab Measurements).
Here, maybe you will think about it during your next shots: I think it is important to know the possibilities of your equipment to get the full potential 😉 Leave a comment if you have remarks, questions, or if you too have noticed the same thing on your equipment.
And don’t forget to share the article! 🙂


Discussion about this post