Taking pictures in the studio is a practice that many amateur photographers enjoy. But some of them don’t dare to take the plunge: how to set up and manage a studio, how to manage lighting, how to manage the model, … so many complex notions that put off even the most beginners.
I’ve gathered here a series of tips that can help you get started if you haven’t already done so, as well as improve your images if you’re already practicing.
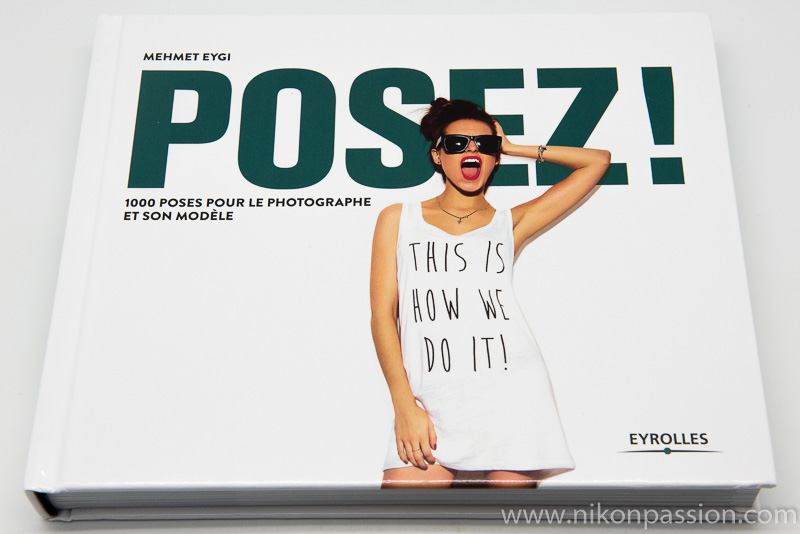
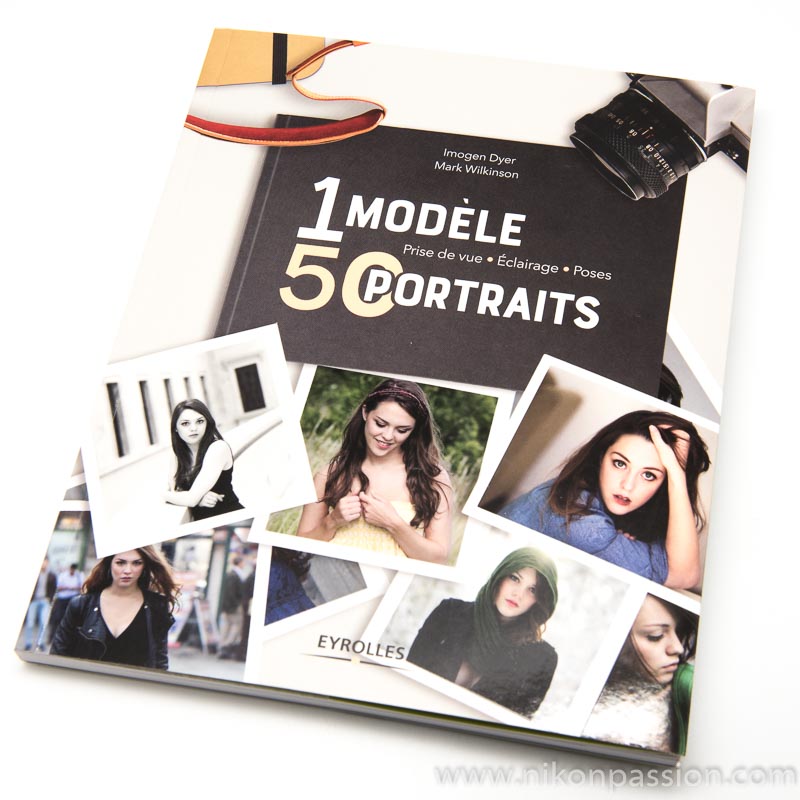
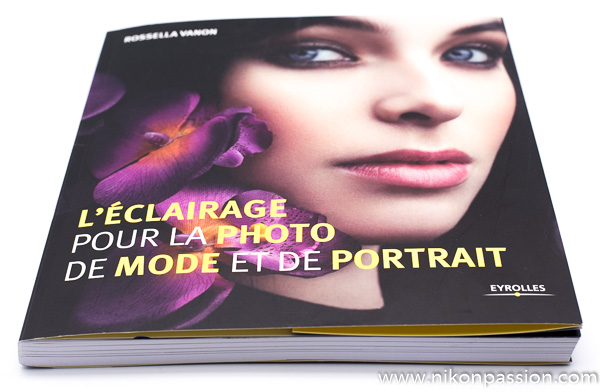
Discover all the photo books published by Eyrolles …
Sponsored article
This advice is applicable very quickly and for the most part does not require a significant investment. They are extracted from various guides on studio and lighting, books of which you will find the references below and which can allow you to go further in your practice.
Some of these tips apply in different situations, both in the studio and outdoors, for portrait and object photography. Feel free to use them to develop your practice and creativity.
Tip No. 1 When taking portrait photos, ask your model to orient her head at 45° to your camera body. This will allow you to obtain more captivating and energy-charged images. Familiarize yourself with body language to push the poses further and get away from conventional poses.
Tip #2 : Elbows play an important role in portrait photography. Both the position of the elbows and the direction in which they are pointed can have a decisive influence on the viewer’s perception of the photo.
Council No. 3 Ask your model to use her hands naturally if she doesn’t know what to do with them, which is common. Use the pockets of the pants, belt buckle, hips, neck, neck … Ask your model to pretend to have neck pain, for example, or to scratch her head.
Tip No. 4 Avoid cutting any part of the body or cutting a limb at the joints as if it had been amputated (e.g. hands fully tucked into pockets). This can happen if you have chosen an unsuitable angle or the installation of your model is not suitable.
Council No. 5 Play with colour combinations to create strong, consistent images without the need for specialized accessories. Add elements of the same colour or shade as what your model is wearing to make better composed and more appealing photos.
Council No. 6 For the background choose a shade that is close to that of the skin, clothes and accessories.
Council No. 7 : Don’t hesitate to get closer to your model when you take portrait photos. Close-ups allow you to highlight the features and imperfections that make each model’s face special and interesting.
Council No. 8 If you are photographing someone who may blink or close their eyes, ask your model to close their eyes and not open them until the count of three. Shoot as soon as the model’s eyes are open again.
Council No. 9 When photographing a female model, make sure that the hair does not hide the model’s eyes. As a general rule, do not let the hair cover the model’s pupils, even partially.
Tip No. 10 Compose the image directly in your camera’s viewfinder and keep just a small margin at the edge for later cropping. The cropping should be done at the time of shooting and not when the files are developed.
Lighting management
Council No. 11 In the studio, the exposure time usually varies between 1/125 and 1/250th of a second. To avoid digital noise build-up, select your camera’s native ISO sensitivity, usually ISO 100 or 200.
Council No. 12 : To override the flash sync speed and use very short exposure times, remember to turn on your flash’s high speed sync mode. This will allow you to freeze fast movements.
Council No. 13 : If you need more power in indirect flash, adjust the flash output or move the subject closer to the reflective surface. The reverse is also true, to decrease the flash output in the indirect flash mode, move the subject away from the reflective surface. This saves you from having to buy different flashes.
Council No. 14 When using a studio flash, you can control the sharpness and blur levels of your pictures by changing the exposure time and continuous light intensity. The longer the shutter speed or the brighter the continuous light, the more motion blur you will get.
Council No. 15 To reduce the shadows created by a single side light, install it 30° from the optical axis just above the eye line. Placed farther to the side and high above the head it would produce larger and longer shadows on the nose and cheek.
Council No. 16 To change the background color of your scene, play with a flash. An additional flash illuminating the background will make it appear white. A cardboard hiding the sides of the flash makes the background black by illuminating only the subject.
Council No. 17 : When taking pictures with flash in the studio, vary the exposure time to change the ambient light, it does not change the lighting of the subject.
Council No. 18 Once you have chosen the position of your main lighting and your subject, mark their location on the ground with adhesive tape. If you move the lighting or the subject moves, you will easily find the desired positions.
Photographing objects
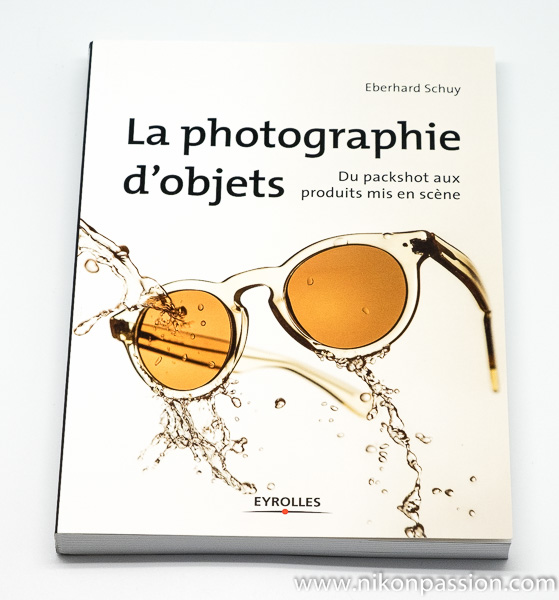
Council No. 19 When photographing objects, use an odd number of objects to reinforce your composition. One object attracts attention, three objects make up a triangle, five objects can represent a circle … The composition is then more dynamic.
Council No. 20 : Determine the family of angles to avoid reflections on your portraits and photos of objects. This involves determining the area within which your lighting should not be placed, otherwise you will see the reflection in the image. This calculation is done by considering the path of the light rays between the subject and the camera.
Council n°21 To photograph glass containers of varying thickness and to avoid the unsightly effects of different transparencies, fill the container with oil. Oil has almost the same refractive index of light as glass, it will make the photo more pleasant to look at.
Council No. 22 To photograph shiny metal objects (like cutlery) without reflections being visible, choose the right shooting angle and wedge each object so that it does not reflect the light.
Council No. 23 To create a reflection effect under an object (e.g. a chair), you can superimpose two objects in post-processing instead of using an expensive and fragile glossy glass or plastic support.
Managing light outdoors
Council No. 24 When you do portraits outdoors, in the street, make sure you tell a story to the viewer. Create an atmosphere, include unspoken elements that invite questions about what has gone before and what will come after. Your Cobra flash can help.
Council No. 25 : Don’t stop taking pictures when the light goes down, take night portraits. Increase ISO sensitivity and play with car lights, shop windows and street lighting.
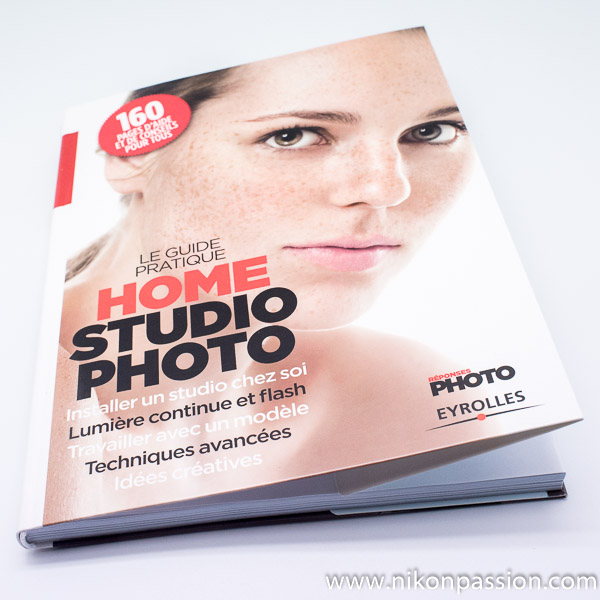
Studio photography and portraiture require a lot of work before the shooting:
- choice of lighting plan according to the expected result,
- choice of lighting and accessories,
- direction of the model,
- choice of housing settings,
- image post-processing.
Most of these concepts are learned through practice, on the job, but knowing the basic teachings and the possibilities available to you is a good thing to save time and avoid buying often useless accessories.
You will find a lot of information in the books cited here, and I invite you to share your good practices via the comments below, this list is just waiting to be completed.
Discover all the photo books published by Eyrolles …
Taking pictures in the studio is a practice that many amateur photographers enjoy. But some of them don’t dare to take the plunge: how to set up and manage a studio, how to manage lighting, how to manage the model, … so many complex notions that put off even the most beginners.
I’ve gathered here a series of tips that can help you get started if you haven’t already done so, as well as improve your images if you’re already practicing.

Discover all the photo books published by Eyrolles …
Sponsored article
This advice is applicable very quickly and for the most part does not require a significant investment. They are extracted from various guides on studio and lighting, books of which you will find the references below and which can allow you to go further in your practice.
Some of these tips apply in different situations, both in the studio and outdoors, for portrait and object photography. Feel free to use them to develop your practice and creativity.
Tip No. 1 When taking portrait photos, ask your model to orient her head at 45° to your camera body. This will allow you to obtain more captivating and energy-charged images. Familiarize yourself with body language to push the poses further and get away from conventional poses.
Tip #2 : Elbows play an important role in portrait photography. Both the position of the elbows and the direction in which they are pointed can have a decisive influence on the viewer’s perception of the photo.
Council No. 3 Ask your model to use her hands naturally if she doesn’t know what to do with them, which is common. Use the pockets of the pants, belt buckle, hips, neck, neck … Ask your model to pretend to have neck pain, for example, or to scratch her head.

Tip No. 4 Avoid cutting any part of the body or cutting a limb at the joints as if it had been amputated (e.g. hands fully tucked into pockets). This can happen if you have chosen an unsuitable angle or the installation of your model is not suitable.
Council No. 5 Play with colour combinations to create strong, consistent images without the need for specialized accessories. Add elements of the same colour or shade as what your model is wearing to make better composed and more appealing photos.
Council No. 6 For the background choose a shade that is close to that of the skin, clothes and accessories.
Council No. 7 : Don’t hesitate to get closer to your model when you take portrait photos. Close-ups allow you to highlight the features and imperfections that make each model’s face special and interesting.
Council No. 8 If you are photographing someone who may blink or close their eyes, ask your model to close their eyes and not open them until the count of three. Shoot as soon as the model’s eyes are open again.
Council No. 9 When photographing a female model, make sure that the hair does not hide the model’s eyes. As a general rule, do not let the hair cover the model’s pupils, even partially.
Tip No. 10 Compose the image directly in your camera’s viewfinder and keep just a small margin at the edge for later cropping. The cropping should be done at the time of shooting and not when the files are developed.

Lighting management
Council No. 11 In the studio, the exposure time usually varies between 1/125 and 1/250th of a second. To avoid digital noise build-up, select your camera’s native ISO sensitivity, usually ISO 100 or 200.
Council No. 12 : To override the flash sync speed and use very short exposure times, remember to turn on your flash’s high speed sync mode. This will allow you to freeze fast movements.
Council No. 13 : If you need more power in indirect flash, adjust the flash output or move the subject closer to the reflective surface. The reverse is also true, to decrease the flash output in the indirect flash mode, move the subject away from the reflective surface. This saves you from having to buy different flashes.
Council No. 14 When using a studio flash, you can control the sharpness and blur levels of your pictures by changing the exposure time and continuous light intensity. The longer the shutter speed or the brighter the continuous light, the more motion blur you will get.
Council No. 15 To reduce the shadows created by a single side light, install it 30° from the optical axis just above the eye line. Placed farther to the side and high above the head it would produce larger and longer shadows on the nose and cheek.
Council No. 16 To change the background color of your scene, play with a flash. An additional flash illuminating the background will make it appear white. A cardboard hiding the sides of the flash makes the background black by illuminating only the subject.
Council No. 17 : When taking pictures with flash in the studio, vary the exposure time to change the ambient light, it does not change the lighting of the subject.

Council No. 18 Once you have chosen the position of your main lighting and your subject, mark their location on the ground with adhesive tape. If you move the lighting or the subject moves, you will easily find the desired positions.
Photographing objects

Council No. 19 When photographing objects, use an odd number of objects to reinforce your composition. One object attracts attention, three objects make up a triangle, five objects can represent a circle … The composition is then more dynamic.
Council No. 20 : Determine the family of angles to avoid reflections on your portraits and photos of objects. This involves determining the area within which your lighting should not be placed, otherwise you will see the reflection in the image. This calculation is done by considering the path of the light rays between the subject and the camera.
Council n°21 To photograph glass containers of varying thickness and to avoid the unsightly effects of different transparencies, fill the container with oil. Oil has almost the same refractive index of light as glass, it will make the photo more pleasant to look at.
Council No. 22 To photograph shiny metal objects (like cutlery) without reflections being visible, choose the right shooting angle and wedge each object so that it does not reflect the light.
Council No. 23 To create a reflection effect under an object (e.g. a chair), you can superimpose two objects in post-processing instead of using an expensive and fragile glossy glass or plastic support.
Managing light outdoors
Council No. 24 When you do portraits outdoors, in the street, make sure you tell a story to the viewer. Create an atmosphere, include unspoken elements that invite questions about what has gone before and what will come after. Your Cobra flash can help.
Council No. 25 : Don’t stop taking pictures when the light goes down, take night portraits. Increase ISO sensitivity and play with car lights, shop windows and street lighting.

Studio photography and portraiture require a lot of work before the shooting:
- choice of lighting plan according to the expected result,
- choice of lighting and accessories,
- direction of the model,
- choice of housing settings,
- image post-processing.
Most of these concepts are learned through practice, on the job, but knowing the basic teachings and the possibilities available to you is a good thing to save time and avoid buying often useless accessories.
You will find a lot of information in the books cited here, and I invite you to share your good practices via the comments below, this list is just waiting to be completed.
Discover all the photo books published by Eyrolles …
Taking pictures in the studio is a practice that many amateur photographers enjoy. But some of them don’t dare to take the plunge: how to set up and manage a studio, how to manage lighting, how to manage the model, … so many complex notions that put off even the most beginners.
I’ve gathered here a series of tips that can help you get started if you haven’t already done so, as well as improve your images if you’re already practicing.

Discover all the photo books published by Eyrolles …
Sponsored article
This advice is applicable very quickly and for the most part does not require a significant investment. They are extracted from various guides on studio and lighting, books of which you will find the references below and which can allow you to go further in your practice.
Some of these tips apply in different situations, both in the studio and outdoors, for portrait and object photography. Feel free to use them to develop your practice and creativity.
Tip No. 1 When taking portrait photos, ask your model to orient her head at 45° to your camera body. This will allow you to obtain more captivating and energy-charged images. Familiarize yourself with body language to push the poses further and get away from conventional poses.
Tip #2 : Elbows play an important role in portrait photography. Both the position of the elbows and the direction in which they are pointed can have a decisive influence on the viewer’s perception of the photo.
Council No. 3 Ask your model to use her hands naturally if she doesn’t know what to do with them, which is common. Use the pockets of the pants, belt buckle, hips, neck, neck … Ask your model to pretend to have neck pain, for example, or to scratch her head.

Tip No. 4 Avoid cutting any part of the body or cutting a limb at the joints as if it had been amputated (e.g. hands fully tucked into pockets). This can happen if you have chosen an unsuitable angle or the installation of your model is not suitable.
Council No. 5 Play with colour combinations to create strong, consistent images without the need for specialized accessories. Add elements of the same colour or shade as what your model is wearing to make better composed and more appealing photos.
Council No. 6 For the background choose a shade that is close to that of the skin, clothes and accessories.
Council No. 7 : Don’t hesitate to get closer to your model when you take portrait photos. Close-ups allow you to highlight the features and imperfections that make each model’s face special and interesting.
Council No. 8 If you are photographing someone who may blink or close their eyes, ask your model to close their eyes and not open them until the count of three. Shoot as soon as the model’s eyes are open again.
Council No. 9 When photographing a female model, make sure that the hair does not hide the model’s eyes. As a general rule, do not let the hair cover the model’s pupils, even partially.
Tip No. 10 Compose the image directly in your camera’s viewfinder and keep just a small margin at the edge for later cropping. The cropping should be done at the time of shooting and not when the files are developed.

Lighting management
Council No. 11 In the studio, the exposure time usually varies between 1/125 and 1/250th of a second. To avoid digital noise build-up, select your camera’s native ISO sensitivity, usually ISO 100 or 200.
Council No. 12 : To override the flash sync speed and use very short exposure times, remember to turn on your flash’s high speed sync mode. This will allow you to freeze fast movements.
Council No. 13 : If you need more power in indirect flash, adjust the flash output or move the subject closer to the reflective surface. The reverse is also true, to decrease the flash output in the indirect flash mode, move the subject away from the reflective surface. This saves you from having to buy different flashes.
Council No. 14 When using a studio flash, you can control the sharpness and blur levels of your pictures by changing the exposure time and continuous light intensity. The longer the shutter speed or the brighter the continuous light, the more motion blur you will get.
Council No. 15 To reduce the shadows created by a single side light, install it 30° from the optical axis just above the eye line. Placed farther to the side and high above the head it would produce larger and longer shadows on the nose and cheek.
Council No. 16 To change the background color of your scene, play with a flash. An additional flash illuminating the background will make it appear white. A cardboard hiding the sides of the flash makes the background black by illuminating only the subject.
Council No. 17 : When taking pictures with flash in the studio, vary the exposure time to change the ambient light, it does not change the lighting of the subject.

Council No. 18 Once you have chosen the position of your main lighting and your subject, mark their location on the ground with adhesive tape. If you move the lighting or the subject moves, you will easily find the desired positions.
Photographing objects

Council No. 19 When photographing objects, use an odd number of objects to reinforce your composition. One object attracts attention, three objects make up a triangle, five objects can represent a circle … The composition is then more dynamic.
Council No. 20 : Determine the family of angles to avoid reflections on your portraits and photos of objects. This involves determining the area within which your lighting should not be placed, otherwise you will see the reflection in the image. This calculation is done by considering the path of the light rays between the subject and the camera.
Council n°21 To photograph glass containers of varying thickness and to avoid the unsightly effects of different transparencies, fill the container with oil. Oil has almost the same refractive index of light as glass, it will make the photo more pleasant to look at.
Council No. 22 To photograph shiny metal objects (like cutlery) without reflections being visible, choose the right shooting angle and wedge each object so that it does not reflect the light.
Council No. 23 To create a reflection effect under an object (e.g. a chair), you can superimpose two objects in post-processing instead of using an expensive and fragile glossy glass or plastic support.
Managing light outdoors
Council No. 24 When you do portraits outdoors, in the street, make sure you tell a story to the viewer. Create an atmosphere, include unspoken elements that invite questions about what has gone before and what will come after. Your Cobra flash can help.
Council No. 25 : Don’t stop taking pictures when the light goes down, take night portraits. Increase ISO sensitivity and play with car lights, shop windows and street lighting.

Studio photography and portraiture require a lot of work before the shooting:
- choice of lighting plan according to the expected result,
- choice of lighting and accessories,
- direction of the model,
- choice of housing settings,
- image post-processing.
Most of these concepts are learned through practice, on the job, but knowing the basic teachings and the possibilities available to you is a good thing to save time and avoid buying often useless accessories.
You will find a lot of information in the books cited here, and I invite you to share your good practices via the comments below, this list is just waiting to be completed.
Discover all the photo books published by Eyrolles …
Taking pictures in the studio is a practice that many amateur photographers enjoy. But some of them don’t dare to take the plunge: how to set up and manage a studio, how to manage lighting, how to manage the model, … so many complex notions that put off even the most beginners.
I’ve gathered here a series of tips that can help you get started if you haven’t already done so, as well as improve your images if you’re already practicing.

Discover all the photo books published by Eyrolles …
Sponsored article
This advice is applicable very quickly and for the most part does not require a significant investment. They are extracted from various guides on studio and lighting, books of which you will find the references below and which can allow you to go further in your practice.
Some of these tips apply in different situations, both in the studio and outdoors, for portrait and object photography. Feel free to use them to develop your practice and creativity.
Tip No. 1 When taking portrait photos, ask your model to orient her head at 45° to your camera body. This will allow you to obtain more captivating and energy-charged images. Familiarize yourself with body language to push the poses further and get away from conventional poses.
Tip #2 : Elbows play an important role in portrait photography. Both the position of the elbows and the direction in which they are pointed can have a decisive influence on the viewer’s perception of the photo.
Council No. 3 Ask your model to use her hands naturally if she doesn’t know what to do with them, which is common. Use the pockets of the pants, belt buckle, hips, neck, neck … Ask your model to pretend to have neck pain, for example, or to scratch her head.

Tip No. 4 Avoid cutting any part of the body or cutting a limb at the joints as if it had been amputated (e.g. hands fully tucked into pockets). This can happen if you have chosen an unsuitable angle or the installation of your model is not suitable.
Council No. 5 Play with colour combinations to create strong, consistent images without the need for specialized accessories. Add elements of the same colour or shade as what your model is wearing to make better composed and more appealing photos.
Council No. 6 For the background choose a shade that is close to that of the skin, clothes and accessories.
Council No. 7 : Don’t hesitate to get closer to your model when you take portrait photos. Close-ups allow you to highlight the features and imperfections that make each model’s face special and interesting.
Council No. 8 If you are photographing someone who may blink or close their eyes, ask your model to close their eyes and not open them until the count of three. Shoot as soon as the model’s eyes are open again.
Council No. 9 When photographing a female model, make sure that the hair does not hide the model’s eyes. As a general rule, do not let the hair cover the model’s pupils, even partially.
Tip No. 10 Compose the image directly in your camera’s viewfinder and keep just a small margin at the edge for later cropping. The cropping should be done at the time of shooting and not when the files are developed.

Lighting management
Council No. 11 In the studio, the exposure time usually varies between 1/125 and 1/250th of a second. To avoid digital noise build-up, select your camera’s native ISO sensitivity, usually ISO 100 or 200.
Council No. 12 : To override the flash sync speed and use very short exposure times, remember to turn on your flash’s high speed sync mode. This will allow you to freeze fast movements.
Council No. 13 : If you need more power in indirect flash, adjust the flash output or move the subject closer to the reflective surface. The reverse is also true, to decrease the flash output in the indirect flash mode, move the subject away from the reflective surface. This saves you from having to buy different flashes.
Council No. 14 When using a studio flash, you can control the sharpness and blur levels of your pictures by changing the exposure time and continuous light intensity. The longer the shutter speed or the brighter the continuous light, the more motion blur you will get.
Council No. 15 To reduce the shadows created by a single side light, install it 30° from the optical axis just above the eye line. Placed farther to the side and high above the head it would produce larger and longer shadows on the nose and cheek.
Council No. 16 To change the background color of your scene, play with a flash. An additional flash illuminating the background will make it appear white. A cardboard hiding the sides of the flash makes the background black by illuminating only the subject.
Council No. 17 : When taking pictures with flash in the studio, vary the exposure time to change the ambient light, it does not change the lighting of the subject.

Council No. 18 Once you have chosen the position of your main lighting and your subject, mark their location on the ground with adhesive tape. If you move the lighting or the subject moves, you will easily find the desired positions.
Photographing objects

Council No. 19 When photographing objects, use an odd number of objects to reinforce your composition. One object attracts attention, three objects make up a triangle, five objects can represent a circle … The composition is then more dynamic.
Council No. 20 : Determine the family of angles to avoid reflections on your portraits and photos of objects. This involves determining the area within which your lighting should not be placed, otherwise you will see the reflection in the image. This calculation is done by considering the path of the light rays between the subject and the camera.
Council n°21 To photograph glass containers of varying thickness and to avoid the unsightly effects of different transparencies, fill the container with oil. Oil has almost the same refractive index of light as glass, it will make the photo more pleasant to look at.
Council No. 22 To photograph shiny metal objects (like cutlery) without reflections being visible, choose the right shooting angle and wedge each object so that it does not reflect the light.
Council No. 23 To create a reflection effect under an object (e.g. a chair), you can superimpose two objects in post-processing instead of using an expensive and fragile glossy glass or plastic support.
Managing light outdoors
Council No. 24 When you do portraits outdoors, in the street, make sure you tell a story to the viewer. Create an atmosphere, include unspoken elements that invite questions about what has gone before and what will come after. Your Cobra flash can help.
Council No. 25 : Don’t stop taking pictures when the light goes down, take night portraits. Increase ISO sensitivity and play with car lights, shop windows and street lighting.

Studio photography and portraiture require a lot of work before the shooting:
- choice of lighting plan according to the expected result,
- choice of lighting and accessories,
- direction of the model,
- choice of housing settings,
- image post-processing.
Most of these concepts are learned through practice, on the job, but knowing the basic teachings and the possibilities available to you is a good thing to save time and avoid buying often useless accessories.
You will find a lot of information in the books cited here, and I invite you to share your good practices via the comments below, this list is just waiting to be completed.
Discover all the photo books published by Eyrolles …



Discussion about this post