If you’ve ever touched a camera, you’ve probably already tried photography in black and white. For a lot of reasons, black and white attracts. A dose of mysteryof timelessness, of magic: you are conquered…especially when you see some images that stand out. But when you try, you may not get the result you were expecting. Discover the 5 keys to succeed your black and white photos.
And yes, getting black and white is not as easy as it looks, and we quickly ended up with grayish images without much interest. So how do you do it?
(all the photos in the article are of me)
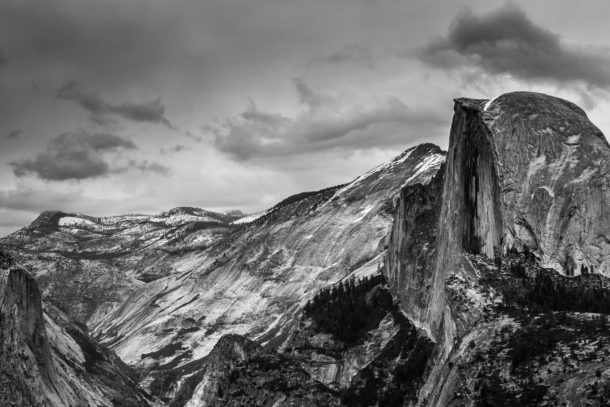
1. Shoot in RAW
The black and white produced by your camera is bad. Always (or almost).
The format RAW will give you a great deal of latitude in the composition of your black and white, and will allow you to play finely on the mixture of the different colour layers, as well as on the brightness and the contrast.
You can then set your camera to Black and White mode, so you can see what the final result would look like: even in Black and White mode, the RAW file will not be lost. will record all colors ! Especially if you have the electronic viewfinder like on hybrid cameras: you will be able to see directly the world in black and white, it is very useful to compose directly
If your camera does not offer the ability to save your shots in RAW format, then stay colourful so you can play on the layer mixer later (we’ll get back to that later).
2. Choose the right topic
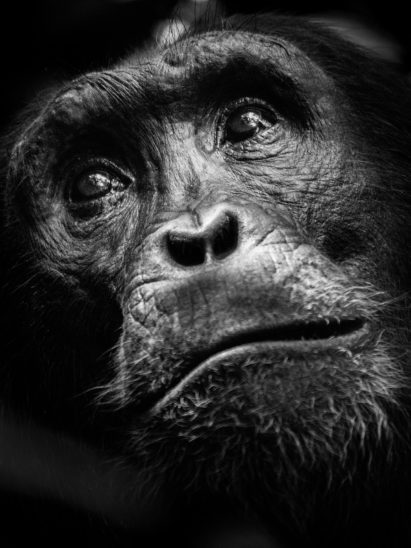
We can’t say it enough, but the point is… critical in photography. Although black and white is suitable for a wide variety of subjects, you can give your image a much stronger impact by taking certain points into account.
First of all, the texture objects is often magnified by black and white, as colour tends to overshadow it: raw wood, stone, leaves, the wrinkled skin of a man marked by time or the velvety skin of a young girl, etc.
Also think about formsThe most common types of shapes are those that repeat themselves, or the symmetrical shapes created by nature (spirals, waves, …).
Learn how to watch in black and white One of the reasons why black and white is so popular among photographers is that it gives a different worldview. Try to transcribe it!
3. Contrast is king
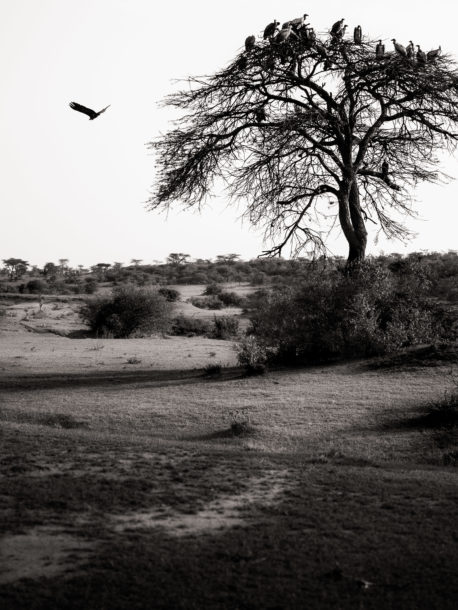
In black and white, you lose color. (I know, my intelligence still dazzles you :P)
Losing the color means you can no longer play on it to separate different elements, or for the compositionin particular for guide the eye in the picture.
So your only way is to play with light and dark tones, i.e. with the contrasts. Indeed, a picture with a lot of colors but which are all in the same range of tones (only light colors, or averages) will become very gray.
The lights pretty much strong and the shadows are therefore your friends! Use the contrast to its full potential, as it is probably the element biggest in a black-and-white photo.
If the light hits one side of your subject, you have a good chance of taking good pictures: the contrasts are reinforcedshapes and textures underlined. Don’t hesitate to wait for the right light or to create it (by moving your subject for example).
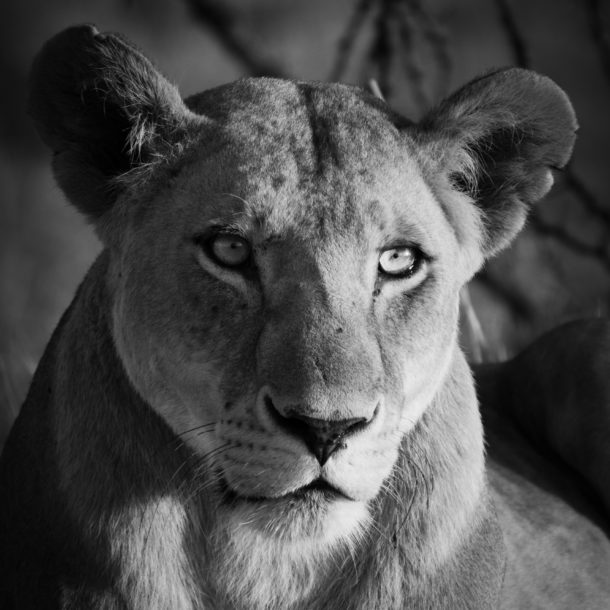
To emphasize your subject, you can for example use backlighting (i.e. light in front of you):


4. Overcast or rainy weather
That might seem contradictory to what I just said, since clouds tend to reduce contrast.
But in fact, in overcast weather, when those who photograph in colour complain of “bad light”, it’s the moment ideal to take black and white photographs. Indeed, theintensity of the atmosphere is accentuated by black and white: think of a day of storm with big clouds for example.
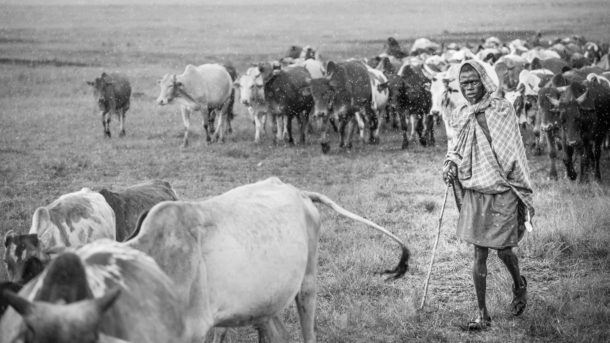
And if you photograph after it rains, black and white often gives you fine renderingss, emphasizing the reflections on the ground and in general all surfaces wetted by rain.
5. Spend time in post-processing
You didn’t go to all that trouble to finally get everything spoil by simply clicking on “desaturate“in your image processing software. It’s not for nothing that I told you to shoot in RAW at the very beginning! 😀 There are as many conversion methods as there are photographers, but the key is to play on the layer mixer or an equivalent tool to maximize the impact of black and white and to sublimate your image.
These two photos may be well exposed at the base, but they still need a little post-processing to sublimate them!
Bonus: my black and white video tutorials
I also did some tutorial videos to show you how to make beautiful black and white in a more visual way, since it’s happening in the software.
In this one, I take a little bit the advice of this article for show them to you in Lightroom in my own photos:
In this one, I give two more tips to get black and white photos that are contrasted but still subtle (the main problem for beginners in black and white is often to do too much.) :
And finally, in this one, I detail a little more the technique of the “dodge & burn“which already existed in silver photo (so it’s not going to stop anytime soon 😉 ):
If you’re interested in these videos, don’t forget to subscribe to the YouTube channel so you don’t miss the next ones! 🙂
Do not hesitate to ask your questions in commentand if you want to be informed for free of upcoming articles, including the video I just talked about, sign up for the newsletter (right).
And don’t forget to share the article! 🙂


Discussion about this post