Making photos with a silhouette effect is a way to work your creativity by playing with light. The silhouette effect is simple to achieve, simply change the exposure given by the light metering of your camera once you have identified the right subject.
Here’s how to do it and some sample photos.
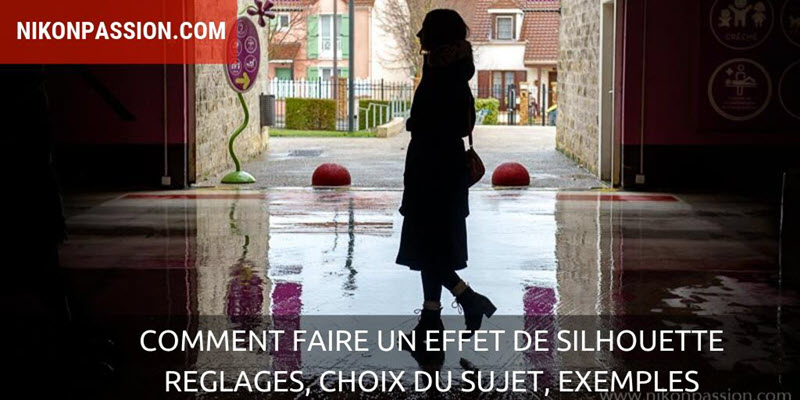
Taking pictures with a silhouette effect allows you to develop your photography practice and, above all, to learn how to control light.
This effect requires you to voluntarily modify the light measurement that your camera calculates, to adjust the rendering to your liking.
Learning to make a silhouette effect is therefore, indirectly, a way of learning how to correct exposure. This will be useful for all your shots later on because adjusting the exposure is one of the skills you need to acquire to make more interesting pictures.
The silhouette effect consists in placing your subject between the light source and you, thus in backlight or assimilated, in such a way that the subject receives little or no frontal light. You will then correct the exposure given by your camera’s cell so that your subject is plunged in shadow (thus underexposing).
This way of photographing is contrary to what you could learn in photography. You are often advised to position yourself between the subject and the light source so that the subject receives flattering lighting. The opposite is true here.
You will then create photos by playing with shapes and light, suggesting rather than showing. This is a way to encourage the viewer to question and appreciate the graphic dimension of your images if the effect is successful.
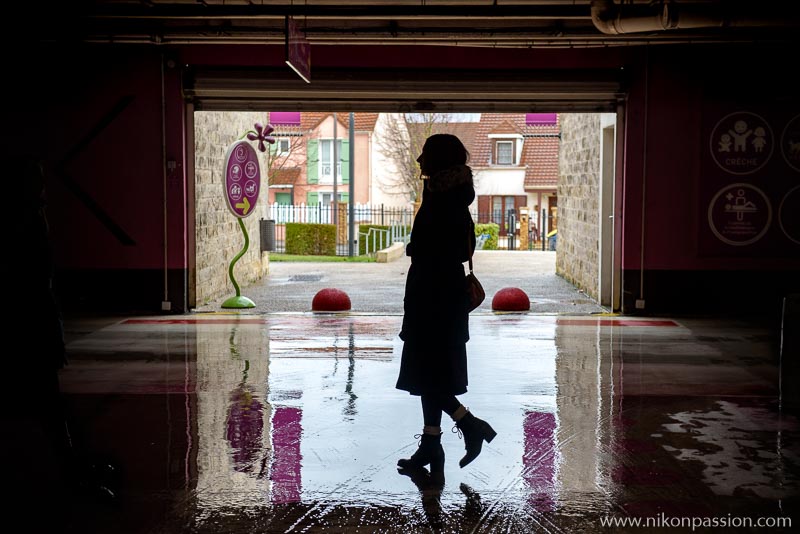
the silhouette effect is accentuated by the dark frame around the subject
Nikon D750 + AF-S Nikkor 24-70 mm f/2.8 – 56 mm – f/4 – 1/400 sec. – ISO 800
Managing light
To achieve a silhouette effect, the exposure must be adjusted (more about exposure) regardless of the settings given by your camera.
In front of a frontal light source, the cell will adjust the aperture/exposure time to ensure that all areas of the image are exposed in the best possible way. But what you want to achieve the silhouette effect is the opposite. You want your subject to be in shadow while the background is properly exposed.
You’ll get an interesting graphic effect if your subject is dark, so it’s up to you to adjust the frame and background to make the composition look attractive.
Take care to disable the flash of your camera, it should not be triggered at the risk of illuminating the subject you want to leave in the shade. The same goes for any source of light (lamp, headlight, reflection, …) that could illuminate the subject too directly.
You’ll get the best results when the sun is level with the horizon, so it’s easier to place your subject in front of it. If the sun is too high, you’ll need to find a high subject, or bend down to respect the subject placement rule.
At the beginning of the morning as at the end of the day, the sunlight is more pleasant (see the notion of blue hour) and you can take pictures by playing on the colour.
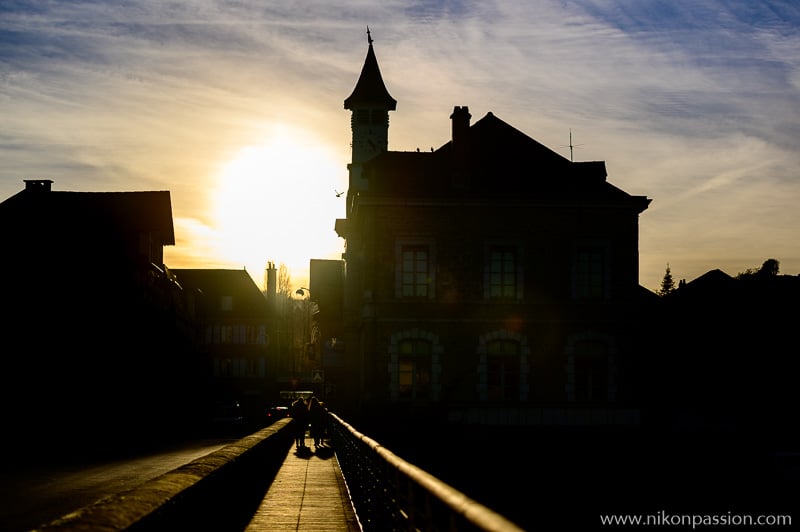
here the very strong luminosity of the setting sun imposes to under-expose strongly, the colors of the sky make the image interesting
Nikon Z6 + AF-S Nikkor 70-200 mm f/2.8 VRII – 75 mm – f/2.8 – 1/8,000 sec. – ISO 100
Manage the topic
Not all subjects are suitable for playing with the silhouette effect. Choose subjects that will stand out well against the bright background and whose shapes are clearly visible. Full-length portraits, a few meters away, often give good results. Buildings, if their size allows them to be hidden by light, are good candidates too.
The silhouette effect assumes that you can place the subject in the right place, if it can’t be moved it’s up to you to move, but it may not work every time.
Keep in mind that the more distinct shapes your subject has, the more successful the effect will be. Avoid frontal portraits, for example, as the resulting silhouette will not be pleasing to the eye. In profile, the same person will take on a whole new dimension.
You can multiply the subjects to obtain different images: ask several people to stand side by side and hold hands, stretch their legs, raise their arms, anything that creates visible shapes is interesting.
In landscape photography you can create beautiful images with this effect if you play with shapes:
- the crest of the peaks in the distance,
- rocks or trees,
- buildings against the backdrop of nature,
- …
Get started and you’ll soon realize that there are many possibilities. The more you try, the more likely you are to get interesting pictures because it doesn’t always work. A subject may move, the light may vary from one moment to another, the graphic effect may not be interesting in the end. Don’t be discouraged.
Remember to choose your background carefully, the more uniform it is, the better the result. This will accentuate the edge effect on the subject, and give an even more graphic dimension to the whole.
If the background is not clear enough, bend down and incorporate more sky in the frame, this can help you hide what is bothering you.
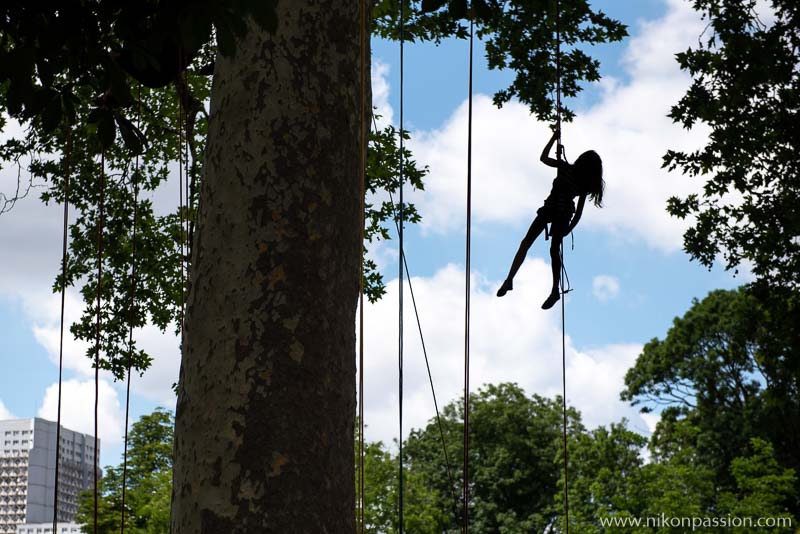
I took advantage of an animation in the trees to create a silhouette effect that allowed me to raise the aircraft and include the sky in my frame.
Nikon D750 + AF-S Nikkor 24-70 mm f/2.8 – 70 mm – f/4 – 1/4,000 sec. – ISO 200
How to set up your camera
As I mentioned above, you will have to manage the exposure by yourself and not be satisfied with the automatic measurement given by your camera.
Depending on your experience and knowledge of exhibition management, here’s how to proceed.
In automatic mode
If you remain in automatic mode, be aware that the camera will not make your life easier because it makes sure the entire frame is properly exposed, which is counterproductive.
To force the camera to darken the subject, aim at the sky or a very bright area of the picture (not the direct sun, which is too bright and could damage your camera), press the shutter release button halfway down. The cell will then adjust the exposure for that area. Crop without releasing the shutter button to lock the light meter. Some cameras offer a little more flexibility than others in auto mode, but it’s usually quite restrictive.
Mode A / Mode S
In these two modes you set the aperture (A mode) or the exposure time (S mode) and the other value is set by the camera. You can easily correct the resulting exposure with the exposure compensation available with most cameras.
Take the light metering as you would in the conventional way, correct the exposure by about 2 stops (Ev, It, read more) to underexposure, shoot.
Look at the result on the back screen and adjust according to what you want to achieve. There are no precise rules, every shot is different.
Another solution is to use exposure bracketing, which allows you to make several identical photos but exposed differently. Set this function so that the difference is at least 1 EV between each image.
With a reflex you have to multiply the attempts to obtain a satisfactory result.
With a hybrid electronic viewfinder, you simply aim and adjust the exposure in the viewfinder before shooting when it’s convenient for you, it’s much faster and easier.
Remember to use the RAW format which will allow you to adjust the final image, the JPG is less flexible for this if the shooting is not ideal.
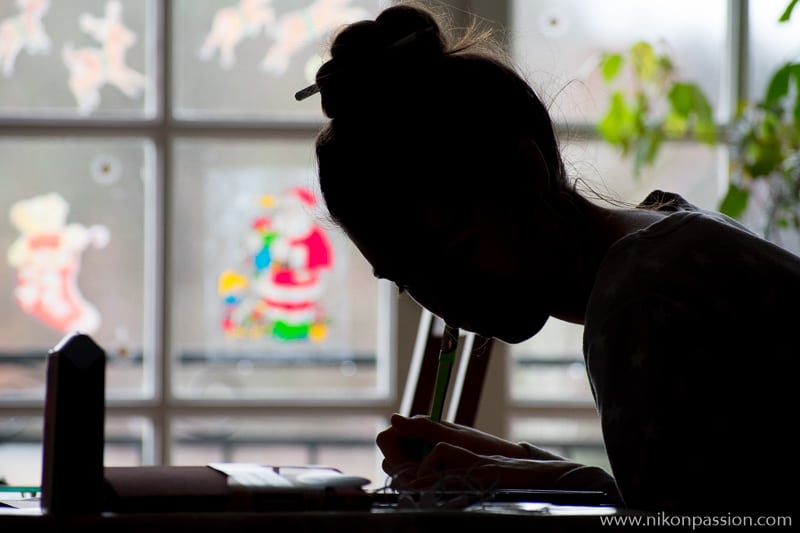
with an expert mode and exposure compensation, I was able to make sure the background would be blurred enough not to catch the subject in the foreground.
Nikon D3400 + AF-S Nikkor 70-300 mm f/4.5-6.3 – 255 mm – f/5 – 1/250 sec. – ISO 1.000
Mode M
In manual mode you have to adjust the aperture and exposure time manually. Proceed as above. Hybrid is also easier to use because what you see in the viewfinder is the final image, while the optical viewfinder of the SLR shows you the scene to be photographed without betting on the result.
With a bit of practice, you will achieve your goals regardless of the model of device used, and once again it is by multiplying the tests that you will progress.
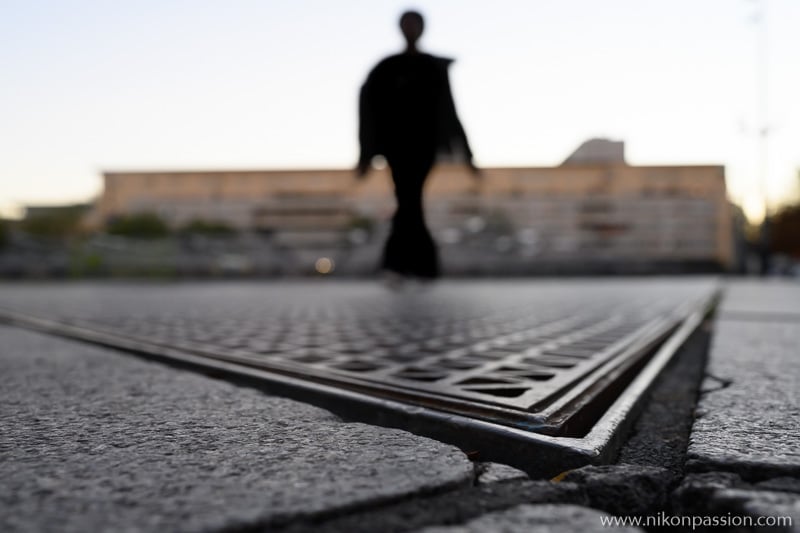
everything is allowed when it is a question of making an atypical image, here I voluntarily played on the sharpness of the subject to obtain an unusual silhouette.
Nikon Z7 + Nikkor 35 mm f/1.8 S – f/8 – 1/80 sec. – ISO 800
Depth of field
To achieve an interesting silhouette effect, it is important to adjust the depth of field so that the edges of the subject are perfectly sharp.
So do not hesitate to close the opening at best even if it means going up to ISO if the resulting exposure time does not suit you.
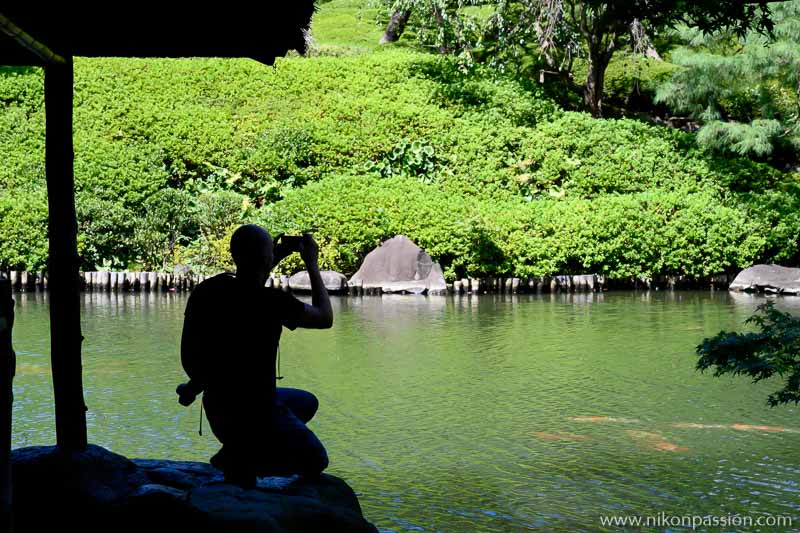
to keep details in the background, it’s best to adjust the depth of focus
Nikon Z7 + Nikkor 24-70 mm f/4 S – 70 mm – f/10 – 1/4,000 sec. – ISO 3.200
Post-processing
Although the result may be satisfactory from the moment you shoot, you will get better results by processing your photos in post-processing software. In RAW it will be a must.
The idea is to highlight the silhouette, or silhouettes, by adapting the general balance of the photo without distorting it.
Adjust the exposure to darken the subject if necessary. Use the black slider if you don’t want to darken the entire image, or use a radial filter set on the subject for local processing.
You can also increase the sharpness on the subject if it is missing, to make its edges even sharper.
Depending on the nature of the background, consider adjusting the white balance and playing with colorimetry to make the whole thing more enjoyable. By increasing the saturation of the background, you will enhance the colorimetric rendering, which will make your black subject stand out even more.
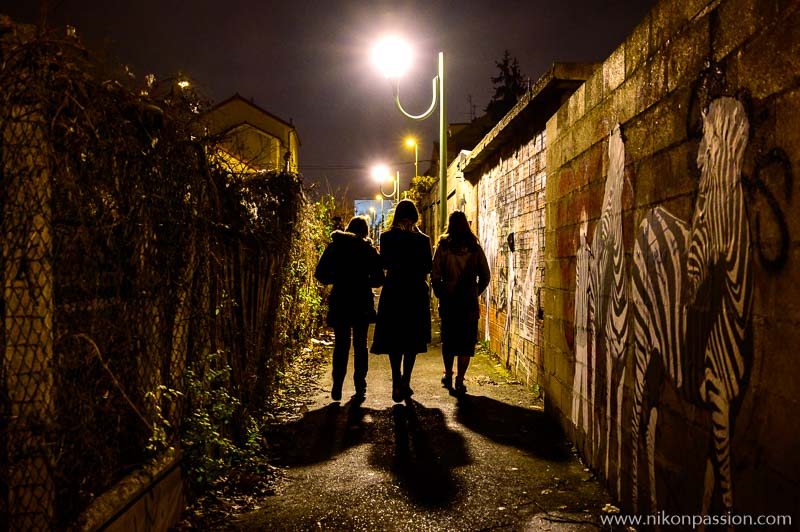
by accentuating the colorimetric rendering of the photo, I gave it more character because the source of artificial light did not provide a light as beautiful as the sun.
Nikon Z6 + Nikkor 24-70 mm f/4 S – 37 mm – f/4 – 1/25 sec. – ISO 6.400
Making a silhouette effect is a great way to have fun taking pictures, so get out there and show the results.
You can do so in the Photo Review section of the site, it’s the best place to receive relevant reviews.
If you have an Instagram account, use the #nikonpassion and #silhouettes tags to give your photos a chance to be noticed.
Do you have any questions? Leave them in the comments.



Discussion about this post