
L’exhibition is an important technical parameter in the success (or failure) of a photo. It “refers to the action of light radiation on the sensor (or on the film)”. Which does not advance us much 😉 This article will take stock of what is the exposure, the exposure of the film, the exposure of the image and the exposure of the image.effect that she has in your photos, and in the parameters that influence it and that you can control.
Pin this article on Pinterest for future reference!
Note more recently, I realized a video short to explain the exhibition. If you prefer this format or want to see the concept explained in another way, here it is 😉.
The exposure, overexposed or underexposed photo: definition
So we said exposure was the action of light radiation. In other words, the more this action is greatthe more the exhibition will be important the more light that’s picked up. Imagine a room lit by a 20-watt or 100-watt bulb: the amount of light perceived is not the same.
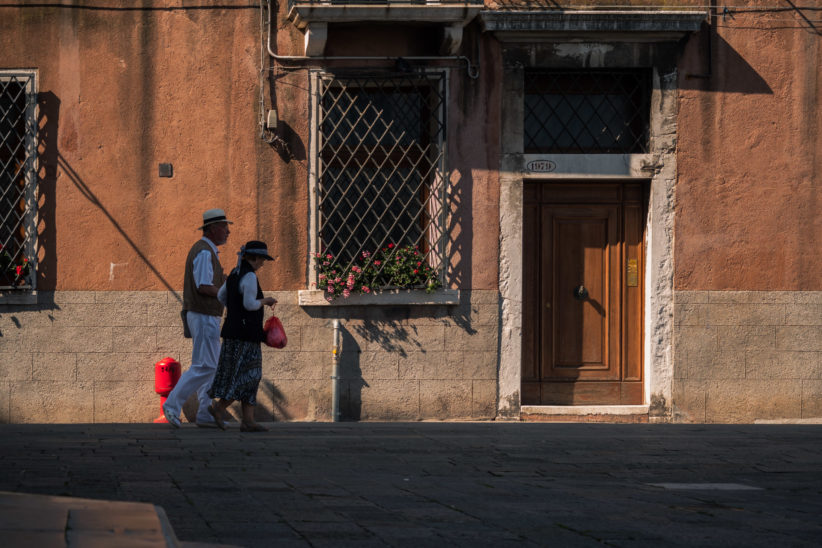
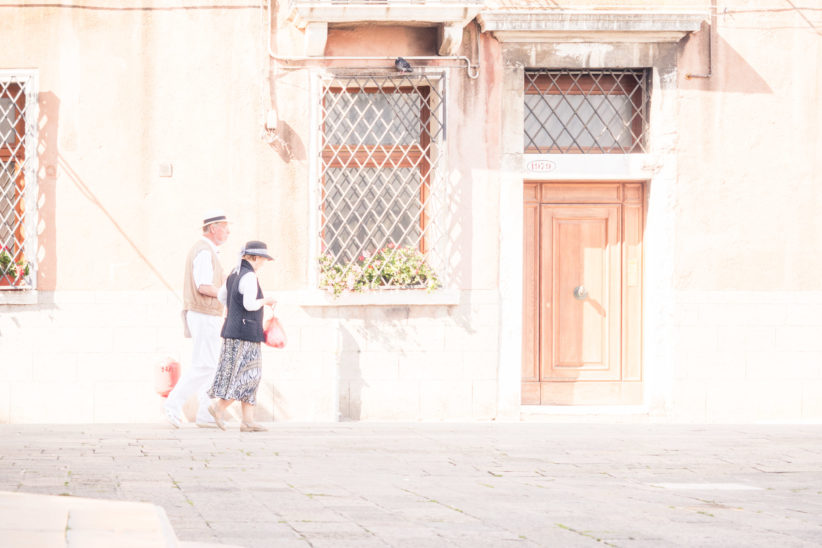
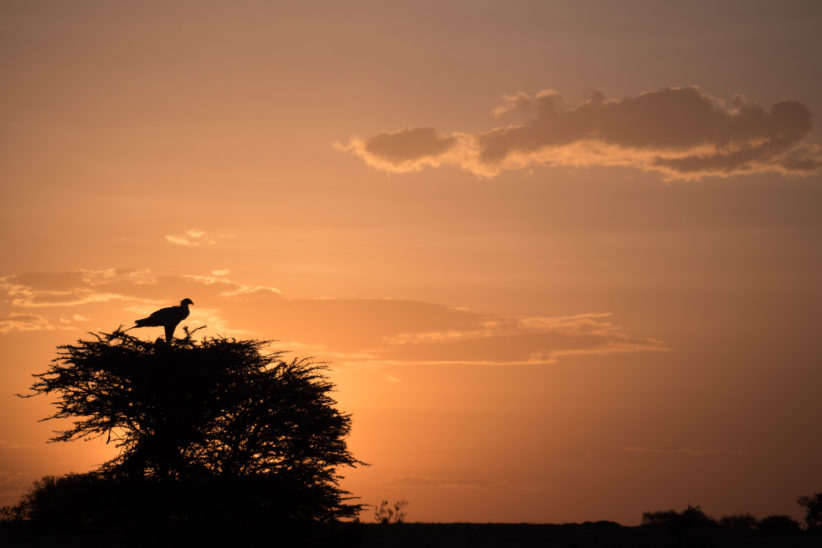
A photo overexposed is a picture where too of light has been captured: it is “overly clear“. Conversely, a photo underexposed only captured little of light: she is “too dark“. Since a picture is better than a long speech, here are two clichés that should speak to you:
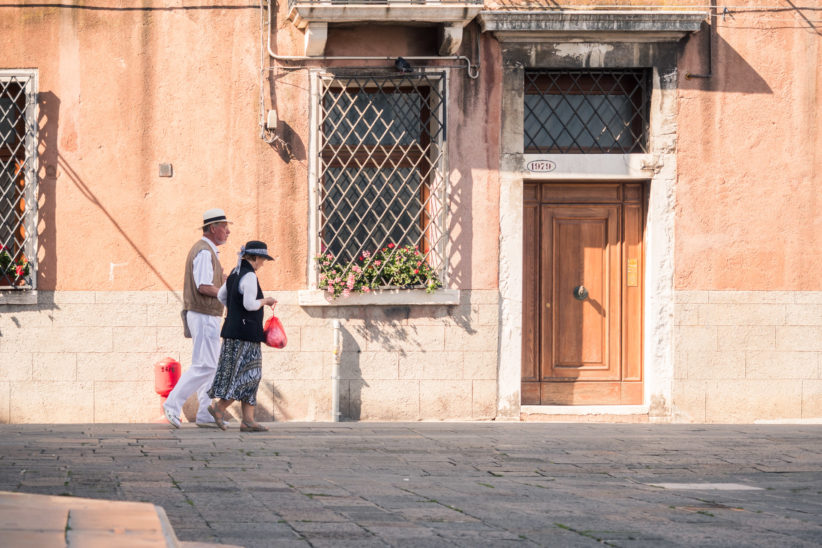
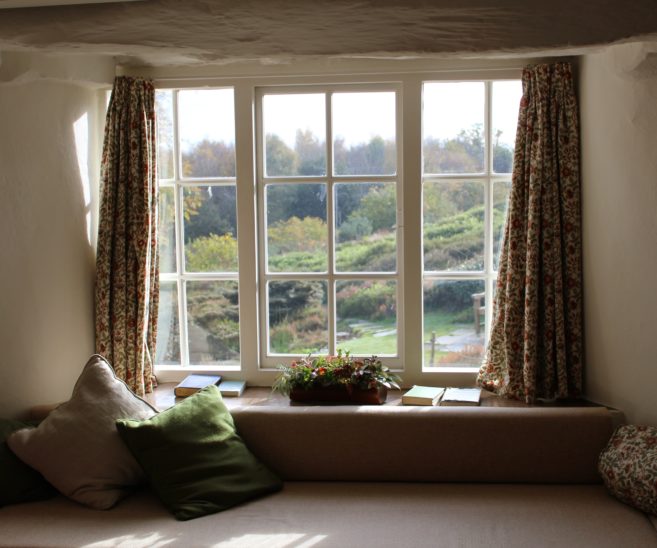
The same picture with a normal exposure will look like this:
Careful, I did say “normal“and not”correct“. Indeed, you can voluntarily decide to underexpose or overexpose a photo, slightly or even strongly, in order to create an effect: a dark atmosphere will logically require you to underexpose your image for example. We will see an example at the end of this article, but for now, let’s stick to the simplest case.
But then, how does the camera get a normal exposure on its own?
As you will have noticed, in automatic mode (don’t hide, we’ve all used this mode!), the photos are normally Exposed: the camera manages itself to make an image neither too bright nor too dark, that’s the principle. But how does it do it?
Without going into too many technical details, the device has sensors to measure the brightness of the image. It even has several different modes: it can either be based only on the center of the image, or on the entire image, or an intermediate between the two. If you want to know more, you can read my article about the brightness measurement modes and how to use them 😉.
According to these measurements, the camera decides to let more or less light in, or even to trigger the built-in flash (boo, not good, as we said in the basic tips!).
How do I change the exposure?
Exposure is influenced by 3 parameters:
- The ISO sensitivity it’s the sensitivity from the sensor (or film) to the light
- L’diaphragm opening is the opening diameter from diaphragm to trip
- The shutter speed is the opening time from diaphragm to trip
It all sounds obscure, I know, but we’re getting there, don’t worry. First of all, let’s think for a moment about what happens when we increase or decrease these parameters:
- When you increases sensitivitylogically there are more than captured light. A bit like comparing Jack, a seasoned legionnaire, and Jennifer, a sensitive and tortured 15-year-old girl, both watching a love film: the more sensitive the person is, the more they will cry. Needless to say, who is the more sensitive of the two! (I grant you, the metaphor is quite improbable :D)
- When you increases the opening, more light can enter: more light can pass through a window than through a keyhole. And vice versa.
- When you increases the opening time, more light can go home (so we decreases the shutter speedThe lower the speed, the longer the time). Again, more light enters a room if you open the shutters for 1 minute rather than 10 seconds. And vice versa.
To sum up, theincrease of the sensitivitytheopening or the time slotted more lightand therefore increases exposure. And vice versa, you get it.
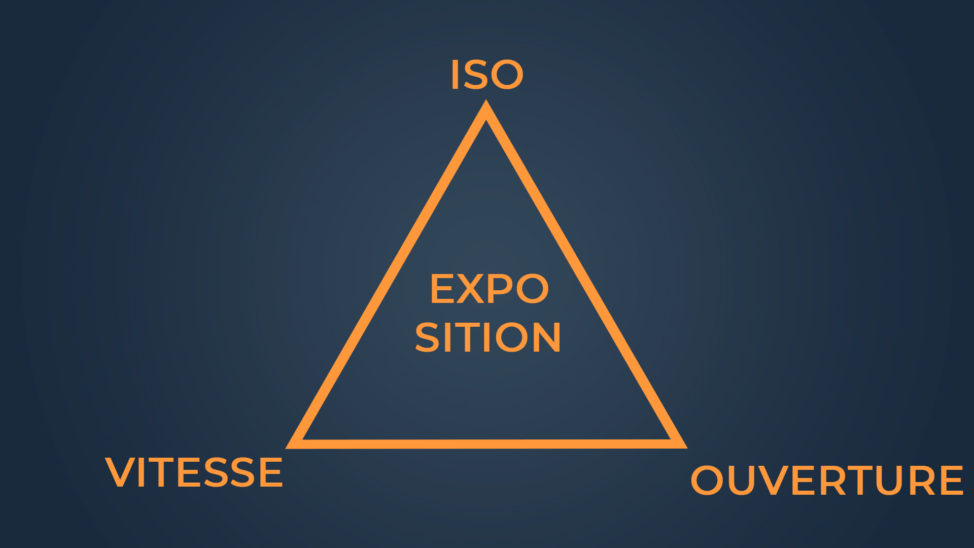
The exhibition triangle
Where it becomes slightly more complex is that these 3 elements of the exhibition are interconnected You can never really isolate them from each other without changing something in your image.
If you change one but you want to keep the same exposure (the same brightness of the photo what), the others are impacted. That’s why they can be grouped under the notion of exhibition triangle. And since a diagram is always better than a long speech 😉
Understanding the exhibition triangle in concrete terms
Well, that’s all well and good, but I don’t get it!
All this being a bit theoretical, let’s rather use two metaphors to better understand: they are far from being perfect but help a lot to understand that there are different ways to modify the exposure by playing on 1, 2 or all 3 parameters at the same time.
The sensor of your device exposed to light is like your skin exposed to the sun.

- The ISO sensitivityit’s like your skin type: if you’re blondor even redheadyou have great sensitivity. In other words, you will easily get sunburned if you are exposed to it. It’s the equivalent of a high ISO sensitivity.
Conversely, if you are brownor even Mediterranean or even black skin, it will take you longer to get a sunburn or tan, or even not tan at all! 😀 It is the equivalent of a low ISO sensitivity.
- The shutter speedit’s like the while you’re out in the sun. The higher the speed, the less time you’ll be exposed.
Whether you are brown or blond, it is likely that you will get sunburned if you stay in the sun for 4 hours: it is the equivalent of a slow shutter speed and therefore a longer exposure time.
On the other hand, even if you have red hair, if you stay 15 seconds in the sun, there is little chance that you will get sunburned! (Although :P) It’s the equivalent of a higher shutter speed (and therefore a shorter exposure time).
- L’diaphragm openingit’s kind of like the cloudy cover : if there are a lot of clouds, less light passes through, so you have less chance to get sunburned (think about your last holidays in Brittany :P). It’s the equivalent of a limited openness.
On the other hand, if the sky is blue like Isabelle’s eyes, a lot of light passes through and you are more likely to get sunburned (think about your last holidays in Corsica). It is the equivalent of a grand opening.
Personally, it is the metaphor that speaks to me best and that has allowed me to understand this triangle. If you’re still having a little trouble, and that’s normal, here’s another one:
The window metaphor
Imagine that your camera is like a window with shutters, and that you are behind this window with sunglasses (yes it’s a bit strange, but let’s say :P).
- L’diaphragm openingit’s like the window size The larger it is, the more light comes in (the brighter the room).
- The shutter speedit’s like the shutter release time The longer you open them, the more light comes in.
- The ISO sensitivityit’s kind of like theopacity of your sunglasses if they are more opaque you will be less sensitive to light, i.e. you will perceive less light (equivalent to a low ISO). Conversely, if they are clear, you will be more sensitive to light, therefore perceive more (equivalent to a high ISO).
Okay, I get the idea, but what’s the point?
But you’re going to tell me: why bother having the normal exposure manually when the automatic mode takes care of it all by itself? For several reasons:
- the device tends to take the easy way out like the flash (we’ve already said : BOUH !)
- the device may be wrong : notably because it seeks to normally expose ALL the image, which is not always useful. Indeed, in some cases you should NOT normally expose the whole image. For example:
- If you want to make a shadow effect where a part of the image is voluntarily underexposed and therefore black.
-
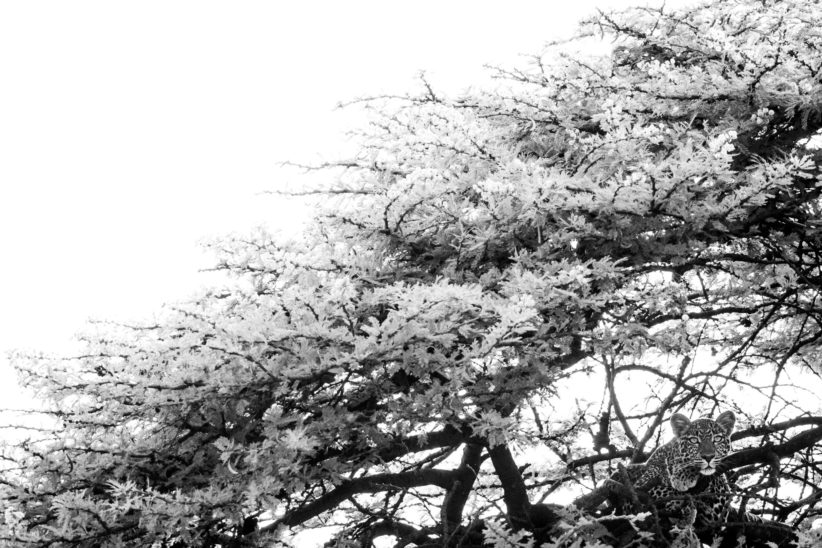
- If the part of the scene you’re interested in is very dark…. For example with this leopard, I had to voluntarily overexpose the photo and have a white sky to distinguish it among the very shady branches:
- you may want voluntarily under-expose or over-expose your photos to create an effect.
- these different parameters have other effects that modifying the exposure: theopening modifies the depth of focusthe shutter speed modifies the how motion is captured (fuzzy or not), and the ISO sensitivity modifies the grain of the photo. (If these terms are Chinese to you, don’t worry, they are explained in the following articles!)
Each parameter therefore has its counterpart. Now, to express yourself in pictures, you’re going to want to control these different effects. Hence the interest of controlling each parameter rather than letting the device do it.
I’m not going to go any further today to give you time to…integrate these notions. The following is devoted to 3 angles of the triangle aperture, shutter speed, and ISO sensitivity. After reading them you can start mastering the exposure on your camera and start playing with: and you’ll see, the possibilities are infinite ! Feel free to reread the article, and ask your questions or give your opinion in comment ! 😉
And don’t forget to share the article! 🙂


Discussion about this post