You just bought a new Nikon SLR and you don’t know how to set it up for a good start? Your SLR’s menu has dozens of entries and you haven’t had the courage to read the thick manual to find out what’s really important?
I get questions on this topic every day too to help you get started, here’s how to set up a Nikon SLR to take pictures in most situations, whether it’s landscape, action, sports, street photography.
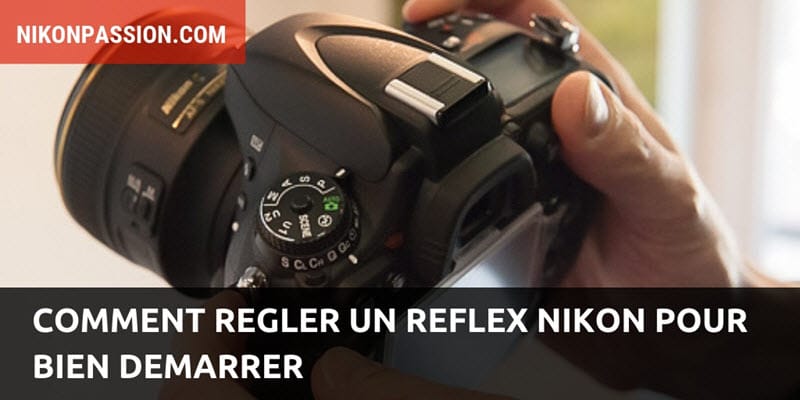
This tutorial is mainly about Nikon’s expert D7500, D500, D610, D750, D850, D5 and previous generations of Nikon SLRs.
Nikon D3xxx and D5xxx series SLRs work on the same principle but may have different menus, please consult your manual if you cannot identify the correct setting from the list below.
Note : These settings are personal to me, I adopted them by dint of using a Nikon SLR (It goes back to the F601…) . There are many other possible settings depending on your practice and sensitivity. Don’t hesitate to test them to see if they suit you better or not.
I won’t go into the details of each of the menus here, function by function. I always do a reset of the user settings when I take a new camera in hand, before applying my settings below. The settings I don’t talk about are set to the default values.
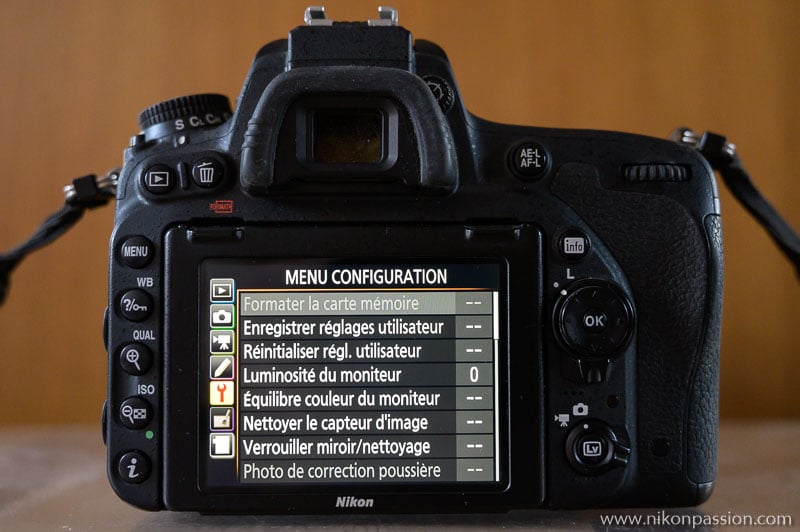
I always start by setting up a Nikon SLR with this menu. Here’s what I set up:
- time zone and date I adjust the date and the timezone for France, I always forget to change the timezone when I travel, it’s not annoying since I can change the date and time of the files in Lightroom when I sort my photos.
- clean the image sensor : clean when stationary, in order to be as reactive as possible at start-up (important in street photography)
- image caption I enter the address of my personal website which will be added to the EXIF data carried by each photo.
- copyright information I add my photographer’s name and the address of my site for the same reasons
All other settings remain at their default values.
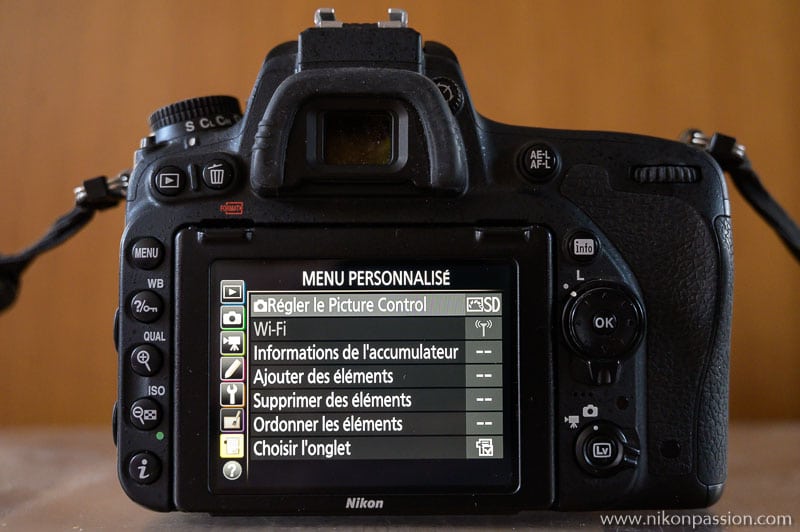
I customize access to the functions I access most often:
- Setting the Picture Control JPG : for the rare times when I do JPG, I find the access faster via this menu than via the Shooting menu.
- Wi-Fi I use this menu to manage the Wi-Fi connection to my smartphone when I need it.
- Accumulator information I like to know where I am when I take my case so that I don’t charge the battery for nothing, the charge value is accessible very quickly here
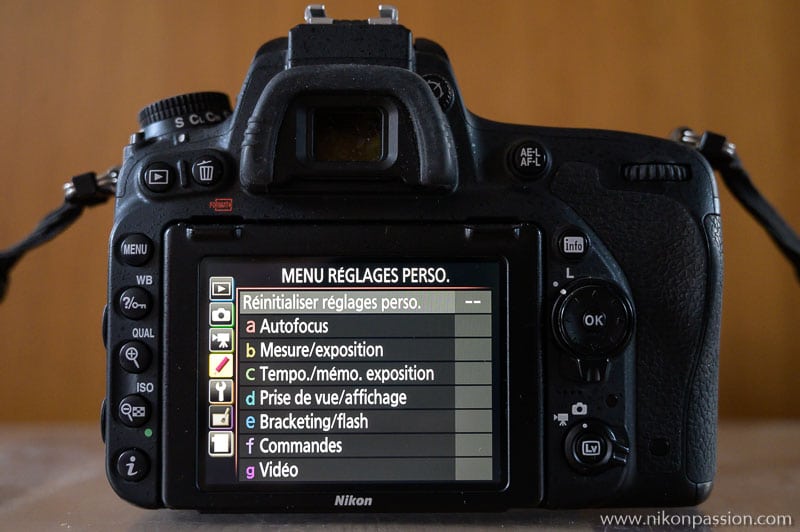
This is the most important menu for me because it defines the behavior of my box. It’s the one that took me the longest to develop and I now have a very precise list of settings to change when I want to set up a SLR that I haven’t used yet.
Autofocus
These inputs define the behavior of the autofocus module (learn more about autofocus). I adopt settings that correspond to my practice :
- MAP tracking with Lock-On Long (5), for the dance and action photo this is the value that suits me best because of the nature of the dancers’ movements.
- Dynamic area AF display : ON, I like to see the active AF point and the surrounding points, I find this display more visible like this
- AF points according to orientation : YES, I like to have a switch of the AF points in portrait mode even if I take very few pictures in this framing mode.
- AF Assist Illuminator OFF, I can’t stand that this assistance light is disturbing my subject, the AF of the D750 is powerful enough to do without this assistance.
- Sensitivity/exposure increment : 1/3, I like to control my exposure setting with precision
Exposure time/exposure memo
- Trigger Exposure Memo OFF, I prefer the exposure to be adjusted on the active collimator if I crop a scene rather than freeze it when I press the shutter button halfway down.
- Monitor off: 10 min.I hate that the screen turns off when I didn’t choose it, I do it manually and it doesn’t affect the autonomy.
Shooting/Display
- Sound signal I disable all beeps, I hate to hear the slightest beep when I take pictures, moreover in show pictures it’s forbidden and in street pictures it’s far too disturbing.
- Digital image sequence : ACTIVE, this allows me to keep a chronology of photo numbers when I switch from one card to another.
- Grid in the viewfinder OFF, I don’t like to have lines all over the place when I’m framing, but it helped me in the beginning.
Bracketing / flash
Everything is set by default in this category, I don’t use the flash much.
Orders
- Ok button : Reset shooting mode, this allows me to bring the AF collimator back to the center when my subject has changed, it saves me from pressing the pad several times. In View mode I choose Zoom on.off to quickly zoom in the image and check the sharpness.
- Setting the Fn control Solicitation” is set to “spot metering” to quickly switch between raster and spot in a scene photo.
- Setting the preview control Preview” is the depth of field test.
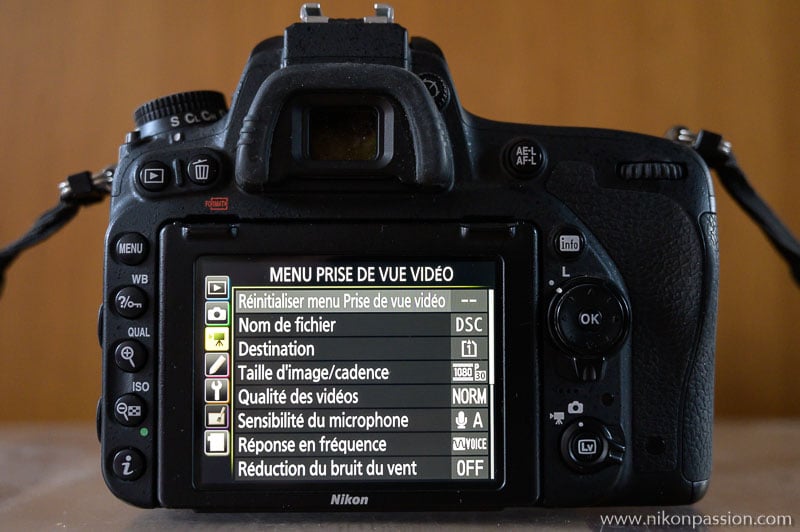
I don’t use the video function very much, I didn’t customize this menu.
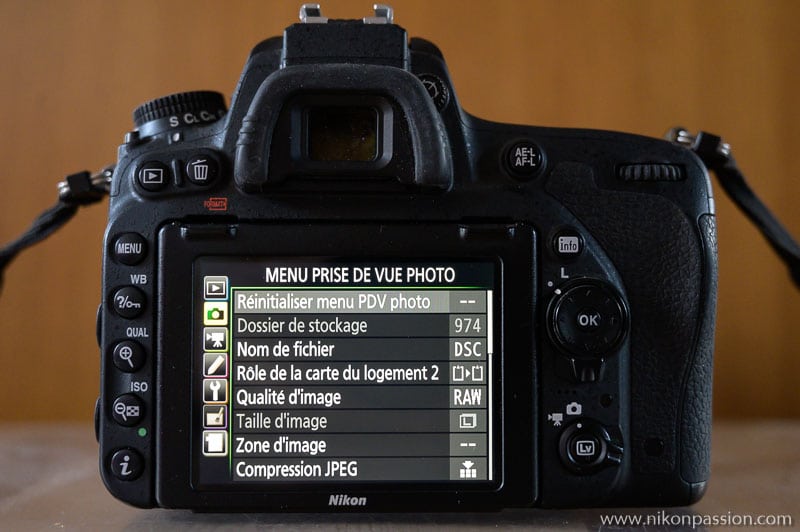
As its name suggests, this set of settings allows me to define the behavior of my camera during the shooting.
- Role of Slot 2 card Overflow”, I never use the backup mode, I often use only one card and my cards are reliable, nor the JPG/RAW separation that I find easier to manage in Lightroom.
- Image quality RAW, it’s my default format, I can convert RAW very quickly in Lightroom and don’t feel the need to duplicate with JPG, I do it very punctually from the Retouch menu if I need to retrieve the JPG on my smartphone via the WMU or Snapbridge application.
- JPG compression optimal”, although little used, if I make JPG then I want it to be of the best possible quality, the size of the file does not matter to me.
- NEF registration I like to always have the best file quality that my camera body can give me, space on disks is not a problem and I appreciate being able to reprocess old RAW files in recent versions of Lightroom to improve the quality of the final images, this richest RAW format helps me to take advantage of the recent versions of the Camera Raw development engine.
- White Balance Auto1″, this setting is enough for me since I’m doing RAW, in the studio I do a manual balance measurement in the PRE position.
- Setting the Picture Control : Standard, here too the RAW avoids me to worry about this setting, however I sometimes switch to “Saturated” to make a few JPGs to share quickly.
- Colour space : Adobe
- Active D-Lighting Normal”, I let the box manage without the applied value being too important, I prefer to adjust in post-processing with the localized processing tools of Lightroom
- Vignetting control Normal”, here too I use post-processing if necessary, but it’s rare, I like to leave the images with the particular character of each optic, like vignetting.
- Auto distortion control and noise reduction ON, for the same reasons as above
- Sensitivity adjustment : I set the ISO-Auto values to 6400 ISO max and 1/250 th mini for the street photo. In action photography it is 1/500th.
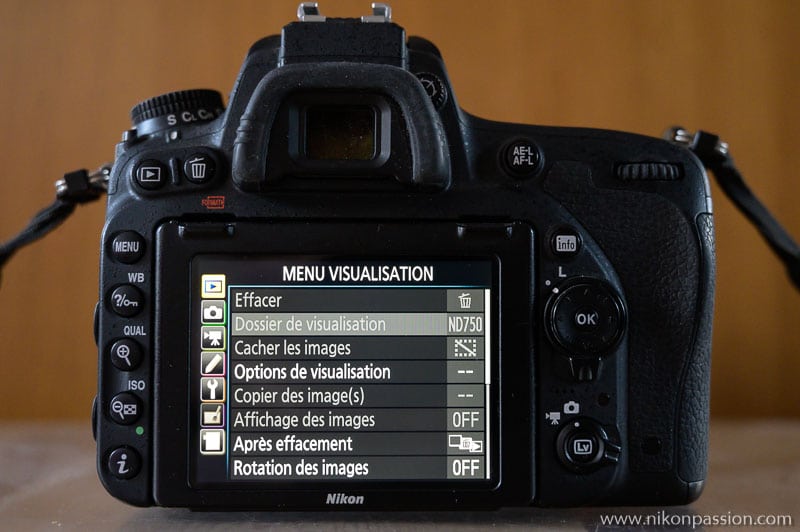
These settings allow you to customize the display of photos on the rear panel of the body once they are taken.
- View Options I tick none (image only), shooting data, overview, this allows me to switch back and forth when displaying using the rear pad.
- Image Rotation : OFF, I hate to see the portrait images in small on the screen, I prefer to turn the camera.
As I mentioned earlier, the Fn button allows me to switch from matrix measurement to fingertip spot measurement without leaving the viewfinder eye (more about light measurement).
The Pv button just above it retains its role as a depth-of-field test.
There is no other customizable button on the D750, so if I could change the body’s behavior a little more, I would make the exposure compensation button lockable so that I could correct without having to systematically press it, which I find long and inconvenient.
Autofocus mode
I use two different settings depending on the subject:
- Fixed or slow moving subject: single-collimator AF-S mode that I move using the rear pad
- Fast moving subject: AF-C mode with 51 collimators and 3D tracking
If the subject is really fast and its movement is not too erratic, I choose a group of 9 AF-C collimators.
Shooting mode
I mostly use the A mode (aperture priority, more about shooting modes) to control depth of field and background blur. If my subject is fast and I’m short of light, I switch to S mode to set the exposure time and reduce the risk of blur.
Light measurement mode
I choose the matrix metering mode in most cases, and press the front function button to switch to the spot metering mode if the subject warrants it.
In stage photography, I’m in permanent spot mode though.
ISO Sensitivity
I use ISO 100 for daytime landscape photography, ISO 400 for reportage (all situations) and ISO-Auto in all other cases (especially for the scene, more about ISO-Auto).
In addition to setting up an SLR using the menus, I also got to know by heart the location of each of the controls on my camera body: buttons and knobs, and the settings assigned to them. So I can control most of the settings without taking my eyes off the viewfinder. I am more responsive.
For example, I know that the ISO setting is on the second knob on the left from the bottom or that the AF mode selection button is on the front panel, coupled with the front and rear mode and area change dial.
To you!
What configurations do you use to set up a Nikon SLR? Be sure to specify the type of body.
Don’t you have your DSLR manual? You can download it in PDF format from the Nikon website.



Discussion about this post