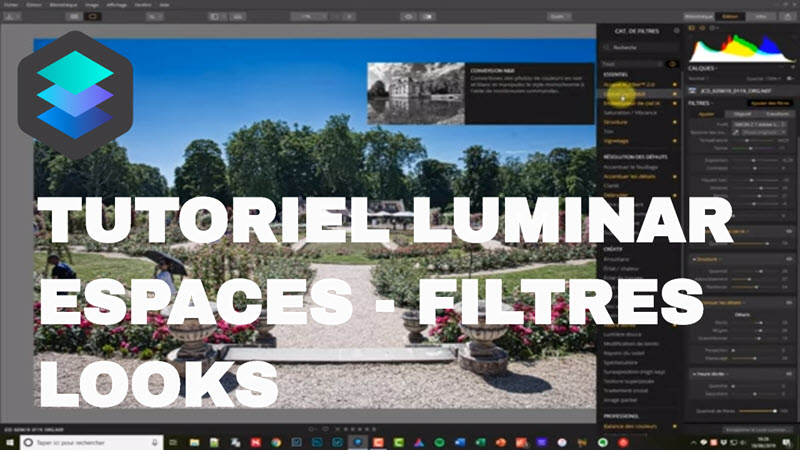
Using Luminar means taking advantage of the post-processing possibilities offered by this software to give your photos the rendering they deserve. Luminar filters, workspaces and Looks are notions you need to know to use the software properly, I present them to you in the video below.

Discover Luminar and benefit from a special Nikon Passion reader discount …
Luminar has many tools for both global image processing and localized retouching. I showed you the development of a RAW file from A to Z in Luminar in a first tutorial, as well as more advanced processing with local retouching operations in a second video.
This time we will see how these different tools are organized, how to group them together to go faster and how to enrich your software experience with custom and predefined settings.
I share my screen below to introduce you to the tool groups and their organization:
Luminar Workspaces
A workspace is a set of filters that you choose to apply to a photo. Luminar offers many filters for different needs. In order not to saturate the user interface, these filters are arranged in workspaces, just like in Photoshop CC.
You can use the default workspaces that come with the software, such as creating your own workspace or downloading workspaces from other photographers.
You can download my RAW Basic, RAW Essential and Black & White Conversion workspaces.
Luminar Filters
In Luminar a filter is a set of tools that perform processing actions on the image. Rather than displaying dozens of sliders and confusing the whole set, the editor has chosen to group these tools by processing type, these are the filters.
Some filters are classic and you’ll find them in most software, such as the RAW development filter that uses the same sliders as Camera Raw. Others are more exotic, such as the “Sun Rays” filter which, as its name suggests, adds … sun rays.
Filters apply to the main image layer as well as to the subimage layers and adjustment layers.
Looks Luminar
Luminar also allows you to apply predefined renderings to your images in the same way as Lightroom does. These preset filter sets are grouped together in the Looks panel.
A Look therefore gathers one or more filters and the position of the sliders for each setting. You can use the “essential” looks provided with the software as well as download free or paid looks from the publisher’s site and from some photographers.
See available Luminar Looks
For more information
The Luminar software is available for purchase as a Perpetual License version. Minor updates are included, as well as a 60-day money back guarantee if you are not satisfied.
You can benefit from 10 euros on the price of the software by entering the NIKONPASSION code when you order from this link.
Discover Luminar and benefit from a special Nikon Passion reader discount …


Discussion about this post